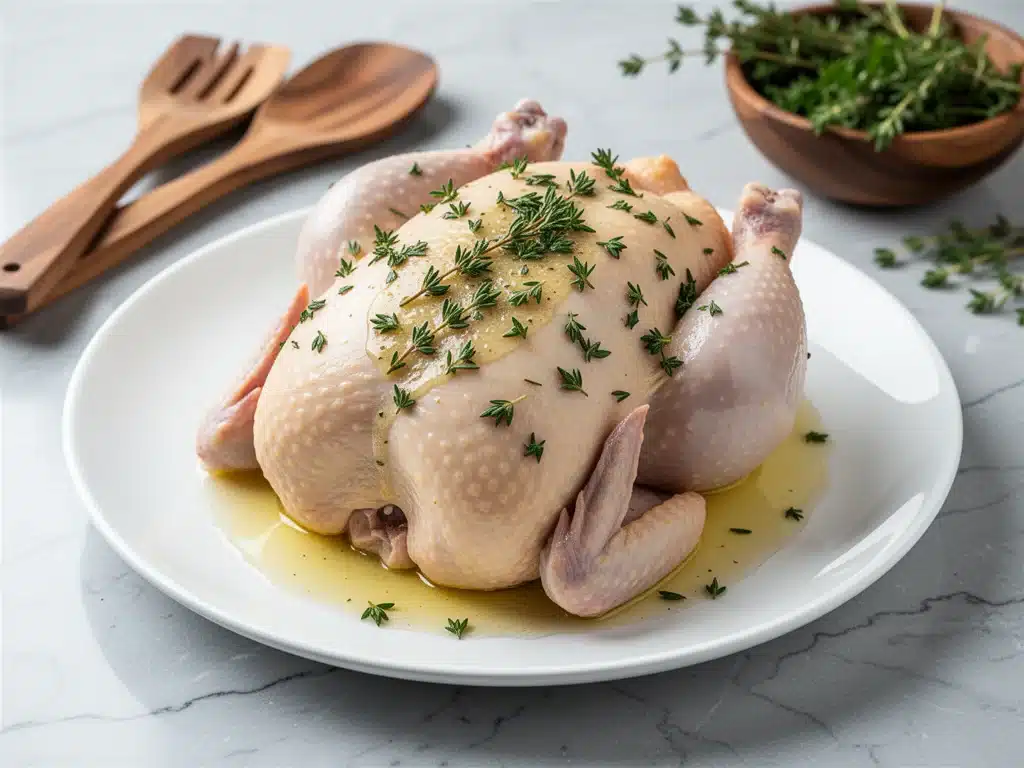
It was 5:45 PM on a Tuesday, and I was staring at the refrigerator door like it held the secrets to the universe. My kids were arguing over who got the iPad, my partner was sending those passive-aggressive “what’s for dinner?” texts, and I had absolutely zero energy to chop, stir, or worry about burning the house down. Then I remembered the whole chicken sitting in my freezer—thawed, waiting, and looking like a potential savior.
I’ve always been intimidated by cooking a whole chicken. Usually, it involves an oven, a roasting pan, basting every twenty minutes, and praying the breast doesn’t dry out while the legs finish cooking. It’s a lot of work for a Tuesday night. But I had my Instant Pot, and I had a desperate need for something that tasted homemade but required almost zero effort. I threw in some butter, a handful of herbs, and held my breath.
Thirty minutes later, I pulled out a perfectly juicy, falling-off-the-bone whole chicken that smelled like a cozy Sunday roast. My kids actually stopped arguing long enough to ask for seconds. That was the moment I realized this Instant Pot whole chicken with herb butter wasn’t just a hack—it was a game-changer. It’s tender, it’s flavorful, and it’s the ultimate answer for busy weeknights when you want a proper meal without the proper effort.
I’ve tested this method so many times that I can probably do it in my sleep (which I have, on nights when I’m exhausted). It’s become the backbone of our dinner rotation. If you’re tired of dry, bland chicken or spending hours in front of a hot stove, you need to try this. It’s hands-down the best way to get a whole roasted chicken on the table in under 30 minutes.
Why You’ll Love This Instant Pot Whole Chicken Recipe
There are about ten reasons I keep making this chicken, but here are the big ones that have converted my skeptical family (and my husband, who usually prefers steak).
It’s Actually Fast — We’re talking 30 minutes from start to finish, including the natural pressure release. I know, “pressure cooker” usually sounds like it takes forever. But the machine does the heavy lifting. I spend maybe 10 minutes prepping, and the rest is hands-off. Perfect for when you walk in the door at 6 PM.
The Meat is Insanely Tender — Because it cooks in a sealed, steamy environment, the chicken stays incredibly moist. I’ve made roast chicken in the oven for years, and this method actually yields juicier meat. The skin gets crispy if you broil it at the end, but even without that, the meat is so tender it falls off the bone.
Pantry-Friendly Herbs — You don’t need fancy ingredients. Just butter, salt, pepper, and dried herbs like thyme, rosemary, and garlic powder. Most people have these in their spice cabinet already. It’s not a shopping trip; it’s a pantry raid.
Leftovers That Actually Taste Good — This is huge. Roast chicken leftovers are great, but this version is even better. The meat absorbs more of that herb butter flavor while it rests. I use the leftovers for sandwiches, salads, or just eating cold straight from the fridge (don’t judge me).
One-Pot Wonder (Mostly) — You only really need the Instant Pot and a small rack. Cleanup is a breeze. I just wipe down the inner pot and toss the herbs. No scrubbing roasting pans or dealing with greasy oven splatter.
This is my go-to when I need dinner to just work. No complicated techniques, no weird ingredients, just reliable, delicious food that makes everyone happy. It’s comfort food without the guilt or the time commitment.
Ingredients You’ll Need
Here’s the best part: you probably have most of this already. This recipe relies on quality basics rather than exotic items. I’m particular about three ingredients here, and I’ll tell you exactly why.
Whole Chicken (3.5 to 4.5 pounds) — This is the star. Make sure it fits comfortably in your 6-quart Instant Pot. If you have a larger pot (8-quart), a slightly bigger chicken works, but don’t go too large or it won’t cook evenly. I always buy a chicken that’s not stuffed with giblets if I can help it—saves prep time. Let it thaw completely in the fridge overnight; cooking a partially frozen chicken is a recipe for disaster.
Unsalted Butter (½ cup / 113g) — This is non-negotiable for me. The butter mixes with the herbs to create that herb butter paste that goes under the skin. Use real butter, not margarine. It adds richness and helps the skin crisp up later. I use salted butter if I’m in a rush, but then I reduce the added salt slightly.
Dried Herbs (2 tablespoons total) — I use a mix of dried thyme, rosemary, and oregano. Dried herbs hold up better in the pressure cooker than fresh ones, which can get mushy or lose their flavor. Fresh herbs are great as a garnish, but dried is better for the cooking process. I mix mine in a small bowl before applying.
Garlic Powder (1 tablespoon) — Fresh garlic can burn under pressure or taste weird in this context. Garlic powder distributes evenly and gives that savory depth without the risk of burning. If you must use fresh, mince it super finely, but powder is safer and tastier here.
Salt and Black Pepper (to taste) — I use about 1.5 teaspoons of kosher salt and 1 teaspoon of freshly cracked black pepper. Season everything, inside and out. The cavity of the chicken needs seasoning too—it’s where the flavor penetrates deepest.
Lemon (1 medium) — I put half the lemon inside the cavity for brightness and the other half sliced for the rack. It cuts through the richness of the butter and adds a subtle citrus note that prevents the chicken from tasting heavy.
Chicken Broth (1 cup) — You need liquid for the Instant Pot to come to pressure. Use low-sodium broth so you can control the saltiness. Vegetable broth works if you’re vegetarian, but chicken broth adds more depth. Don’t skip this step; the pot needs liquid to build pressure.
Optional: Olive Oil (1 tablespoon) — I drizzle this over the chicken right before broiling to help the skin get golden and crispy. It’s not strictly necessary, but it makes the finish look restaurant-quality.
Equipment Needed
You don’t need fancy equipment for this. Here’s what I actually use.
6-Quart Instant Pot — This is the standard size. If you have a 3-quart, you’ll need a smaller chicken (under 3 lbs). If you have an 8-quart, a larger chicken works. Just make sure there’s room for steam circulation.
Trivet or Rack — Most Instant Pots come with one. This keeps the chicken out of the direct heat and liquid at the bottom. It’s crucial for even cooking. If you lost yours, a ball of aluminum foil works as a makeshift trivet.
Small Bowl — For mixing the herb butter. I use a tiny ramekin or just the back of a spoon.
Kitchen Shears or Knife — To trim any excess skin or fat from the chicken. I like to remove the tail and any loose flaps of skin so they don’t burn.
Broiler Pan or Wire Rack (Optional) — If you plan to broil the chicken afterward for crispy skin, a wire rack set over a baking sheet is ideal. It allows air to circulate. If you don’t have one, you can broil it directly on the Instant Pot liner (after removing it from the pressure cooker), but be careful of drips.
Tongs — For handling the hot chicken. The chicken will be very hot when you open the pot, so use tongs to lift it out.
Meat Thermometer — This is the only way to be sure the chicken is done. Insert it into the thickest part of the thigh without touching the bone. It should read 165°F (74°C).
How to Make It: Step-by-Step
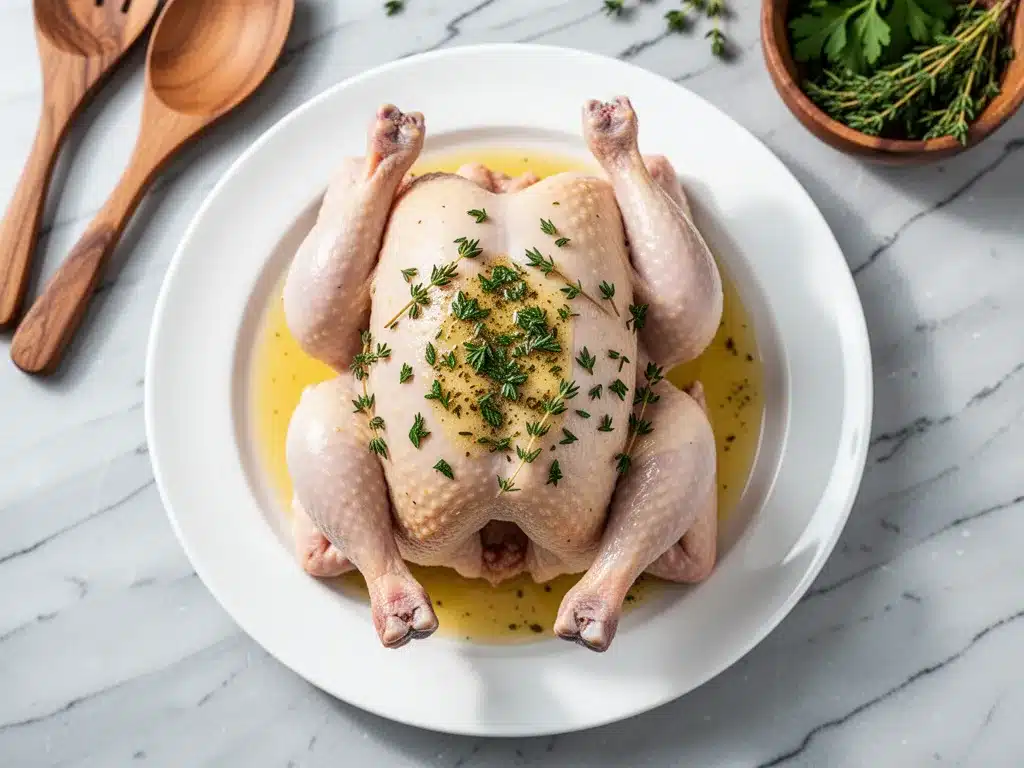
Alright, let’s make this! I’m walking you through exactly how I do it, including the little tricks I’ve picked up. It’s simpler than you think.
Step 1: Prep the Chicken (5 minutes)
Pat the chicken dry with paper towels. This is important—dry skin browns better. Remove any giblets from the cavity. Trim off any large pieces of excess fat or loose skin. If the legs are splayed out, you can tuck them under the body or tie them with kitchen twine, but it’s not strictly necessary. Just make it fit comfortably in the pot.
Step 2: Make the Herb Butter (2 minutes)
In a small bowl, mix the softened butter with the dried herbs, garlic powder, salt, and pepper. You want a paste-like consistency. If the butter is too hard, microwave it for 10 seconds to soften it slightly. This mixture is where all the flavor lives.
Step 3: Season and Stuff (5 minutes)
Loosen the skin over the breast and thighs by gently sliding your fingers under it. Be careful not to tear the skin. Rub half of the herb butter under the skin, directly onto the meat. This keeps the breast meat moist and flavorful. Rub the remaining butter all over the outside of the chicken. Sprinkle more salt and pepper on the outside if needed. Stuff the cavity with the lemon halves and any leftover herb scraps. This steams the chicken from the inside with citrus flavor.
Step 4: Add Liquid to the Pot (1 minute)
Pour the chicken broth into the bottom of the Instant Pot liner. Place the trivet inside. Set the chicken on the trivet, breast-side up. If the chicken is tall, you might need to angle it slightly, but try to keep it as upright as possible for even cooking.
Step 5: Pressure Cook (20 minutes)
Secure the lid and set the valve to “Sealing.” Select the “Manual” or “Pressure Cook” button. Set the time to 20 minutes for a 3.5-4 lb chicken. If your chicken is larger (4.5 lbs), add 5 minutes. The pot will take about 10-15 minutes to come to pressure.
Step 6: Natural Release (10 minutes)
Once the timer beeps, let the pressure release naturally for 10 minutes. This is crucial—it keeps the chicken tender. If you quick-release immediately, the chicken can seize up and become tough. After 10 minutes, carefully turn the valve to “Venting” to release any remaining pressure.
Step 7: Check and Broil (5-10 minutes)
Open the lid. Check the internal temperature with a thermometer. It should be at least 165°F (74°C). If it’s not quite there, you can put the lid back on and cook on “Saute” for a few minutes, or pressure cook for 2 more minutes. If it’s done, carefully lift the chicken out and place it on a cutting board or platter. If you want crispy skin, brush with a little olive oil and broil in the oven for 3-5 minutes, watching closely so it doesn’t burn.
Step 8: Rest and Serve
Let the chicken rest for 5-10 minutes before carving. This allows the juices to redistribute. Carve and serve with the pan juices from the Instant Pot (you can thicken them with a little cornstarch slurry if you want gravy).
Expert Tips & Tricks
Here’s everything I’ve learned from making this dozens of times. These tips will save you from my mistakes.
Don’t Skip the Drying
I know it’s tedious, but patting the chicken dry is the secret to good skin. Wet skin steams instead of crisping. If you’re not broiling, it matters less, but dry skin still browns better under the lid.
Butter Temperature Matters
If your butter is too hard, you can’t get it under the skin. Soften it slightly. If it’s too melted, it won’t stick. Aim for a spreadable consistency.
Natural Release is Key
I’ve tried quick-releasing, and the chicken comes out tougher. The natural release continues to cook the chicken gently and keeps it juicy. Be patient.
Use a Thermometer
Time is a guide, but temperature is the truth. Every chicken is different. Always check the thickest part of the thigh.
Save the Pan Juice
The liquid at the bottom of the pot is flavorful but thin. You can simmer it on “Saute” after removing the chicken and add a teaspoon of cornstarch mixed with water to make a quick gravy. It’s a nice bonus.
Variations & Substitutions
Once you’ve nailed the basic version, here’s how you can mix it up. I’ve tried all of these.
Lemon-Herb Variation
Add zest from one lemon to the butter. It adds a bright, fresh flavor that pairs beautifully with the chicken.
Spicy Chicken
Add a teaspoon of paprika and a pinch of cayenne to the herb butter. It gives a nice kick without overwhelming the flavor.
Garlic Lover’s
Add two minced fresh garlic cloves to the butter paste. It’s stronger and more aromatic than powder.
Gluten-Free
This recipe is naturally gluten-free. Just make sure your broth and spices are certified gluten-free.
Dairy-Free
Replace the butter with olive oil or dairy-free butter. The flavor will be slightly different, but still delicious.
Serving & Storage
How to Serve:
I usually serve this straight from the cutting board with the pan juices drizzled over top. It looks rustic and stays warm. Pair it with roasted potatoes, steamed broccoli, or a simple green salad. It’s versatile enough for any side dish.
Storage:
Store leftovers in an airtight container in the fridge for up to 4 days. The meat stays moist for several days.
Reheating:
Best method: Reheat in the microwave with a splash of broth or water to keep it moist. Heat in 30-second intervals. Alternatively, reheat in a skillet over low heat with a little butter.
Freezing:
You can freeze cooked chicken for up to 3 months. Thaw in the fridge overnight before reheating. The texture might be slightly drier, but it’s still good for soups or salads.
Nutrition Information
I’m not a nutritionist, but here’s the breakdown if you’re tracking. Per serving (based on 6 servings, including skin and some fat):
- Calories: 350
- Protein: 35g
- Carbs: 1g
- Fat: 22g
- Saturated Fat: 9g
- Cholesterol: 130mg
- Sodium: 450mg (varies based on broth and salt)
It’s a high-protein, low-carb meal. If you’re watching calories, remove the skin before eating. The herb butter adds flavor but also fat, so use it mindfully.
Final Thoughts
So that’s my go-to Instant Pot whole chicken with herb butter! I’ve probably talked your ear off at this point, but when you make a recipe this often, you have a lot to say about it.
This has saved weeknight dinners more times than I can count. It’s my answer to “what’s for dinner” when I’m tired, don’t want takeout, and still want something that tastes really good. My kids are happy, my husband’s happy, and I’m happy because I’m not stressed about cooking.
Make it yours! Try different herbs, add different citrus, or change up the spices. The best recipes are the ones you adapt to your family’s tastes. If you make this, drop a comment and let me know what you think! I love hearing how recipes turn out in your kitchen.
Happy cooking! And I hope your kitchen smells half as good as mine does right now.
Frequently Asked Questions
Can I use a frozen chicken?
Technically yes, but I don’t recommend it. A frozen chicken will take longer to cook and might not reach a safe internal temperature evenly. It’s better to thaw it in the fridge overnight. If you’re in a huge rush, you can pressure cook a frozen chicken, but add 5-10 minutes to the cook time and be very careful with the temperature check.
Why is my chicken dry?
Overcooking is the most common reason. Make sure you’re not pressure cooking for too long. 20 minutes is usually perfect for a 3.5-4 lb chicken. Also, ensure you’re using a meat thermometer. If it’s over 165°F, it might be dry. Next time, try reducing the time by 2-3 minutes.
Can I make this in a different type of pressure cooker?
Yes! The method is the same for any electric pressure cooker (like Ninja or Crock-Pot). Just adjust the cook time based on the weight of your chicken. Stovetop pressure cookers will take less time (about 10-12 minutes) but require more attention.
How do I get crispy skin in an Instant Pot?
The Instant Pot steams the chicken, so the skin will be soft. To get crispy skin, you need to finish it under a broiler or in a hot oven (400°F) for 5-10 minutes after pressure cooking. Brush with oil first to help it brown.
Can I cook vegetables with the chicken?
You can, but they might get mushy. If you want to cook veggies, place them on the trivet below the chicken, or add them to the broth at the end. Root vegetables like potatoes and carrots work best, but they’ll need more time than the chicken. I usually cook them separately or add them to the broth after removing the chicken.
What if my chicken doesn’t fit in the pot?
Trim the legs and wings to make it fit. You can also cut the chicken in half if it’s too big, but then you’ll need to adjust the cook time. For a whole chicken, stick to the 3.5-4 lb range for a 6-quart pot.
Pin This Recipe!
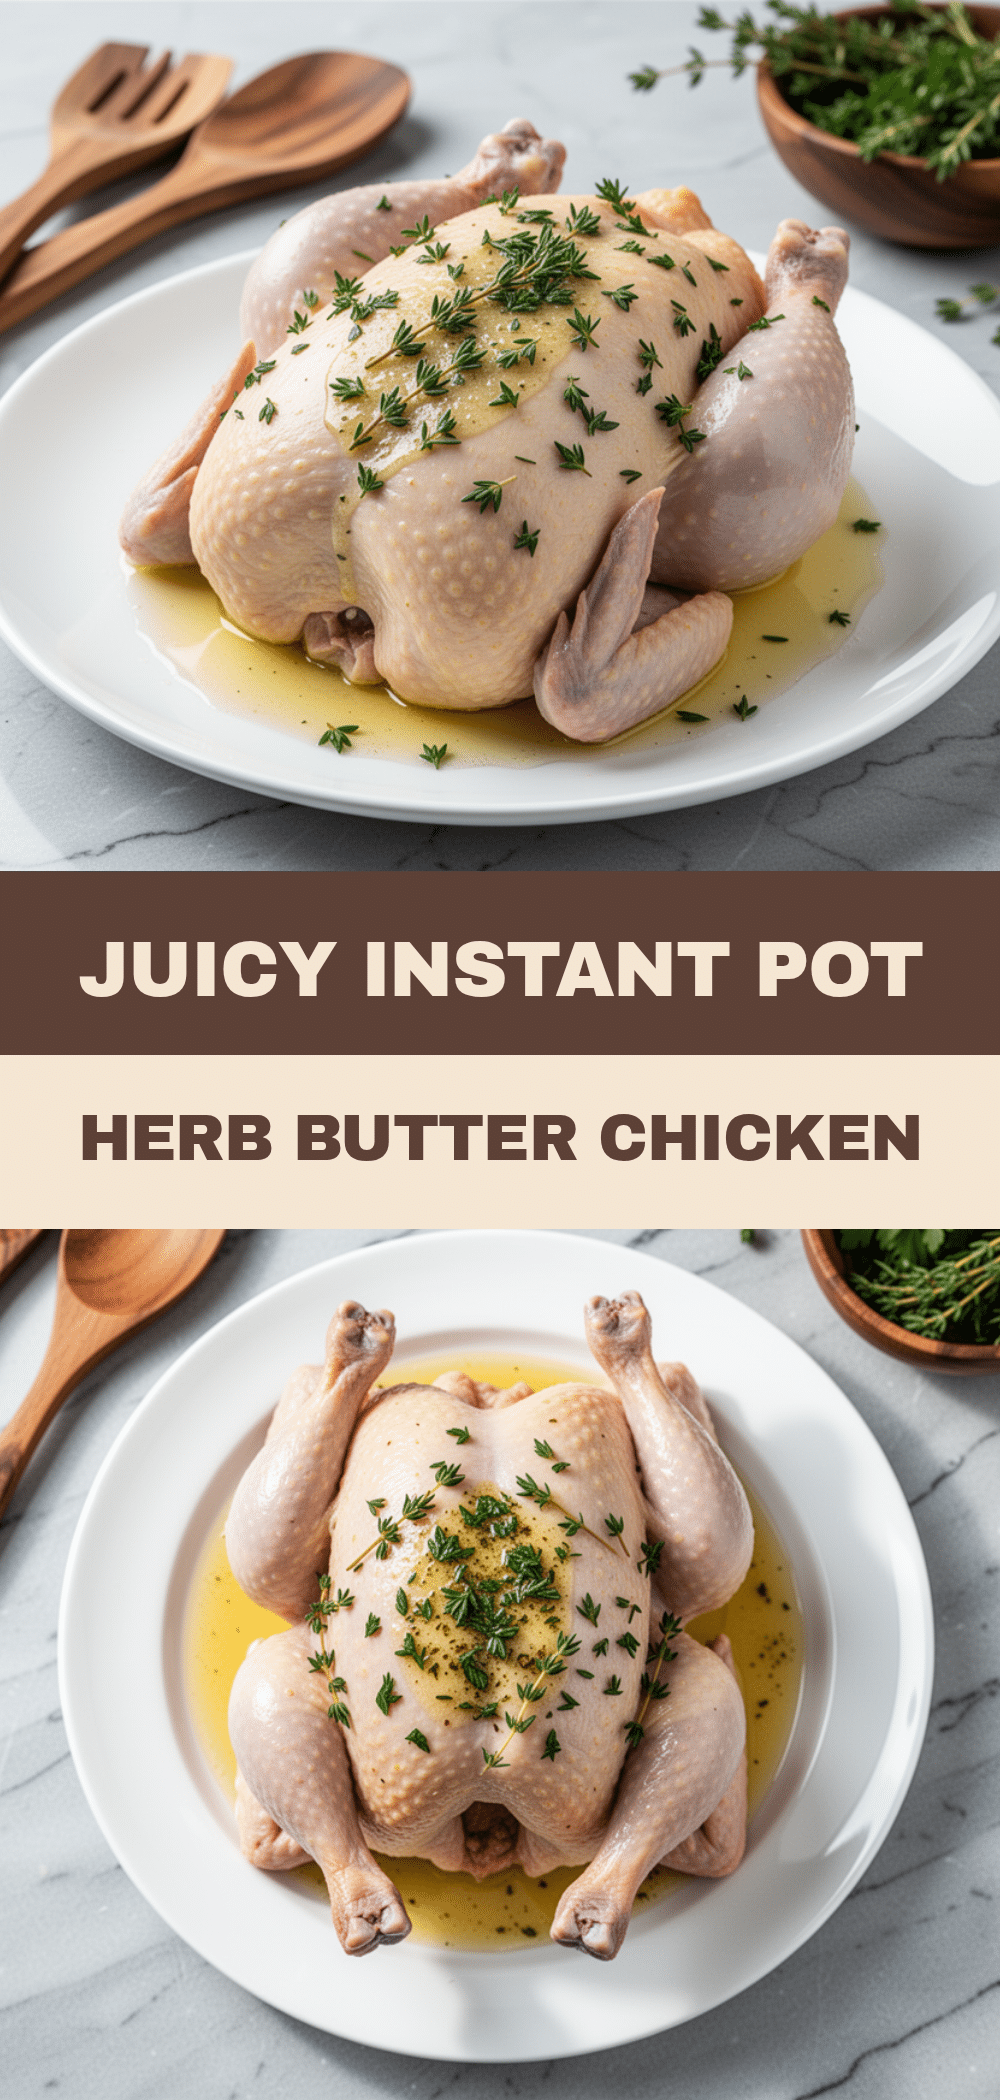
Instant Pot Whole Chicken with Herb Butter
- Total Time: 30 minutes
- Yield: 6 servings 1x
Description
A quick and easy 30-minute dinner featuring a juicy, tender whole chicken cooked in an Instant Pot with herb butter. Perfect for busy weeknights with minimal effort and maximum flavor.
Ingredients
- 3.5 to 4.5 lb whole chicken (thawed)
- 1/2 cup (113g) unsalted butter, softened
- 2 tablespoons dried herbs (thyme, rosemary, oregano)
- 1 tablespoon garlic powder
- 1.5 teaspoons kosher salt
- 1 teaspoon freshly cracked black pepper
- 1 medium lemon (halved)
- 1 cup low-sodium chicken broth
- 1 tablespoon olive oil (optional, for broiling)
Instructions
- Pat the chicken dry with paper towels and remove giblets. Trim excess fat or loose skin.
- In a small bowl, mix softened butter, dried herbs, garlic powder, salt, and pepper to form a paste.
- Loosen the skin over the breast and thighs. Rub half of the herb butter under the skin onto the meat. Rub the remaining butter all over the outside of the chicken.
- Stuff the cavity with lemon halves and any leftover herb scraps.
- Pour chicken broth into the bottom of the Instant Pot liner. Place the trivet inside.
- Set the chicken on the trivet, breast-side up.
- Secure the lid, set valve to ‘Sealing’, and select ‘Pressure Cook’ for 20 minutes (add 5 minutes if chicken is 4.5 lbs).
- Allow natural pressure release for 10 minutes, then carefully vent remaining pressure.
- Check internal temperature (should be 165°F/74°C). If needed, cook on ‘Saute’ or pressure cook for 2 more minutes.
- Remove chicken and let rest for 5-10 minutes before carving.
- Optional: Brush with olive oil and broil for 3-5 minutes for crispy skin.
Notes
Ensure the chicken is fully thawed before cooking. Do not skip patting the chicken dry for better browning. Natural release is crucial for tender meat. If using salted butter, reduce added salt. Pan juices can be thickened with cornstarch slurry for gravy.
- Prep Time: 12 minutes
- Cook Time: 20 minutes
- Category: Main Course
- Cuisine: American
Nutrition
- Serving Size: 1 serving (approx. 1
- Calories: 350
- Sodium: 450
- Fat: 22
- Saturated Fat: 9
- Carbohydrates: 1
- Protein: 35
Keywords: instant pot chicken, whole chicken recipe, pressure cooker dinner, herb butter chicken, easy weeknight dinner, juicy chicken


