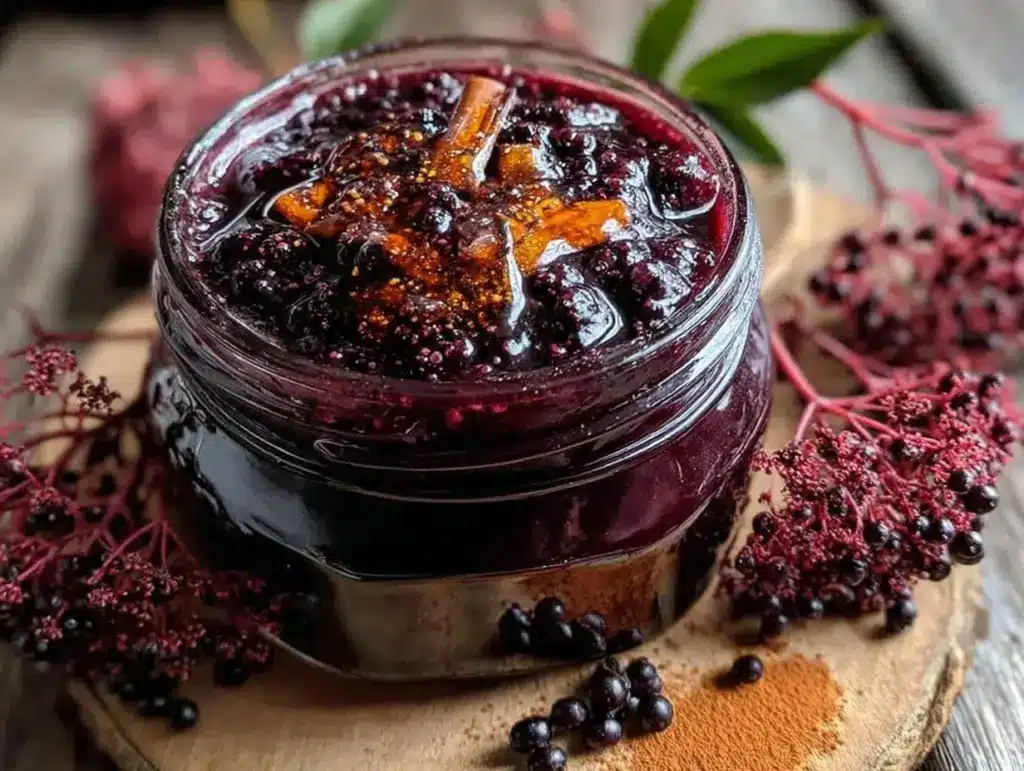
There’s a specific kind of quiet that happens when you fire up the smoker in late October. The air gets crisp, the leaves are starting to crunch underfoot, and there’s this heavy, anticipatory feeling that winter is just around the corner. For years, I fought the seasonal sniffles with store-bought gummies and questionable over-the-counter cold medicines that made me feel like a zombie. Then, last autumn, I stumbled onto a recipe for elderberry syrup that changed everything. But I didn’t just boil it on the stove. No, I took it to the smoker.
Smoking elderberries isn’t traditional. It’s not what your grandma did. But when you take those deep purple, antioxidant-packed berries and expose them to low, slow smoke along with raw honey, cinnamon sticks, and allspice, something magical happens. The syrup doesn’t just taste like medicine; it tastes like a campfire hug. It’s complex, slightly sweet, with that unmistakable smoky depth that lingers on the tongue. I’ve made this smoked elderberry syrup every fall for the past three years, and honestly, it’s become my most anticipated project of the season. It’s not just about staying healthy; it’s about the ritual of slowing down, watching the smoke curl around the berries, and knowing that when the first chill hits, you’re ready.
If you’ve been looking for a natural way to support your immune system during cold and flu season, or if you just want a syrup that tastes better than anything you can buy at the pharmacy, this is it. I’ve tested this method multiple times—once on a kettle grill, once on a pellet smoker, and once over a simple campfire—and the results are consistently incredible. Let’s talk about how to make your own smoked elderberry syrup, why the smoke makes all the difference, and how to use it to stay well through the winter.
Why You’ll Love This Smoked Elderberry Syrup
I know what you’re thinking. “Elderberry syrup? Isn’t that just a big jar of sugar?” Trust me, I thought the same thing until I tasted the first batch I smoked. The process transforms the fruit entirely. Here’s why this smoked version has replaced every other wellness tonic in my kitchen:
- The Smoke Factor — Most elderberry recipes are just boiled fruit and sugar. Boring. By smoking the syrup, you add a layer of complexity that pairs beautifully with cinnamon and honey. It tastes like autumn itself. I’ve served this to friends who swear they hate “healthy” things, and they always ask for the recipe.
- Immune Support That Actually Tastes Good — Elderberries are loaded with vitamins A, B, and C, plus anthocyanins that help reduce inflammation. The honey adds antimicrobial properties, and the cinnamon warms you up from the inside. It’s a powerhouse combo, but it doesn’t taste medicinal. It tastes like dessert.
- Slow-Cooked Perfection — Using the smoker (or a low oven) allows the flavors to meld slowly without boiling away the delicate nutrients. High heat can destroy some of the beneficial compounds. Low and slow preserves the goodness while creating that rich, concentrated syrup texture.
- Versatile AF — I drink it straight by the spoonful when I feel a tickle in my throat. I stir it into my morning oatmeal. I mix it with sparkling water for a fancy wellness mocktail. I even drizzle it over my honeycrisp apple crisp for a smoky twist. The uses are endless.
- Make-Ahead Magic — You can make a big batch in the morning and let it simmer while you run errands or tend to other things. It keeps in the fridge for up to 6 months, so you’re set for the entire cold season.
This syrup has saved me from getting sick during some brutal cold snaps. It’s my secret weapon. And once you taste that smoky, spiced depth, you’ll never go back to plain boiled syrup again.
Ingredients You’ll Need
The beauty of this recipe is that it relies on simple, potent ingredients. You don’t need anything exotic, just good quality basics. Here’s what you’ll need to make about 2 cups of syrup:
- Dried Elderberries (1 cup / 100g) — This is the star. Make sure you use dried elderberries, not fresh. Fresh elderberries can be toxic if not cooked properly, and dried ones are easier to store and use. Look for organic, unsulfured berries for the best flavor. I usually buy mine from a local health food store or online.
- Water (4 cups / 950ml) — Filtered water is best here, since it makes up the bulk of the syrup. You want clean, pure water to extract the flavor from the berries.
- Raw Honey (1 cup / 300g) — Raw honey is crucial. It has natural enzymes and antimicrobial properties that pasteurized honey lacks. Plus, the floral notes in raw honey pair beautifully with the smoke. Manuka honey is great if you’re feeling fancy, but any good raw honey works.
- Cinnamon Sticks (2 large sticks) — Use Ceylon cinnamon if you can find it. It’s sweeter and milder than Cassia cinnamon. The sticks infuse flavor without making the syrup gritty. If you only have ground cinnamon, use 1 teaspoon, but the sticks are preferred for the long simmer.
- Allspice Berries (1 teaspoon) — Adds a warm, peppery note that complements the cinnamon. Whole berries are better than ground because they infuse slowly and don’t cloud the syrup.
- Black Peppercorns (½ teaspoon) — Sounds weird, I know. But a few peppercorns add a subtle heat that wakes up the other spices. It’s a secret ingredient that makes the syrup feel “complete.”
- Orange Zest (from 1 orange) — Just the zest, no white pith. The citrus oils brighten up the heavy, smoky flavor of the elderberries. Squeeze the orange into the syrup too for a little extra juice.
For the Smoke:
- Wood Chips or Chunks — I prefer hickory or applewood. Hickory gives a stronger, bacon-like smoke that stands up well to the strong elderberry flavor. Applewood is sweeter and milder, which is nice if you want a subtler smoke. Cherrywood is also a great option for a fruity smoke note. Avoid mesquite if you’re a beginner; it can be overpowering.
Pro Tip: Soak your wood chips in water for 30 minutes before smoking. This creates more smoke and prevents them from burning up too quickly. If you’re using a pellet smoker, you don’t need to soak anything.
Equipment Needed
You don’t need a lot of fancy gear for this, but having the right tools makes the process smoother. Here’s what I use:
- Smoker (Pellet, Electric, or Charcoal) — Any smoker works. I use a pellet smoker for convenience, but a charcoal kettle grill works great too. You’re aiming for a low, steady smoke, not a high-heat sear.
- Heavy-Bottomed Pot (4-quart minimum) — You need a pot that can hold 4 cups of water plus the berries. Stainless steel or cast iron is best for even heating. Avoid thin aluminum pots as they can scorch the bottom.
- Mesh Strainer or Cheesecloth — You’ll need to strain out the berries and spices. A fine-mesh strainer works, but for a clearer syrup, line it with cheesecloth. I like to use a nut milk bag if I have one—super easy cleanup.
- Measuring Cups and Spoons — Standard stuff. Accurate measurements matter here, especially with the honey.
- Glass Jars for Storage — Mason jars are perfect. Make sure they’re sterilized before filling. Glass doesn’t react with the acidic berries or honey.
- Zester or Microplane — For getting that orange zest. A regular grater works too, but a microplane gives you fine, fluffy zest.
Tool Tip: If you’re using a kettle grill, you can set up for indirect heat by piling the charcoal on one side and putting the pot on the other side. Place the soaked wood chips on the hot coals and cover the grill. It’s basically a makeshift smoker.
How to Make It: Step-by-Step
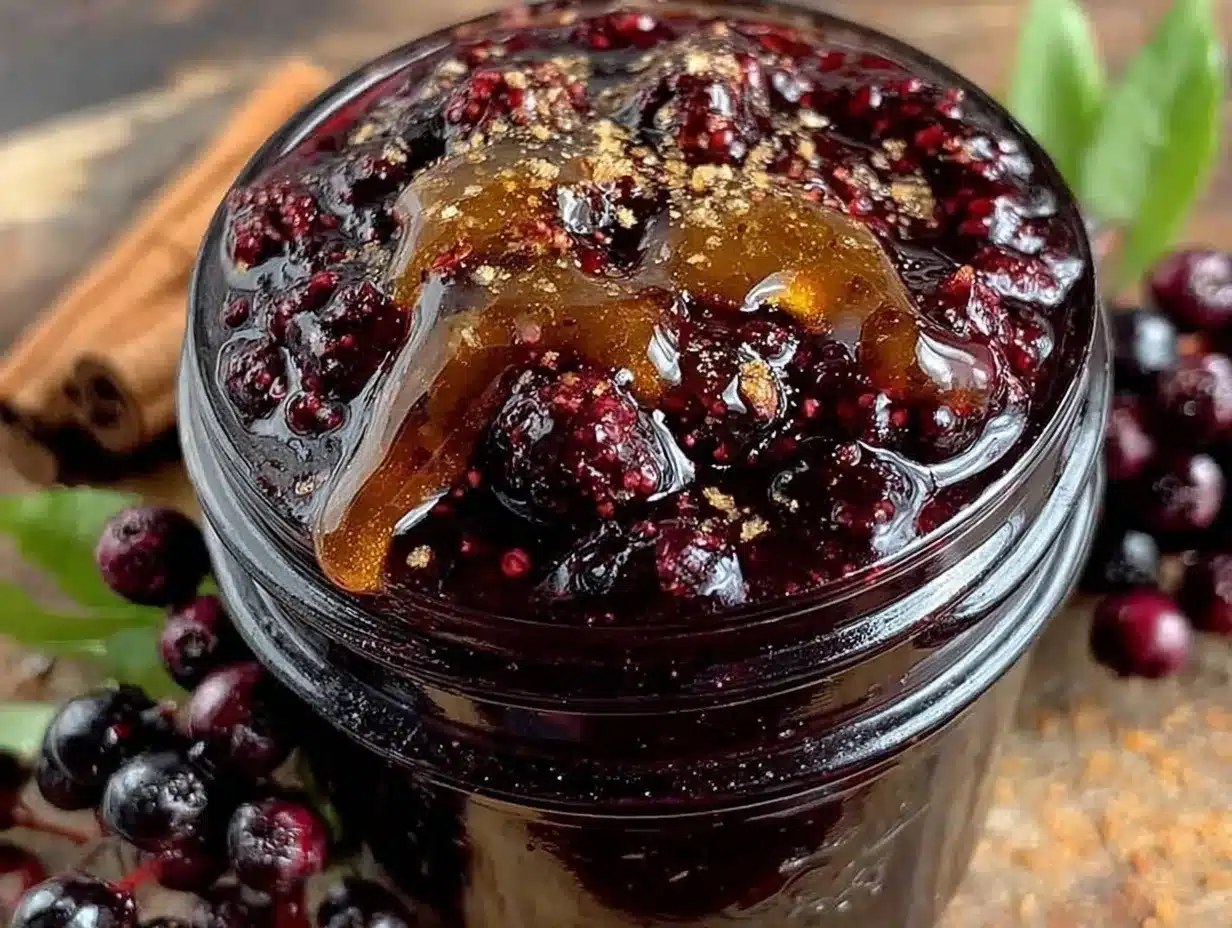
Alright, let’s get smoking. This process takes about 2 hours total, but most of that is hands-off. Here’s exactly how I do it.
Step 1: Prep the Smoke Source (15 minutes)
If you’re using wood chips, soak them in water now. While they soak, get your smoker or grill ready. Preheat it to 225°F (107°C). You want a low, steady temperature. If you’re using a pellet smoker, just set it to the smoke setting or 225°F. If you’re using a charcoal grill, light your charcoal and let it burn until it’s covered in gray ash, then spread it to one side for indirect heat. Add the soaked wood chips on top of the coals. Wait for that nice, thin blue smoke to start rising.
Step 2: Combine Berries and Water (5 minutes)
In your heavy-bottomed pot, combine the dried elderberries and 4 cups of water. Bring this to a boil over medium-high heat. Once it boils, reduce the heat to low and let it simmer gently for 10 minutes. This helps rehydrate the berries and starts extracting their color and nutrients. You’ll notice the water turning a deep, dark purple. That’s a good sign.
Step 3: Add the Spices and Smoke (45-60 minutes)
After the initial 10-minute simmer, add the cinnamon sticks, allspice berries, black peppercorns, and orange zest to the pot. Stir gently. Now, here’s the fun part: move the pot to the smoker. Place the pot on the cool side of the grill (indirect heat) or on the rack of your pellet smoker. Cover and let it smoke for 45-60 minutes. The goal is to infuse the liquid with smoke flavor while keeping the temperature low enough to preserve the nutrients. You don’t want a rolling boil; you want a gentle simmer. Check occasionally to make sure the water level hasn’t dropped too much. If it has, add a little more hot water.
Step 4: Cool and Strain (15 minutes)
Once the smoking time is up, remove the pot from the smoker and let it cool to room temperature. This is important because you don’t want to kill the beneficial enzymes in the honey with hot syrup. Once cool, set up your strainer over a large bowl or jug. Line it with cheesecloth or a nut milk bag if you want a clearer syrup. Pour the berry mixture through the strainer. Use a spoon to press down on the berries and spices to extract as much liquid as possible. Discard the solids. You should have about 3-4 cups of dark, smoky liquid.
Step 5: Sweeten and Finish (5 minutes)
While the liquid is still cool, stir in the raw honey. Start with 1 cup and taste. If you like it sweeter, add more. The honey will dissolve easily if the liquid is not hot. Add the juice from the orange if you haven’t already. Stir until everything is well combined. Taste again. You should get a rich, smoky, spiced flavor with a hint of citrus. If it needs more zing, add a squeeze more orange juice. If it needs more warmth, add a pinch more cinnamon.
Step 6: Bottle and Store
Once you’re happy with the flavor, pour the syrup into sterilized glass jars. Leave about half an inch of headspace at the top. Seal tightly and label with the date. Store in the refrigerator. It will keep for up to 6 months. For longer storage, you can freeze it in ice cube trays and then transfer the cubes to a freezer bag.
Total Time: About 2 hours (including prep and cooling).
Expert Tips & Tricks
I’ve made this syrup dozens of times, and I’ve learned a few things the hard way. Here’s how to avoid my mistakes and get the best results.
- Don’t Skimp on the Smoke — The smoke is what makes this special. If you rush this step, the syrup will just taste like boiled berries. Give it the full 45-60 minutes. The smoke flavor should be noticeable but not overwhelming.
- Cool Before Adding Honey — This is non-negotiable. Adding honey to hot liquid destroys its enzymes and beneficial properties. Let the berry mixture cool completely before stirring in the honey. If you’re impatient, you can put the pot in an ice bath to speed it up.
- Strain Thoroughly — Press the berries hard when straining. You want every bit of that nutrient-rich liquid. If you’re using a cheesecloth, twist it tight to get the last drops out. It’s worth the effort.
- Adjust Sweetness to Taste — Elderberries can be tart. Don’t be afraid to adjust the honey. I like it on the sweeter side, but some people prefer it tart. Taste as you go.
- Use Fresh Spices — Old cinnamon and allspice lose their potency. If your spices are more than a year old, buy new ones. The difference in flavor is huge.
Common Mistake: Using fresh elderberries. Fresh elderberries contain cyanogenic glycosides, which can be toxic if not cooked properly. Dried elderberries are safe and recommended. If you must use fresh, boil them for at least 30 minutes before smoking, but I stick to dried for safety and ease.
Pro Trick: Add a few cloves to the mix if you like a stronger, more aromatic spice profile. It pairs well with the cinnamon and allspice.
Variations & Substitutions
Once you’ve nailed the basic recipe, here are some ways to mix it up. I’ve tried all of these, and they’re all delicious.
- Ginger Kick — Add 1 tablespoon of fresh grated ginger to the pot during the smoking step. It adds a spicy warmth that’s great for sore throats.
- Elderflower Twist — Add 1 tablespoon of dried elderflower during the last 10 minutes of smoking. It adds a floral, honey-like note that’s beautiful.
- Vanilla Bean — Split a vanilla bean and add it to the pot. It adds a creamy, sweet depth that pairs well with the smoke.
- Coconut Water Base — Replace half the water with coconut water for a lighter, electrolyte-rich syrup. It’s great for hydration during cold season.
- Maple Syrup Sweetener — Replace the honey with maple syrup for a vegan version. It has a different flavor profile but is still delicious.
Dietary Notes: This recipe is naturally gluten-free and dairy-free. It’s vegan if you use maple syrup instead of honey. It’s also nut-free, making it safe for most allergies.
Serving & Storage
So, how do you use this magical syrup? Here are my favorite ways:
- Direct Spoonful — When I feel a tickle in my throat, I take one tablespoon straight. It soothes and coats the throat instantly.
- Warm Water Tonic — Mix 1-2 tablespoons with warm water and a squeeze of lemon. It’s a refreshing, immune-boosting drink.
- Smoothie Booster — Stir a tablespoon into your morning smoothie. You won’t taste the smoke, but you’ll get the benefits.
- Yogurt or Oatmeal — Drizzle it over yogurt, oatmeal, or overnight oats for a smoky-sweet breakfast.
- Tea Sweetener — Use it to sweeten herbal teas. It adds a complex depth that regular sugar can’t match.
Storage: Keep the syrup in the refrigerator in an airtight glass jar. It will keep for up to 6 months. If you notice any mold or off smells, discard it. Always use a clean spoon when scooping to prevent contamination.
Pro Tip: If the syrup crystallizes in the fridge, just warm it up slightly and stir. It’ll return to a liquid state.
Nutrition Information
I’m not a nutritionist, but here’s a rough breakdown per tablespoon (based on 32 servings):
- Calories: 45
- Carbs: 11g
- Sugar: 10g
- Protein: 0g
- Fat: 0g
This syrup is rich in antioxidants from the elderberries and has natural antimicrobial properties from the honey. It’s not a diet food, but it’s a healthy addition to your routine when you need that extra immune support. Use it as a supplement, not a meal replacement!
Final Thoughts
Making smoked elderberry syrup is more than just a recipe; it’s a seasonal ritual. It’s about slowing down, embracing the cold weather, and preparing your body for what’s to come. There’s something deeply satisfying about sitting by the smoker, watching the smoke curl around the berries, and knowing you’re creating something that will keep you healthy all winter long.
I hope you try this recipe. It’s become a staple in my home, and I know it will become one in yours too. Whether you’re using it to ward off colds or just to enjoy a delicious, smoky syrup, I think you’ll love it. Give it a try this fall, and let me know how it turns out!
Frequently Asked Questions
Can I make this without a smoker?
Yes! You can make regular elderberry syrup on the stovetop. Just simmer the berries, water, and spices for 45 minutes, then cool and add honey. It will still be delicious, but you’ll miss out on that smoky depth. If you want a smoke flavor without a smoker, you can add a few drops of liquid smoke to the finished syrup, but it’s not the same.
How long does smoked elderberry syrup last?
Stored in the refrigerator in an airtight glass jar, it will last for up to 6 months. If you freeze it in ice cube trays, it can last up to a year. Always check for signs of spoilage before using.
Can I give this to my kids?
Yes, but check with your pediatrician first. Elderberry is generally considered safe for children, but the honey should not be given to infants under 1 year old due to the risk of botulism. For older kids, it’s a great immune booster.
Why is my syrup cloudy?
Cloudiness is normal, especially if you didn’t strain it thoroughly. If you want a clearer syrup, strain it through cheesecloth or a nut milk bag, and let it sit in the fridge for a few hours before bottling. The sediment will settle to the bottom.
Can I use fresh elderberries?
I don’t recommend it. Fresh elderberries contain compounds that can be toxic if not cooked properly. Dried elderberries are safer and easier to use. If you must use fresh, boil them for at least 30 minutes before smoking, but dried is the way to go.
What wood chips work best?
Hickory and applewood are my favorites. Hickory gives a strong, robust smoke, while applewood is sweeter and milder. Cherrywood is also a great option. Avoid mesquite as it can be too overpowering.
Pin This Recipe!
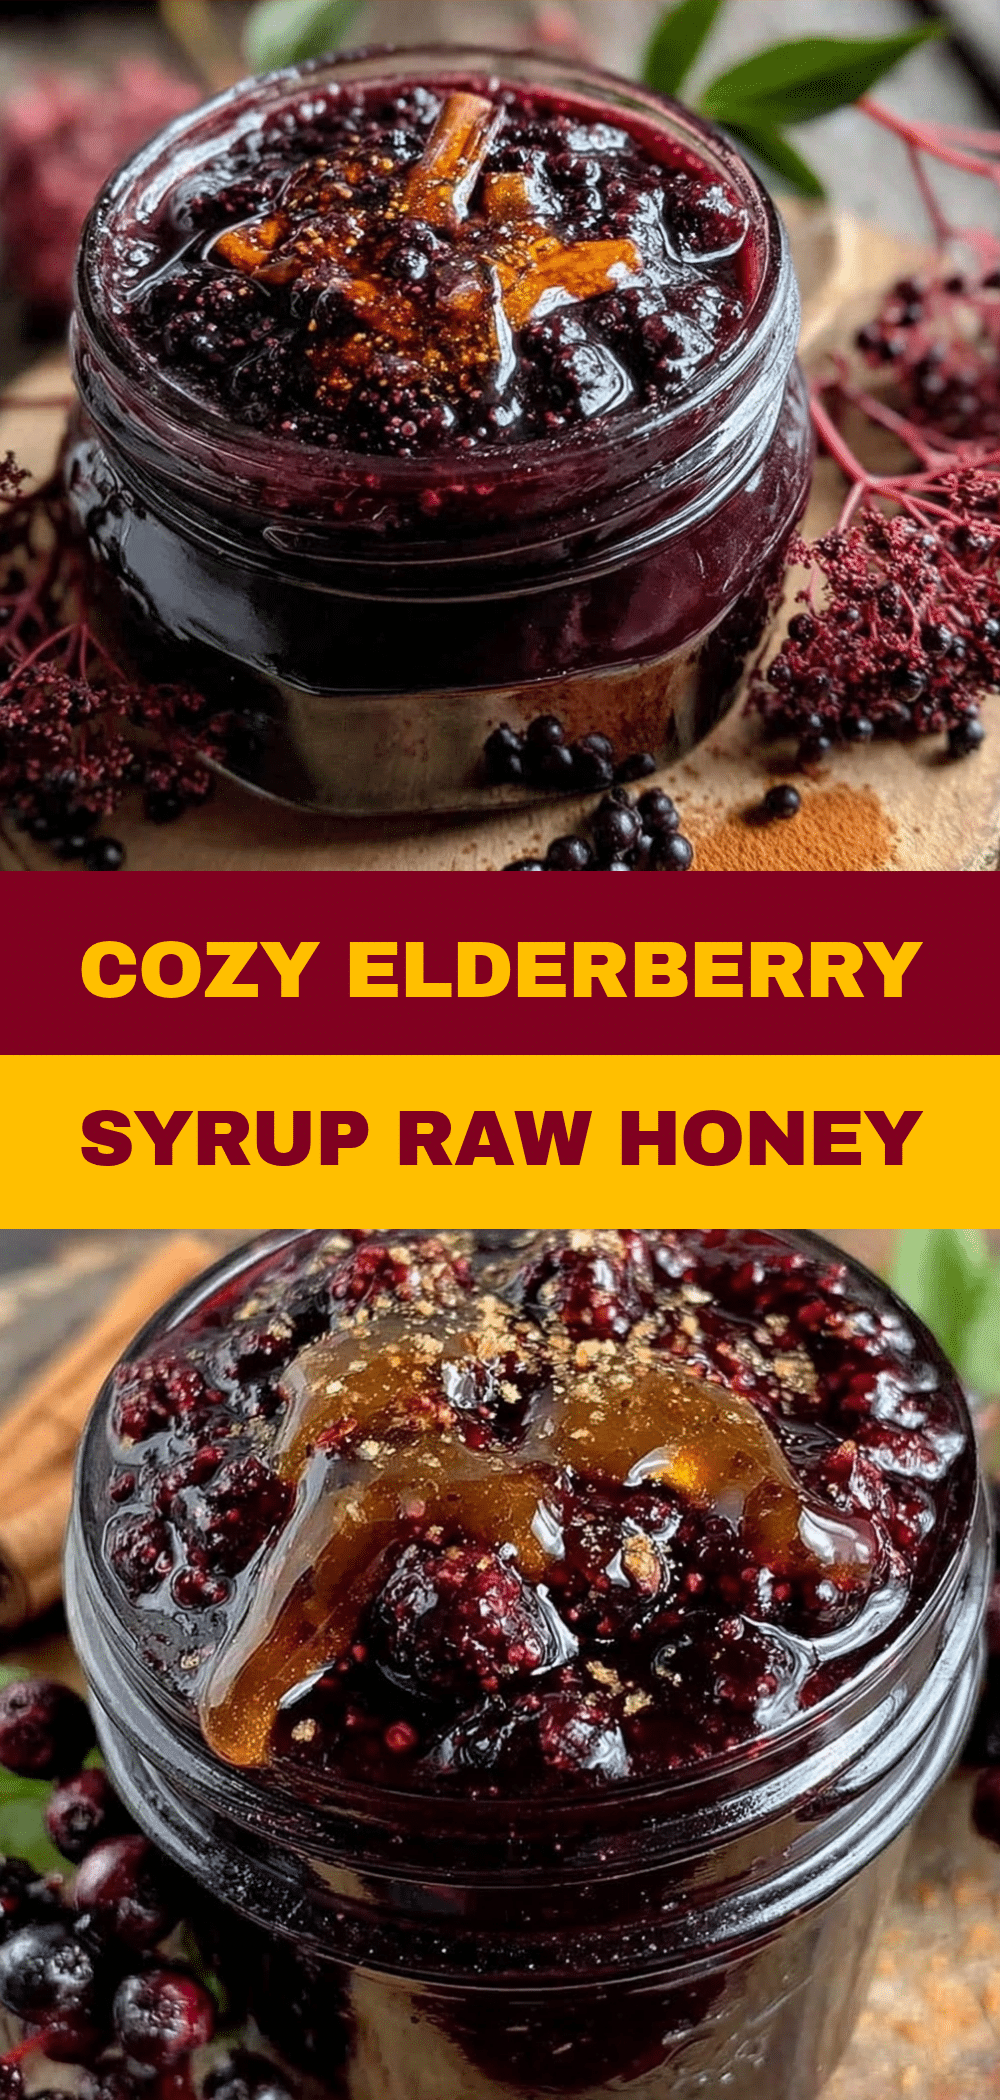
Smoked Elderberry Syrup: Smoked Cold Season Wellness
- Total Time: 2 hours
- Yield: 2 cups 1x
Description
A unique, immune-boosting elderberry syrup infused with low, slow smoke, raw honey, and warming spices like cinnamon and allspice for a complex, campfire-like flavor.
Ingredients
- 1 cup (100g) dried elderberries
- 4 cups (950ml) filtered water
- 1 cup (300g) raw honey
- 2 large cinnamon sticks
- 1 teaspoon allspice berries
- ½ teaspoon black peppercorns
- Zest from 1 orange
- Juice from 1 orange
- Wood chips or chunks (hickory, applewood, or cherrywood)
Instructions
- Soak wood chips in water for 30 minutes if using chips. Preheat smoker or grill to 225°F (107°C).
- In a heavy-bottomed pot, combine dried elderberries and water. Bring to a boil, then reduce heat to low and simmer for 10 minutes.
- Add cinnamon sticks, allspice berries, black peppercorns, and orange zest to the pot.
- Place the pot on the smoker or grill over indirect heat. Cover and smoke for 45-60 minutes, maintaining a gentle simmer. Add hot water if the level drops too low.
- Remove from heat and let the mixture cool completely to room temperature.
- Strain the liquid through a fine-mesh strainer lined with cheesecloth or a nut milk bag, pressing solids to extract maximum liquid. Discard solids.
- Stir in raw honey and orange juice while the liquid is cool. Taste and adjust sweetness if needed.
- Pour into sterilized glass jars, leaving half an inch of headspace. Seal and refrigerate.
Notes
Do not add honey to hot liquid as it destroys beneficial enzymes. Ensure the berry mixture is completely cool before stirring in honey. Fresh elderberries can be toxic if not cooked properly; use dried elderberries for safety. Store in the refrigerator for up to 6 months or freeze in ice cube trays for longer storage.
- Prep Time: 15 minutes
- Cook Time: 1 hour 15 minutes
- Category: Condiment
- Cuisine: American
Nutrition
- Serving Size: 1 tablespoon
- Calories: 45
- Sugar: 10
- Carbohydrates: 11
Keywords: elderberry syrup, smoked elderberry, immune support, cold season wellness, natural remedy, honey syrup, smoker recipes, fall recipes


