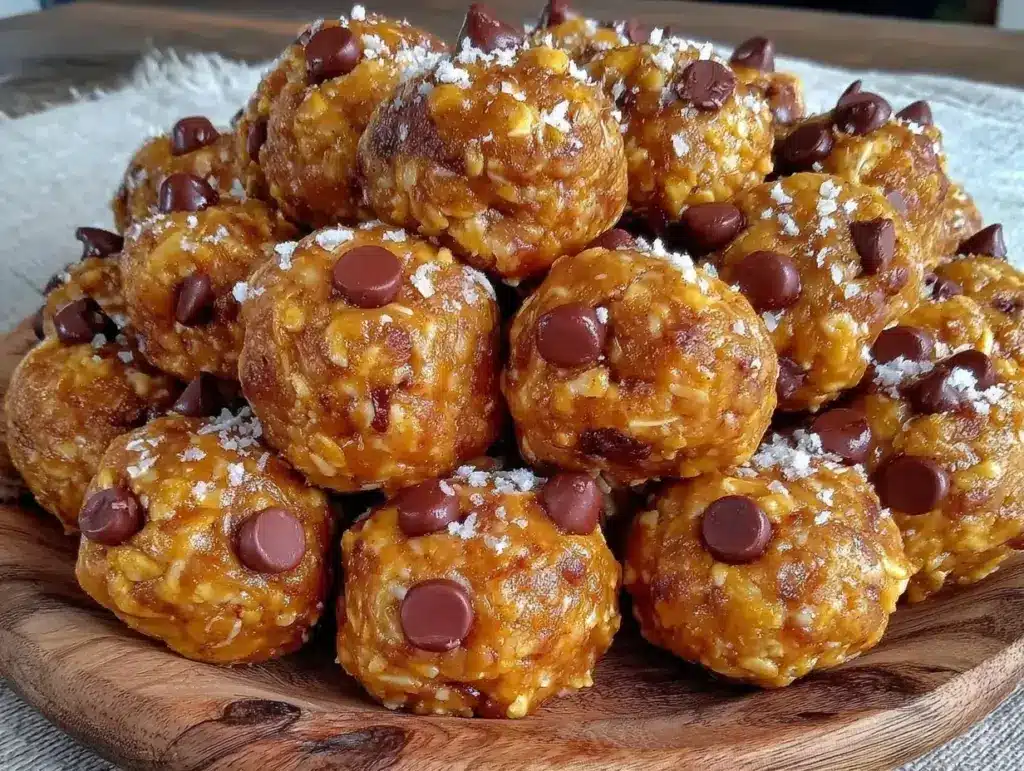
Let’s be honest for a second. I have a serious sweet tooth. Like, if there’s a bakery window open, I’m stopping. If there’s a leftover cookie in the office breakroom, it’s mine. But here’s the problem: after eating a heavy, sugar-laden dessert, I don’t feel good. I feel sluggish. I feel guilty. And I definitely don’t feel like I’ve actually fueled my body for the afternoon ahead.
For years, I tried to fight this urge with fruit. Just an apple. Just some carrots. Don’t get me wrong, apples are great. But they don’t satisfy that deep, chocolatey craving that hits around 3 PM like a freight train. I wanted something that felt like a treat but acted like fuel. I wanted something I could grab on my way out the door that would actually keep me energized until dinner.
That’s how I stumbled onto these high-protein peanut butter protein balls. I didn’t find them in a fancy health food magazine or a complicated fitness blog. I found them because I was desperate. It was 4 PM on a Tuesday, I had a meeting in an hour, and my pantry was screaming at me. I had peanut butter, oats, protein powder, and a bag of mini chocolate chips that had been hiding in the back of my cupboard for months.
I threw them together on a whim. No baking. No measuring cups (okay, maybe one). Five minutes later, I had a batch of chewy, rich, chocolate-peanut butter goodness that actually kept me full. And the best part? They’re naturally gluten-free, which is a huge win for my sensitive stomach. I’ve made these at least fifty times since that Tuesday. My kids love them. My husband thinks they’re “healthy cookies” (I don’t correct him). And they’ve completely replaced the bag of chips I used to keep in my desk drawer.
If you’re looking for a snack that doesn’t taste like cardboard, this is it. It’s proof that eating well doesn’t mean you have to give up the things you love. In fact, it might just mean you love them more because you can have them without the crash.
Why You’ll Love This Recipe
There are about a dozen reasons I keep making these protein balls, but let’s be real about the ones that actually matter. These aren’t just snacks; they’re my secret weapon against afternoon slumps.
Stupid Simple — Seriously, if you can stir a bowl, you can make these. There’s no baking, no oven timing, no waiting for things to cool. It’s a mix-and-chill recipe. I’ve made these while holding a toddler and answering emails. It just works.
Gluten-Free by Nature — This is huge for me. I don’t always have to worry about cross-contamination or checking labels for hidden wheat. Using certified gluten-free oats makes this a safe, worry-free snack for anyone with celiac or gluten sensitivity. It’s not a “substitute” gluten-free recipe; it’s just naturally free of the stuff.
Lightning Fast Prep — From pantry to fridge, it takes about 15 minutes of active time. That’s it. I keep a container of these in the fridge and another in the freezer. When I’m rushing out the door, I don’t have to think. I just grab two and go.
Actually Satisfying — This is the big one. Most protein bars taste like compressed wax. These taste like cookie dough. The combination of creamy peanut butter, sweet honey, and melty mini chocolate chips hits every spot. But because of the protein powder and fiber from the oats, they actually keep you full. I had one for breakfast yesterday and wasn’t hungry until lunch. That’s rare.
Customizable — Hate chocolate chips? Use dark chocolate chunks. Don’t like peanut butter? Try almond butter. This recipe is a canvas, not a cage. I’ve made them with vanilla protein powder and dried cranberries, and they were amazing. It’s your snack, make it yours.
This is my go-to when I need a snack that feels indulgent but fuels my body. No complicated techniques, no weird ingredients, just reliable, delicious food that makes everyone happy.
Ingredients You’ll Need
Here’s the best part: you probably have most of this already. This isn’t a recipe that requires a trip to three different specialty stores. It’s built on pantry staples that just happen to work together magically.
Peanut Butter (1 cup / 250g) — This is the base. Use natural, creamy peanut butter. I prefer the kind with just peanuts and salt, no added sugar or hydrogenated oils. If your natural PB is runny, you might need slightly less honey, but the standard jarred creamy stuff works fine too. It provides the healthy fats and that rich, nutty flavor.
Oats (1 ½ cups / 120g) — I use old-fashioned rolled oats. They give the best texture—chewy but not mushy. Important: If you are gluten-free, make sure your oats are certified gluten-free. Regular oats are often processed in facilities with wheat. I use Bob’s Red Mill GF oats because I trust them. If you’re not gluten-free, regular old-fashioned oats work perfectly.
Protein Powder (1 scoop / about 30g) — This is where the magic happens. I use vanilla whey protein isolate. It mixes easily and doesn’t make the balls taste chalky. Plant-based protein works too, but it can be a bit drier, so you might need an extra tablespoon of peanut butter. Avoid chocolate protein powder unless you want double chocolate; vanilla lets the peanut butter shine.
Honey (3 tablespoons / 45ml) — This acts as the binder and adds sweetness. Maple syrup works if you want it vegan, but honey gives a nicer chewiness. Don’t skip this; it holds everything together. If you’re using very runny natural peanut butter, you might only need 2 tablespoons.
Mini Chocolate Chips (½ cup / 85g) — Mini chips are non-negotiable for me. Why? Because they distribute evenly. You get a little chocolate burst in every bite without it being a giant chunk that throws off the ratio. Semi-sweet or milk chocolate both work. I buy the big bag of mini chips because they’re cheaper and I use them for everything.
Optional Add-ins:
I like to keep a jar of things in my pantry for variety. I’ve added chia seeds (1 tablespoon) for extra omega-3s, or flaxseed meal for fiber. If I’m feeling fancy, I’ll stir in a handful of crushed pretzels for that salty-sweet combo. But honestly? The base 5 ingredients are so good I rarely need to add anything else.
Pro Tip: If your peanut butter is cold and stiff, microwave it for 15 seconds to soften it up. It makes mixing way easier. I learned this the hard way when I was fighting a jar of PB that was basically cement.
Equipment Needed
You don’t need fancy equipment for this. Here’s what I actually use, plus what you can swap.
Large Mixing Bowl — I use a 4-quart stainless steel bowl. It needs to be big enough to mix everything by hand without making a mess. A glass bowl works too, just make sure it’s sturdy.
Spatula — A sturdy silicone spatula is your best friend here. You need to scrape the sides and fold the mixture together. A wooden spoon works, but you’ll struggle to get all the oats from the bottom.
Measuring Cups and Spoons — Standard stuff. I measure the peanut butter and honey, but I eyeball the oats and chips. It’s forgiving, so don’t stress if you’re a little off.
Baking Sheet or Tray — You’ll need a flat surface to roll the balls on. I line mine with parchment paper so nothing sticks. A plate works in a pinch.
Airtight Container — For storage. Glass Tupperware is great because it doesn’t retain smells. Plastic works fine too.
Ice Cream Scoop (Optional) — If you want perfectly uniform balls, a small cookie scoop is handy. But I’m lazy, so I just use my hands. It’s faster and more fun.
Refrigerator — Yes, technically equipment. You need space in the fridge to chill these for at least 30 minutes. If you’re in a rush, the freezer works too.
How to Make It: Step-by-Step
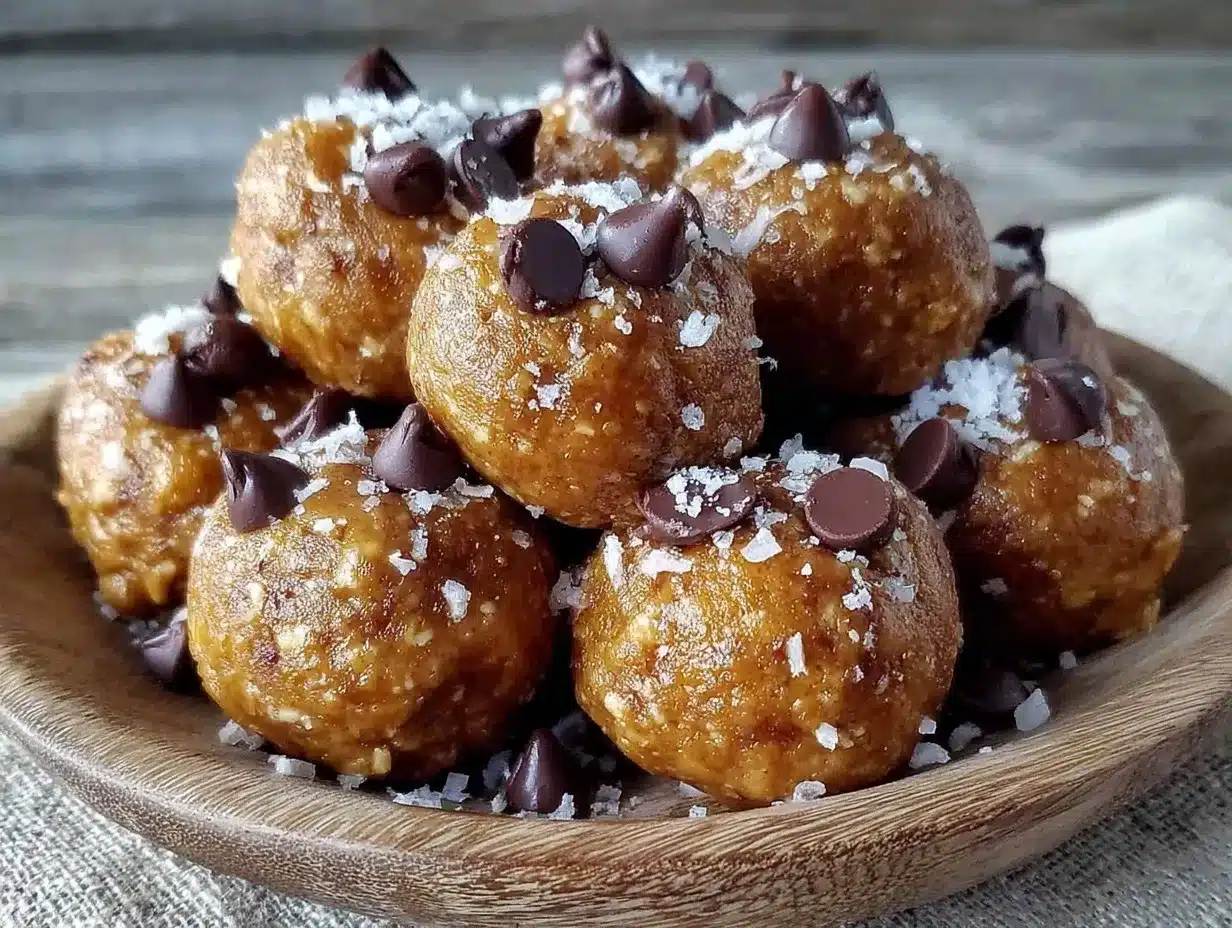
Alright, let’s make this! I’m walking you through exactly how I do it, including the little tricks I’ve picked up. It’s straightforward, so don’t overthink it.
Step 1: Mix the Wet Ingredients (2 minutes)
In your large mixing bowl, combine the peanut butter and honey. If your peanut butter is stiff, warm it up slightly first. Stir them together with your spatula until they are smooth and well combined. This creates a sticky, sweet base. It should look like a thick, glossy paste. If it’s too dry, add a teaspoon more honey. If it’s too wet, add a sprinkle more oats later.
Step 2: Add the Dry Ingredients (1 minute)
Add the rolled oats and protein powder to the bowl. Sprinkle them over the peanut butter mixture. Start mixing gently. The oats will absorb some of the moisture, so the mixture will start to look crumbly. This is normal. Keep stirring until everything is evenly distributed. You want every oat to be coated.
Step 3: Fold in the Chocolate Chips (1 minute)
Now, add the mini chocolate chips. Fold them in gently. Don’t crush them. You want them whole so you get those little pockets of chocolate. The mixture should now look like a thick, chunky cookie dough. If it’s too dry to hold together when you squeeze it, add another tablespoon of honey or peanut butter. If it’s too sticky, add another tablespoon of oats.
Step 4: Chill the Mixture (30 minutes)
This is the step most people skip, but don’t skip it. Cover the bowl with plastic wrap or a lid and put it in the fridge for at least 30 minutes. Chilling firms up the peanut butter and oats, making the mixture much easier to roll. If you try to roll them warm, they’ll just stick to your hands and fall apart. I know it’s tempting to eat it right now, but wait. Trust me.
Step 5: Roll the Balls (5 minutes)
Take the bowl out of the fridge. Scoop out about a tablespoon of the mixture (or use your hands if you’re feeling messy). Roll it between your palms to form a smooth ball. If the mixture sticks to your hands, wet them slightly with water. This helps prevent sticking. Roll them into balls about 1.5 inches in diameter. You should get about 12-15 balls from this batch.
Step 6: Store and Enjoy
Place the rolled balls on a parchment-lined tray. Put them back in the fridge for another 15 minutes to set completely. Once they’re firm, transfer them to an airtight container. They’re ready to eat! They’ll keep in the fridge for up to two weeks, or in the freezer for up to three months.
Total Time: About 15 minutes active, plus 30 minutes chilling.
Expert Tips & Tricks
Here’s everything I’ve learned from making these dozens of times. These tips will save you from my mistakes.
Chill Your Hands
If the mixture is still a bit sticky after chilling, keep a small bowl of cold water nearby. Dip your hands in the water and roll the balls. The cold water keeps the peanut butter from melting on contact with your skin. It’s a game-changer for clean hands.
Don’t Overmix
Once you add the oats, mix just until combined. Overmixing can crush the oats into dust, which changes the texture. You want those chewy oat pieces. Gentle folds are best.
Protein Powder Matters
Whey protein isolate is the easiest to work with. Casein protein absorbs more liquid and can make the balls dry. If you use plant-based protein, you might need to add an extra tablespoon of nut butter or a splash of milk to get the right consistency. I’ve had to adjust based on the brand.
Size Consistency
If you’re meal prepping, try to make them all the same size. It helps with portion control and makes them look pretty in the container. I use a small cookie scoop for this. It saves time and ensures uniformity.
Storage Hack
If you’re freezing them, line the container with parchment paper between layers. This prevents them from sticking together so you can grab just a few at a time. They thaw in about 5 minutes at room temperature.
Variations & Substitutions
Once you’ve nailed the basic version, here’s how you can mix it up. I’ve tried all of these, and they’re all winners.
Almond Butter Version
Swap the peanut butter for almond butter. It’s a bit drier, so you might need an extra tablespoon of honey. The flavor is slightly more sophisticated, and it’s great for nut allergies if you use sunflower seed butter instead.
Chocolate Peanut Butter
Add 2 tablespoons of cocoa powder to the dry ingredients. Use chocolate protein powder if you have it. This makes them taste like a Reese’s cup. My kids go crazy for this version.
Coconut Lime
Replace the chocolate chips with shredded coconut and add the zest of one lime. It’s refreshing and tropical. Great for summer.
Low-Sugar Option
Use unsweetened applesauce instead of honey (you’ll need about ¼ cup) and use sugar-free chocolate chips. It’s less sweet but still satisfying. I make this when I’m trying to cut back on sugar.
Dietary Modifications:
Vegan: Use plant-based protein powder, maple syrup instead of honey, and dairy-free chocolate chips.
Dairy-Free: Most of this recipe is naturally dairy-free, just check your protein powder and chocolate chips.
Gluten-Free: Ensure your oats are certified gluten-free. The rest of the ingredients are naturally GF.
Serving & Storage
How to Serve:
I usually keep these in the fridge for easy access. They’re perfect for a mid-afternoon snack, a pre-workout boost, or a post-dinner treat. I pack them in my kids’ lunchboxes because they don’t melt as easily as chocolate bars.
Storage Instructions:
Refrigerator: Store in an airtight container for up to 2 weeks. They get firmer in the fridge, which I like.
Freezer: Store in a freezer-safe bag or container for up to 3 months. They thaw quickly.
Room Temperature: You can keep them out for 1-2 days, but in warm weather, they’ll get soft. I always keep them chilled.
Pro Tip: If they get too hard in the fridge, let them sit on the counter for 10 minutes before eating. They’ll be softer and easier to chew.
Nutrition Information
I’m not a nutritionist, but here’s the breakdown if you’re tracking. These are estimates based on 12 balls.
Per Ball (approximate):
– Calories: 180
– Protein: 8g
– Carbs: 18g
– Fiber: 2g
– Sugar: 10g
– Fat: 10g
– Sodium: 100mg
What’s Good:
– Decent protein for a snack
– Healthy fats from peanut butter
– Fiber from oats
– No refined flour
What to Know:
– Sugar content comes from honey and chocolate chips. Use sugar-free chips to reduce this.
– High in calories due to nut butter. Portion control is key if you’re watching intake.
My Take:
Look, these are snacks. They’re meant to be enjoyed. They’re not a meal replacement, but they’re a much better option than a candy bar. When I want to make them lighter, I reduce the chocolate chips and use less honey. But usually? I just eat two and enjoy the energy boost.
Final Thoughts
So that’s my go-to high-protein peanut butter protein balls! I’ve probably talked your ear off at this point, but when you make a recipe this often, you have a lot to say about it.
This has saved me from so many unhealthy snacking moments. It’s my answer to “what’s for a snack” when I’m tired, don’t want to cook, and still want something that tastes really good. My kids are happy, my husband’s happy, and I’m happy because I’m not stressed about finding something healthy.
Make it yours! Try different nut butters, swap in your favorite chips, adjust the sweetness to your liking. The best recipes are the ones you adapt to your family’s tastes.
If you make this, drop a comment and let me know what you think! I love hearing how recipes turn out in your kitchen. And if something doesn’t work, tell me that too—I’m here to help troubleshoot.
Happy snacking! And I hope your kitchen smells half as good as mine does right now.
Frequently Asked Questions
Q: Can I use crunchy peanut butter?
A: Yes! I actually prefer crunchy peanut butter for the texture. It adds a nice bite to the soft oats. Just make sure it’s well mixed so the chunks don’t separate.
Q: Why did my balls fall apart?
A: This usually means the mixture was too dry. You might not have added enough honey or peanut butter. Next time, add an extra tablespoon of wet ingredients. Also, make sure you chilled the mixture long enough. Warm mixture is harder to roll.
Q: Can I freeze these?
A: Absolutely! They freeze beautifully. Just make sure they’re fully rolled and chilled before freezing. Store them in a single layer in a freezer bag. They’ll last up to 3 months.
Q: Is this recipe keto-friendly?
A: Not really. The oats and honey are high in carbs. If you’re keto, you can substitute the oats with almond flour and the honey with erythritol or monk fruit sweetener. It will change the texture, but it works for low-carb diets.
Q: Can I use chocolate protein powder?
A: Yes, but it will make them very chocolatey. I recommend reducing the chocolate chips if you use chocolate protein powder, or you might end up with an overly sweet ball. Vanilla protein powder is more versatile.
Q: How long do these last?
A: In the fridge, they last up to 2 weeks. In the freezer, up to 3 months. At room temperature, 1-2 days. I always keep them in the fridge for freshness.
Q: Can I make these without protein powder?
A: You can, but they won’t be “protein balls” anymore. They’ll just be peanut butter oat balls. You might need a bit more honey to bind them if you remove the protein powder. But they’re still delicious!
By the way, if you’re looking for other no-bake treats, you might also enjoy these Reese’s Peanut Butter Poke Cake for when you need something a bit more decadent. And if you’re in the mood for a lighter, dairy-free option, check out this Vegan Chocolate Avocado Mousse. It’s surprisingly rich and creamy!
Pin This Recipe!
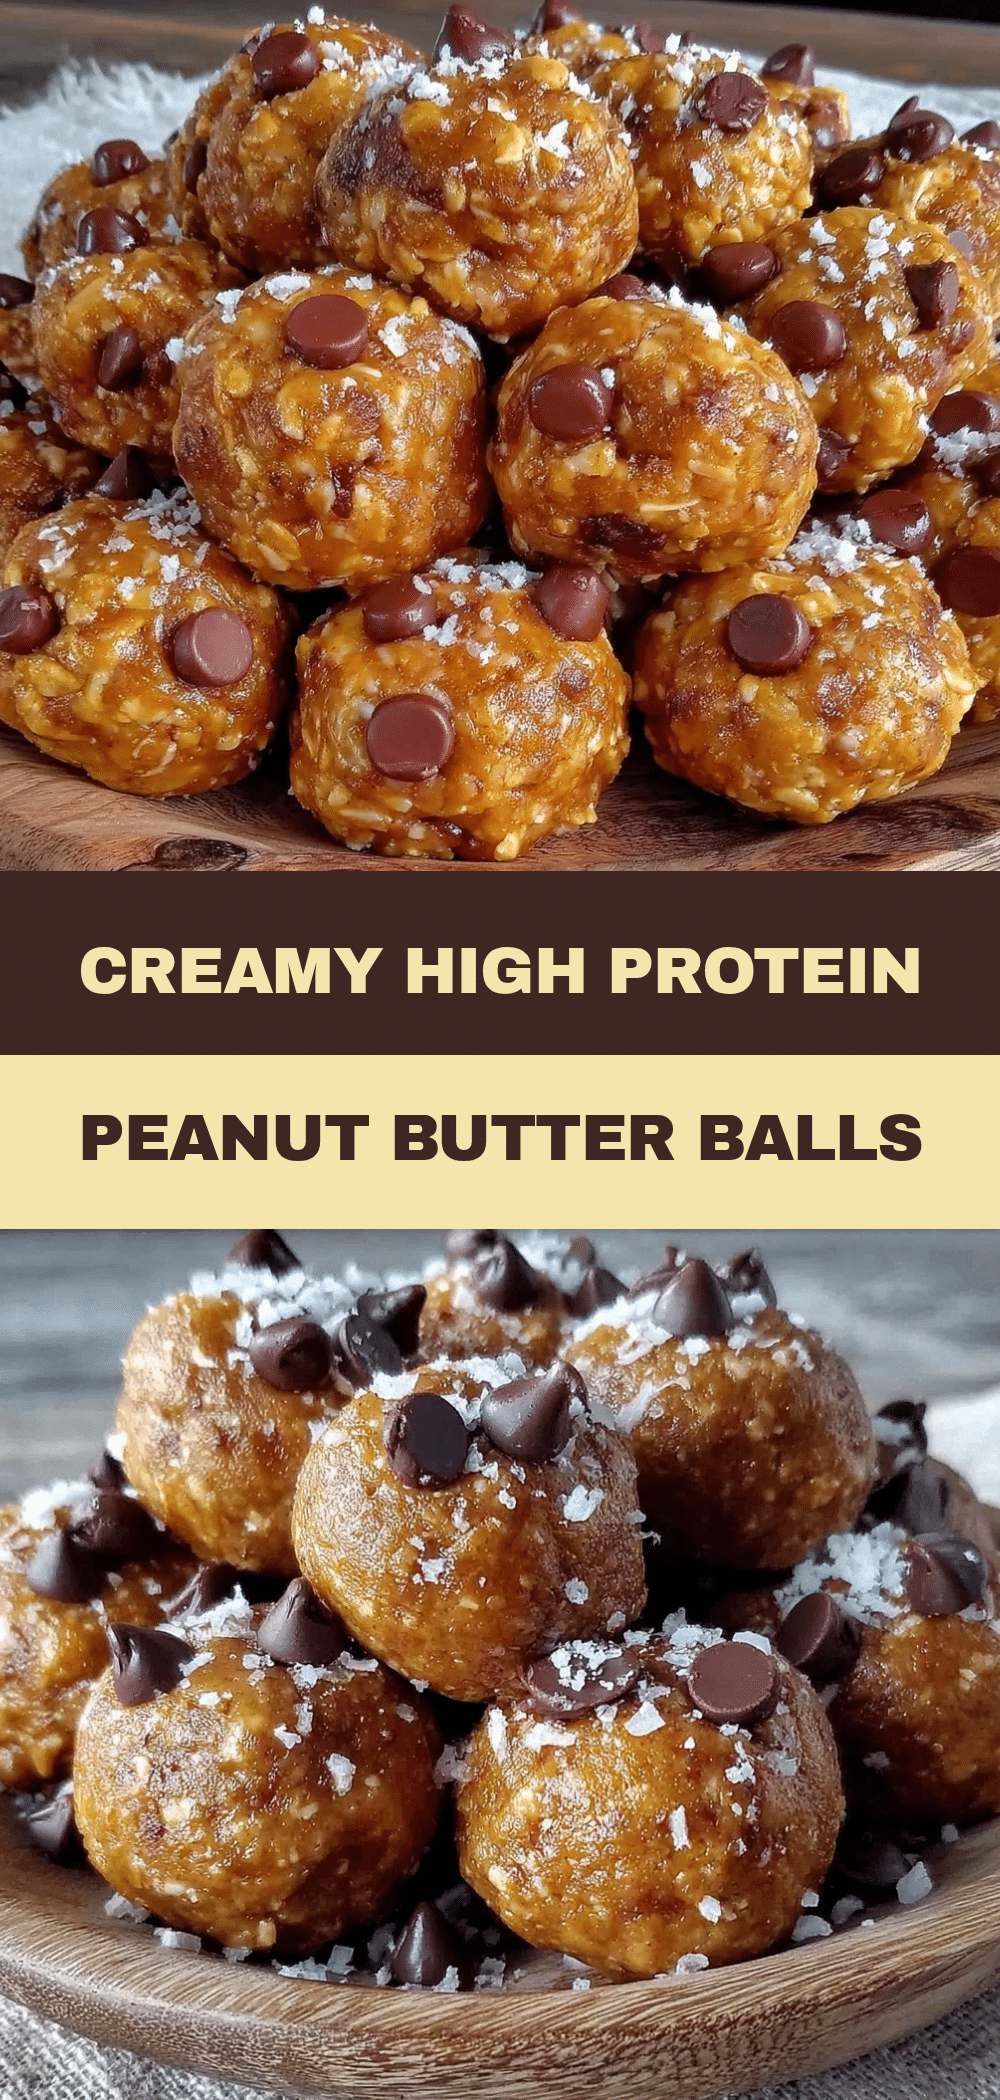

High-Protein Peanut Butter Protein Balls: 5-Ingredient Gluten-Free Snack
- Total Time: 45 minutes
- Yield: 12-15 servings 1x
Description
A simple, no-bake snack made with just five ingredients. These chewy, chocolate-peanut butter balls are naturally gluten-free, high in protein, and designed to keep you energized without the sugar crash.
Ingredients
- 1 cup (250g) creamy peanut butter
- 1 ½ cups (120g) old-fashioned rolled oats (certified gluten-free)
- 1 scoop (about 30g) vanilla whey protein isolate
- 3 tablespoons (45ml) honey
- ½ cup (85g) mini chocolate chips
Instructions
- In a large mixing bowl, combine the peanut butter and honey. Stir until smooth and well combined to create a sticky base.
- Add the rolled oats and protein powder to the bowl. Mix gently until the oats are evenly coated and the mixture looks crumbly.
- Fold in the mini chocolate chips gently to avoid crushing them. The mixture should resemble thick cookie dough.
- Cover the bowl and refrigerate for at least 30 minutes to firm up the mixture.
- Remove from the fridge and scoop out about a tablespoon of mixture. Roll between your palms to form 1.5-inch balls. If sticky, wet hands slightly with water.
- Place rolled balls on a parchment-lined tray and refrigerate for another 15 minutes to set completely.
- Transfer to an airtight container for storage.
Notes
If using natural runny peanut butter, you may need slightly less honey. For plant-based versions, use maple syrup instead of honey and plant-based protein powder. Ensure oats are certified gluten-free if necessary. If the mixture is too dry, add more honey or peanut butter; if too sticky, add more oats.
- Prep Time: 15 minutes
- Cook Time: 0 minutes
- Category: Snack
- Cuisine: American
Nutrition
- Serving Size: 1 ball
- Calories: 180
- Sugar: 10
- Sodium: 100
- Fat: 10
- Saturated Fat: 3
- Carbohydrates: 18
- Fiber: 2
- Protein: 8
Keywords: protein balls, peanut butter snack, gluten-free, no-bake, healthy snack, high-protein, quick snack, meal prep


