
There was a time when my Sunday evenings were chaotic. I’d stare at the clock, panic about what to cook for Monday through Friday, and inevitably end up ordering takeout by Tuesday night because I was too exhausted to deal with leftovers. Then I discovered the power of the “make it once, eat it four times” strategy. It’s not about cooking every single day. It’s about doing the heavy lifting on Sunday so the rest of the week runs itself.
For the longest time, I relied on chicken breasts for my meal prep. They’re lean, they’re easy to find, and they seem healthy. But here’s the hard truth: chicken breasts dry out in the fridge. By Wednesday, my meal prep chicken was rubbery and bland. I needed something more forgiving, something that could survive a few days in the container and still taste amazing when reheated.
That’s when I switched to boneless skinless chicken thighs. They are the undisputed kings of meal prep. They stay juicy, they hold up to reheating without falling apart, and they are significantly more affordable than breasts. I’ve been using this specific method to prep my protein for four days straight for over two years now. It’s efficient, it’s reliable, and it’s the backbone of my entire weekly planning system.
If you’ve been struggling with dry meal prep chicken or spending too much time in the kitchen during the week, this method is for you. I’m going to walk you through exactly how I prep boneless skinless chicken thighs for meal prep, so you can get four days of delicious, juicy dinners done in under an hour on Sunday.
Why This Method Works for Your Weekly Routine
When you plan a week of meals, your protein is the anchor. If the protein is good, the meals are good. If the protein is dry or flavorless, no amount of sauce can save it. Here’s why boneless skinless chicken thighs are the perfect choice for a 4-day prep:
- They Stay Juicy — Unlike chicken breasts, which have very little fat and dry out quickly, thighs have a higher fat content. This keeps them moist even after being refrigerated for three or four days. I’ve tested this extensively, and the texture remains tender.
- They Reheat Like a Dream — One of the biggest complaints about meal prep is the “microwave rubber” effect. Thighs don’t suffer from this. Whether you reheat them in the microwave or a skillet, they stay soft and flavorful.
- They Are Budget-Friendly — Chicken thighs are almost always cheaper than breasts. When you’re buying enough for four days of meals, that price difference adds up. I save about $10-15 per week just by switching.
- They Are Forgiving — If you overcook a breast by two minutes, it’s ruined. If you overcook a thigh, it’s still edible and juicy. This gives you a safety net when you’re trying to time multiple dishes at once.
- They Take on Flavor Well — Thighs have a richer flavor than breasts, so they pair beautifully with bold spices and sauces. You can use the same batch of chicken in a salad, a grain bowl, or a wrap, and it will taste different each time.
This isn’t just a recipe; it’s a system. Once you master this prep method, you can apply it to almost any protein. But for chicken thighs, the results are consistently the best.
What You Need to Get Started
You don’t need fancy equipment or exotic ingredients. Just a few basics to get four days of protein ready.
The Chicken
Boneless Skinless Chicken Thighs (2-3 pounds) — Look for thighs that are relatively uniform in size. This ensures they cook evenly. If you buy a large bag, sort through them and set aside the tiny ones for a different use. You want pieces that are about the same thickness.
The Marinade
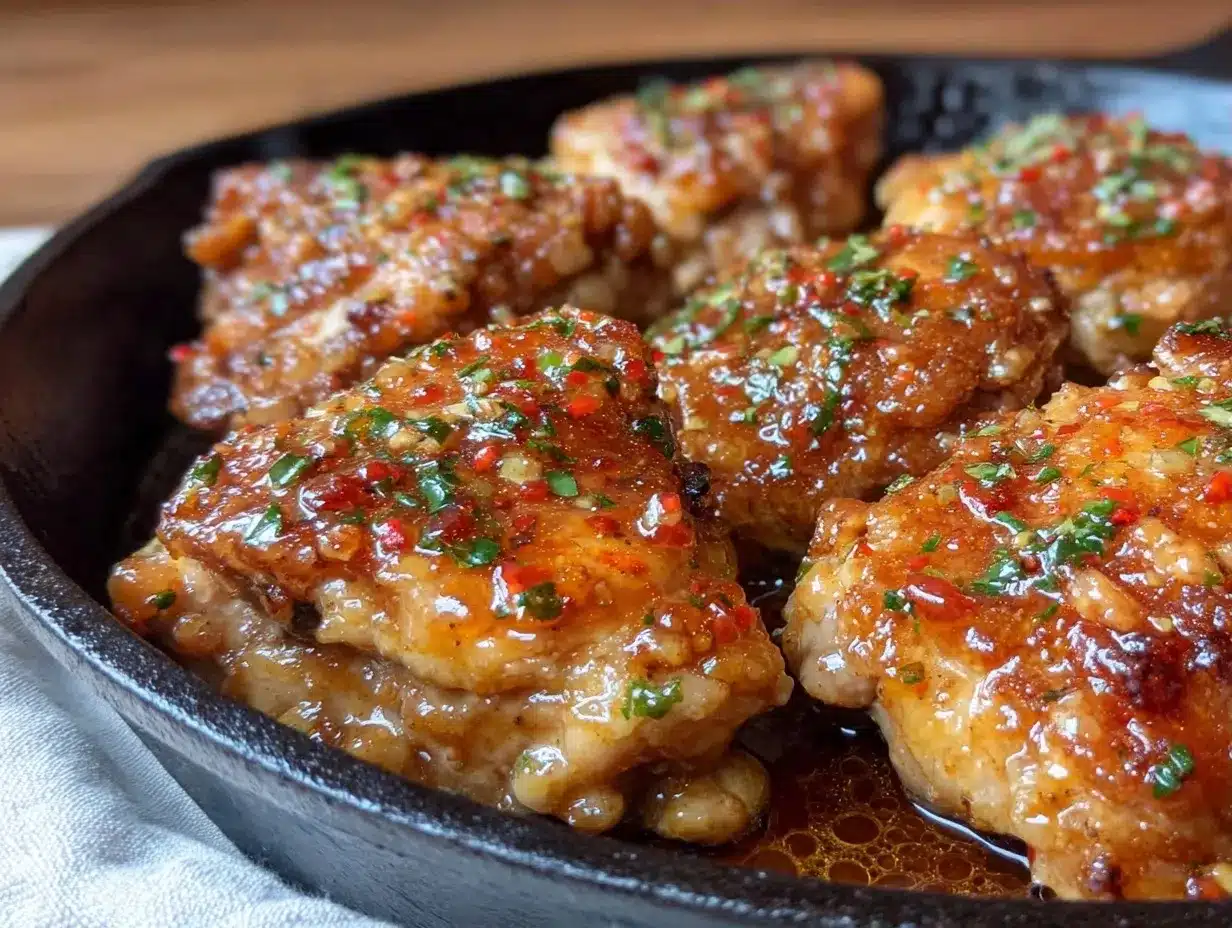
Olive Oil (3 tablespoons) — Helps distribute the spices and keeps the chicken moist.
Garlic Powder (2 teaspoons) — Provides a consistent garlic flavor without burning like fresh garlic might.
Smoked Paprika (1 teaspoon) — Adds a subtle smokiness that makes the chicken taste roasted, even if you’re baking it.
Onion Powder (1 teaspoon) — Adds depth and savory notes.
Dried Thyme (1 teaspoon) — An earthy herb that pairs perfectly with chicken.
Salt (1.5 teaspoons) — Essential for flavor. Use kosher salt if you have it.
Black Pepper (1 teaspoon) — Freshly cracked is best.
The Equipment
Baking Sheets (2 large) — You need enough surface area to keep the chicken pieces from overlapping. Crowding the pan steams the chicken instead of roasting it.
Large Mixing Bowl — For tossing the chicken with the marinade.
Meal Prep Containers (4-6 bento-style containers) — I prefer containers with compartments so I can portion out the chicken alongside veggies or grains.
Step-by-Step: Prepping Chicken for 4 Days
Let’s get this done. This process takes about 45 minutes from start to finish, and then your protein is locked and loaded for the week.
Step 1: Preheat and Prep
Set your oven to 400°F (200°C). Line two large baking sheets with parchment paper or foil for easy cleanup. Having these ready before you start prevents any rushing later.
Step 2: Dry the Chicken
This is a step I used to skip, but it’s crucial. Pat the chicken thighs dry with paper towels. Removing excess moisture helps the spices stick and encourages browning. If the chicken is wet, it steams. We want roast, not steam.
Step 3: Season Generously
Place the chicken thighs in the large mixing bowl. Sprinkle the olive oil, garlic powder, smoked paprika, onion powder, thyme, salt, and pepper over the top. Use your hands to toss the chicken until every piece is evenly coated. I like to massage the spices into the meat for about a minute. This ensures the flavor penetrates deep into the thigh.
Step 4: Arrange on Baking Sheets
Place the chicken on the baking sheets in a single layer. Make sure there is space between each piece. If they are touching, they will steam each other. If you have more than 6-8 pieces per sheet, use two sheets. This is non-negotiable for good texture.
Step 5: Bake Until Done
Place the sheets in the oven and bake for 20-25 minutes. The exact time depends on the size of your thighs. You are looking for an internal temperature of 165°F (74°C). If you don’t have a meat thermometer, cut into the thickest piece to ensure there is no pink. The juices should run clear.
Pro Tip: For extra flavor, you can broil for the last 2 minutes to get some nice char on the edges. Just watch them closely so they don’t burn.
Step 6: Cool Completely
Remove the chicken from the oven and let it cool on the counter for 10-15 minutes. Do not cover it yet, or steam will build up and make the skin (if you left it on) or the surface soggy. Letting it cool prevents condensation in the containers, which is the #1 cause of spoilage.
Step 7: Portion and Store
Once the chicken is cool to the touch, divide it into your meal prep containers. I usually put 3-4 thighs in each container, depending on my calorie goals. Seal the lids tight and label them with the date. They will last in the fridge for 4-5 days.
Expert Tips for Perfect Meal Prep Chicken
After prepping dozens of batches of chicken, I’ve learned a few tricks that make the process smoother and the results better.
- Don’t Skip the Dry Step — I cannot stress this enough. Wet chicken = steamed chicken. Dry it thoroughly.
- Use a Thermometer — Guessing is risky. A cheap instant-read thermometer takes 5 seconds and guarantees safe, juicy chicken every time.
- Let It Cool — Putting hot chicken in a sealed container creates a greenhouse effect. Bacteria love that. Let it cool completely first.
- Freeze Extra Portions — If you don’t need all four days’ worth in the fridge, freeze half of it. Thaw in the fridge the night before. This extends your meal prep life to two weeks.
- Vary the Spices — Once you master this base, try swapping the paprika for cumin and chili powder for a Mexican twist, or use curry powder for an Indian-inspired prep.
Variations for Your Weekly Menu
One of the best things about this prep method is its versatility. Here are a few ways I rotate this chicken throughout the week:
Mediterranean Style
Add dried oregano and lemon zest to the marinade. Serve with Mediterranean Grilled Chicken Skewers vibes—pair with hummus, cucumbers, and tomatoes.
Spicy Cajun
Add cayenne pepper and blackened seasoning to the mix. This pairs perfectly with rice and beans or a simple green salad.
Herb Lemon
Use fresh rosemary and thyme instead of dried. Add a squeeze of fresh lemon juice after baking. This is great for light salads or grain bowls.
BBQ Glazed
After baking, toss the chicken in your favorite BBQ sauce. This is my go-to for sandwich-style meal prep. The sauce caramelizes nicely if you broil it after tossing.
Serving & Storage Guidelines
Refrigerator: Store in airtight containers for up to 4 days. The chicken will stay juicy if stored properly.
Freezer: Freeze in portions for up to 3 months. Place parchment paper between layers if stacking. Thaw overnight in the fridge.
Reheating: Microwave for 1-2 minutes with a splash of water or broth to keep it moist. Or reheat in a skillet over medium heat for 3-4 minutes.
Nutrition Information
Per serving (approx. 3-4 thighs):
- Calories: 250-300
- Protein: 25g
- Fat: 18g
- Carbs: 1g
This is a high-protein, low-carb option. If you add rice or quinoa to your container, adjust the calories accordingly. The chicken itself is clean and simple.
Final Thoughts
Meal prep doesn’t have to be boring or dry. By choosing the right cut of meat and using a simple, effective method, you can have four days of delicious, healthy meals ready to go. Boneless skinless chicken thighs are my secret weapon, and I hope they become yours too.
Start small. Prep just two days’ worth this weekend. See how it feels. Then expand to four. Before you know it, you’ll be looking forward to your Sundays because you know you’ve got your meals handled.
Frequently Asked Questions
Can I use chicken breasts instead?
You can, but they will dry out faster in the fridge. If you must use breasts, reduce the cooking time by 5-7 minutes and store them in the fridge for only 3 days max.
How do I know when the chicken is done?
Use a meat thermometer. It should read 165°F (74°C) at the thickest part. If you don’t have one, cut into the center to check for pink.
Can I freeze this meal prep?
Yes! Freeze in portions for up to 3 months. Thaw in the fridge overnight before eating.
Why did my chicken steam instead of roast?
You likely overcrowded the baking sheet or didn’t pat the chicken dry. Make sure there is space between pieces and the surface is dry before seasoning.
Can I add veggies to the baking sheet?
Yes! Broccoli, bell peppers, and zucchini roast well alongside chicken. Just add them to the sheet in the last 10 minutes of cooking so they don’t burn.
Pin This Recipe!


Boneless Skinless Chicken Thighs: Easy Meal Prep for 4 Days
- Total Time: 45 minutes
- Yield: 4 servings 1x
Description
A simple and reliable method for roasting boneless skinless chicken thighs for meal prep. This recipe ensures juicy, flavorful chicken that stays moist for up to four days in the fridge, making it perfect for weekly planning.
Ingredients
- 2–3 pounds boneless skinless chicken thighs
- 3 tablespoons olive oil
- 2 teaspoons garlic powder
- 1 teaspoon smoked paprika
- 1 teaspoon onion powder
- 1 teaspoon dried thyme
- 1.5 teaspoons salt (kosher salt preferred)
- 1 teaspoon black pepper
Instructions
- Preheat oven to 400°F (200°C). Line two large baking sheets with parchment paper or foil.
- Pat the chicken thighs dry thoroughly with paper towels to remove excess moisture.
- Place chicken in a large mixing bowl. Add olive oil, garlic powder, smoked paprika, onion powder, thyme, salt, and pepper.
- Toss and massage the chicken with your hands until every piece is evenly coated with the marinade.
- Arrange chicken on baking sheets in a single layer, ensuring pieces do not overlap to prevent steaming.
- Bake for 20-25 minutes, or until the internal temperature reaches 165°F (74°C).
- Optional: Broil for the last 2 minutes for extra char, watching closely to prevent burning.
- Remove from oven and let cool completely on the counter for 10-15 minutes.
- Portion the cooled chicken into meal prep containers (3-4 thighs per container).
- Seal containers and store in the refrigerator for up to 4-5 days.
Notes
Ensure chicken pieces are uniform in size for even cooking. Do not skip drying the chicken, as wet chicken will steam instead of roast. Let chicken cool completely before sealing containers to prevent condensation and spoilage. Can be frozen for up to 3 months.
- Prep Time: 15 minutes
- Cook Time: 25 minutes
- Category: Main Course
- Cuisine: American
Nutrition
- Serving Size: Approximately 3-4 th
- Calories: 275
- Sodium: 450
- Fat: 18
- Saturated Fat: 5
- Carbohydrates: 1
- Protein: 25
Keywords: meal prep, chicken thighs, boneless skinless chicken, healthy dinner, high protein, low carb, batch cooking, weekly meal planning


