I have a confession to make. For years, I was the person who bought the blue box. You know the one. The one with the bright orange powder and the instructions that say “cook for 7 minutes.” I wasn’t ashamed of it. I was practical. I was busy. And honestly? I thought homemade mac and cheese was too much work. Too much fuss. Too many pots to clean.
Then, three years ago, I made the mistake of trying to make a “healthy” version with cauliflower and low-fat cheddar. My kids looked at me with such profound disappointment that I felt like I’d committed a crime against humanity. My youngest asked if we could just go to the diner instead. That was the wake-up call. I wasn’t just serving dinner; I was serving comfort. And comfort requires cheese. Real cheese. Lots of it.
So, I started experimenting. I tested sauces that were too thick (like concrete). I tried sauces that were too thin (like soup). I used roux, I used custards, I used evaporated milk. I burned my tongue more times than I care to admit. But last month, I finally nailed it. The ultra-creamy baked mac and cheese with crispy panko crust that I’m sharing today isn’t just a recipe; it’s a redemption arc.
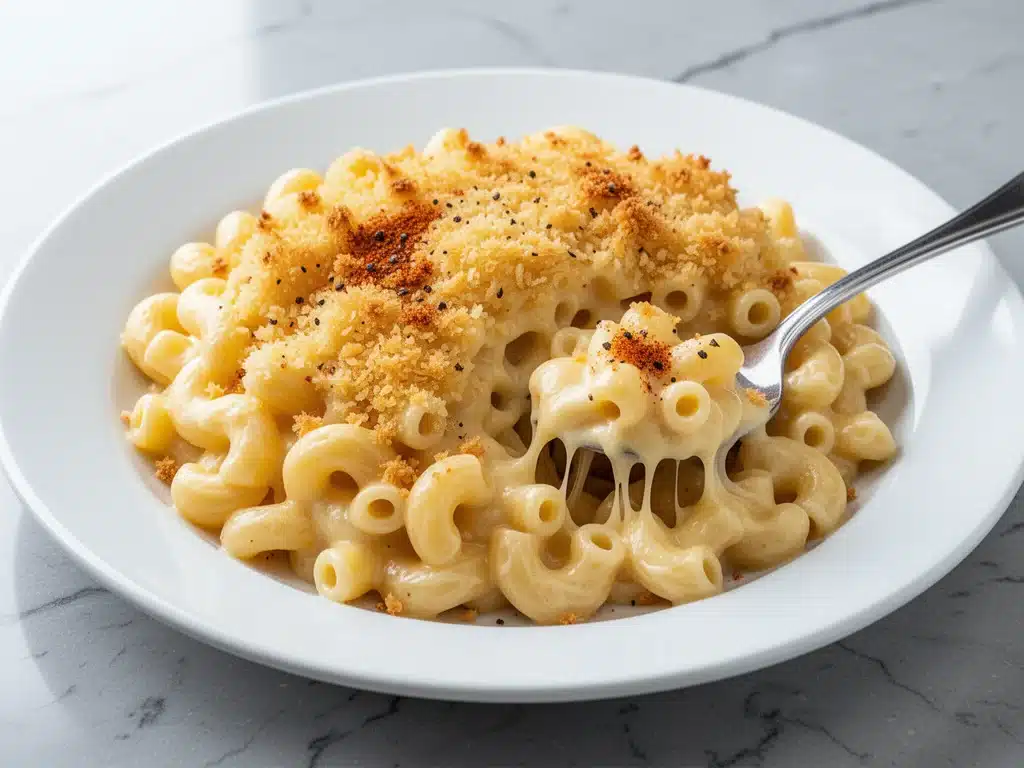
This isn’t the dry, crumbly mac and cheese you get at a buffet. This is velvety, rich, and deeply cheesy, with a sauce that clings to every noodle like a warm hug. And that topping? That golden, buttery, crunchy panko crust? It’s the sound of victory. I’ve made this at least a dozen times since I perfected it. It’s become my go-to for Sunday suppers, potlucks, and those nights when I need something that tastes like it came from a high-end restaurant but costs pennies to make.
If you’ve been burned by dry mac recipes in the past, trust me on this. This is the one. It’s foolproof, it’s ridiculously delicious, and it’s going to change how you think about pasta.
Why This Ultra-Creamy Baked Mac and Cheese Is Different
There are a million mac and cheese recipes online. So why this one? Here’s the deal. I’ve tested this version until I knew it backwards and forwards, and it wins for three specific reasons.
- The Sauce Actually Stays Creamy — A lot of baked mac recipes turn into a casserole that’s hard to scoop. Not this one. By using a specific blend of cheeses and a gentle cooking method, the sauce stays luscious and spoonable even after baking. It’s rich, but not heavy.
- The Panko Crust Is Non-Negotiable — I used to skip the topping. Big mistake. Toasting the panko in butter before sprinkling it on top creates this incredible textural contrast. Crunchy on top, creamy underneath. It’s the best part.
- It’s Actually Fast — I know, “baked” sounds like it takes forever. But the active time is about 20 minutes. The rest is just baking. I make this on weeknights when I’m tired. It’s easier than making a stir-fry and way more satisfying.
I’ve served this to my cheese-snob sister-in-law, who usually complains about everything. She asked for the recipe. That’s high praise. I’ve also made this for my neighbors when they were sick, and it worked just as well in a crockpot (more on that later). This recipe is versatile, forgiving, and consistently amazing.
Ingredients You’ll Need for the Best Mac and Cheese
Here’s the thing about mac and cheese: you don’t need fancy ingredients. You need good basics, and you need to pay attention to the cheese. I’m going to walk you through exactly what to buy and why.
For the Pasta Base
Elbow Macaroni (1 pound / 450g) — I stick to classic elbow shapes because they hold the sauce well. Cavatappi (corkscrew) is also great because the curves trap the cheese. Avoid thin spaghetti or wide fettuccine; they don’t have the right structure for this heavy sauce.
Butter (4 tablespoons / 60g) — Unsalted is best so you can control the saltiness. I use high-quality European butter if I have it, but regular store brand works fine. This is for the roux and the topping.
All-Purpose Flour (¼ cup / 30g) — This is the thickener. Don’t skip it. It’s what turns the milk into a sauce.
Whole Milk (2 cups / 480ml) — Full-fat milk is crucial. Skim milk will make the sauce watery and sad. If you’re feeling indulgent, half-and-half makes it even richer, but whole milk is the sweet spot.
The Cheese Blend (The Star of the Show)
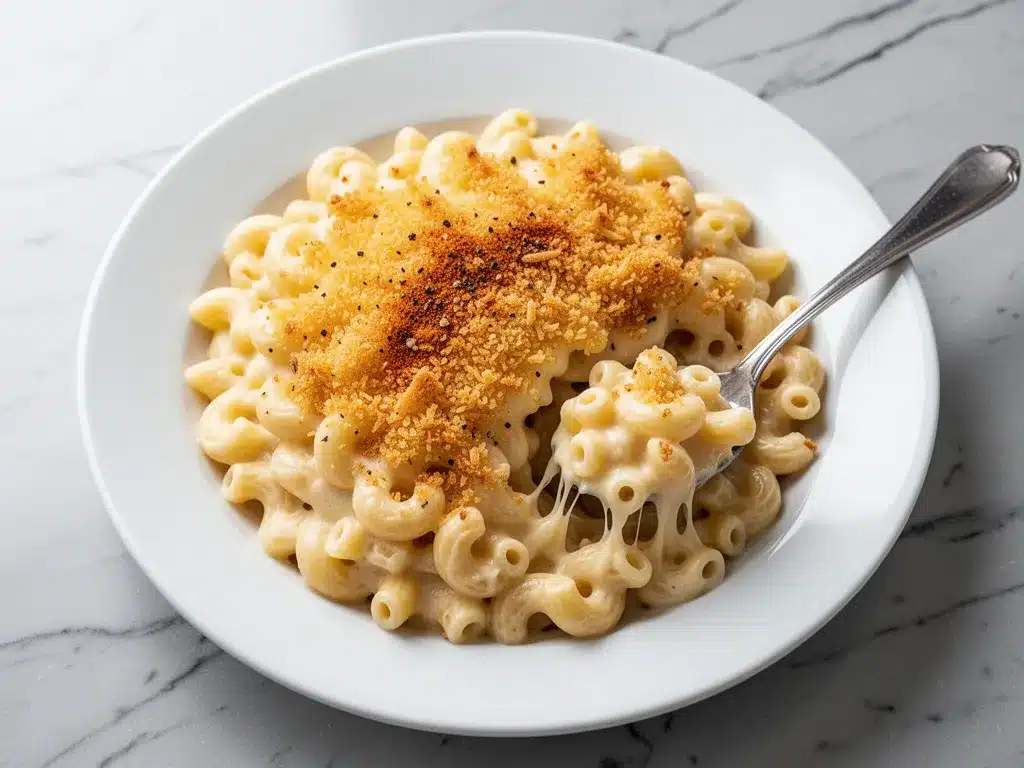
Sharp Cheddar Cheese (2 cups / 200g, freshly grated) — This is the flavor powerhouse. Buy a block of sharp cheddar and grate it yourself. Pre-shredded cheese is coated in cellulose (anti-caking agent), which prevents it from melting smoothly. It’ll make your sauce grainy. I learned this the hard way. Freshly grated melts like butter.
Gruyère Cheese (1 cup / 100g, freshly grated) — This is my secret weapon. Gruyère has a nutty, complex flavor that cheddar alone can’t provide. It melts beautifully and adds that “fancy” depth without being overpowering. If you can’t find Gruyère, fontina or a mild white cheddar works too.
Parmesan Cheese (½ cup / 50g, freshly grated) — A little bit goes a long way. It adds saltiness and umami. Again, grate your own. Don’t use the shaker can stuff.
For the Crispy Topping
Panko Breadcrumbs (1 cup / 80g) — Regular breadcrumbs are too dense. Panko is light, airy, and gets super crunchy. Look for the Japanese-style panko.
Melted Butter (2 tablespoons / 30g) — Mixed with the panko and a pinch of salt.
Garlic Powder (½ teaspoon) — Just a hint. Don’t go overboard. We want savory, not garlicky.
Pantry Staples
Dijon Mustard (1 teaspoon) — It sounds weird in mac and cheese, but it cuts through the richness and boosts the cheese flavor. You won’t taste the mustard directly, I promise.
Smoked Paprika (½ teaspoon) — Adds a subtle warmth and color. Optional, but I love it.
Salt and Black Pepper — To taste. Remember, your cheeses are already salty, so go easy on the salt.
Equipment You’ll Need
You don’t need fancy gadgets. Just basic kitchen tools.
Large Pot — For boiling the pasta. A 6-quart pot is ideal.
Large Skillet or Saucepan — For making the cheese sauce. A 3-quart saucepan works best so you can whisk easily.
9×13 Inch Baking Dish — Standard glass or ceramic baking dish. I prefer glass because I can see the bottom browning.
Box Grater — For grating the cheese. Or a food processor with a grating blade if you’re making a huge batch.
Wooden Spoon or Whisk — For stirring the sauce. A whisk is better for the roux to avoid lumps.
How to Make It: Step-by-Step
Alright, let’s get cooking. This is easier than you think. I’m going to walk you through the process, including the little tricks that keep the sauce creamy.
Step 1: Prep Your Cheese (10 minutes)
Before you turn on the stove, grate all your cheeses. I know it’s tedious, but it saves stress later. Mix the cheddar, Gruyère, and Parmesan in a bowl. Set aside. Also, measure out your panko, butter, and spices for the topping. Put them in a small bowl too. Mise en place makes this recipe fail-proof.
Step 2: Cook the Pasta (10 minutes)
Bring a large pot of salted water to a boil. The water should taste like the ocean. Add the elbow macaroni and cook until al dente. This usually takes 1-2 minutes less than the package directions. Drain the pasta, but don’t rinse it! Rinsing washes away the starch that helps the sauce stick. Toss the drained pasta with a teaspoon of oil to prevent sticking, and set aside.
Step 3: Make the Roux (3 minutes)
In your large skillet or saucepan, melt the 4 tablespoons of butter over medium heat. Once foamy, sprinkle in the flour. Whisk constantly for about 1-2 minutes. You’re making a roux. It should turn a light golden color and smell nutty. Don’t let it brown too much, or it’ll taste bitter. This is the base of your sauce.
Step 4: Build the Sauce (5 minutes)
Slowly pour in the whole milk while whisking constantly. This is crucial. If you dump it all in at once, you’ll get lumps. Whisk until the mixture is smooth. Continue to cook and whisk for 3-4 minutes until the sauce thickens enough to coat the back of a spoon. It should look like a thin gravy. Remove from heat.
Step 5: Add the Cheese (2 minutes)
Stir in the Dijon mustard and smoked paprika. Now, add the cheese gradually. Add about half the cheese mix, stir until melted, then add the rest. Stir gently until everything is smooth and creamy. Do not boil the sauce after adding the cheese, or it can break and become oily. If the sauce looks too thick, add a splash of milk. If it’s too thin, let it sit for a minute; it’ll thicken as it cools slightly.
Step 6: Combine and Top (5 minutes)
Pour the cheese sauce over the cooked pasta in the baking dish. Toss gently to coat every noodle. In a small bowl, mix the panko, melted butter, garlic powder, and a pinch of salt. Sprinkle this evenly over the top of the mac and cheese. Press it down lightly so it sticks.
Step 7: Bake (20-25 minutes)
Preheat your oven to 350°F (175°C). Place the baking dish on a middle rack and bake for 20-25 minutes. You’re looking for a golden, crispy crust and bubbling edges. If the top isn’t brown enough after 25 minutes, you can broil it for 1-2 minutes, but watch it closely so it doesn’t burn.
Pro Tip: Let it rest for 10 minutes after taking it out of the oven. This allows the sauce to set slightly, making it easier to serve. I know, waiting is hard. But it’s worth it.
Expert Tips for Perfect Mac and Cheese
Here’s everything I’ve learned from making this dozens of times. These tips will save you from my mistakes.
Grate Your Own Cheese — I can’t stress this enough. Pre-shredded cheese has anti-caking agents that prevent smooth melting. Freshly grated cheese has more surface area and melts evenly. It’s the difference between a silky sauce and a grainy one.
Don’t Overcook the Pasta — Since the pasta will continue to cook in the oven, undercook it slightly. Al dente is your friend. If you cook it until it’s soft before baking, it’ll be mushy after.
Control the Heat — When adding cheese to the sauce, keep the heat low. High heat can cause the proteins in the cheese to seize up, making the sauce gritty. If your sauce looks oily, take it off the heat and whisk in a splash of cold milk to bring it back together.
Toast the Panko — For an extra crunchy topping, you can toast the panko in a dry skillet for 2-3 minutes before mixing it with butter. It adds a deeper, nuttier flavor.
Use a Thermometer — If you’re worried about the sauce breaking, use an instant-read thermometer. Keep the milk below 180°F (82°C) before adding cheese. It’s not strictly necessary, but it helps if you’re anxious.
Variations and Substitutions
Once you’ve mastered the basic version, here’s how you can mix it up. I’ve tried all of these.
Broccoli Mac and Cheese — Toss in 2 cups of steamed broccoli florets before baking. It adds color and nutrients. My kids actually eat their veggies when they’re hidden in cheese.
BBQ Chicken Mac and Cheese — Add 2 cups of shredded cooked chicken and a splash of BBQ sauce to the cheese mixture. Top with extra cheddar. It’s like a baked mac version of a chicken sandwich.
Spicy Jalapeño Mac — Add 1 diced jalapeño to the roux step. Sprinkle with crumbled bacon on top. It’s a great contrast to the rich cheese.
Gluten-Free — Use gluten-free elbow macaroni. Make sure your cheese and panko are certified gluten-free (some panko has wheat). The rest of the ingredients are naturally gluten-free.
Dairy-Free — This is harder, but possible. Use dairy-free butter and a high-quality dairy-free cheddar shred (like Violife or Follow Your Heart). Note: Dairy-free cheese doesn’t melt the same way, so the texture will be different. It’s still good, just not identical.
Stovetop Version — Skip the baking step. Just combine the sauce and pasta in the skillet, top with toasted panko, and serve immediately. The crust won’t be as crispy, but it’s faster.
Serving and Storage
How to Serve: I usually serve this straight from the baking dish at the dinner table. It looks rustic and stays warm. Pair it with a simple green salad or creamy southern coleslaw to cut through the richness. Garlic bread is also a classic choice.
Storage: Store leftovers in an airtight container in the refrigerator for up to 4 days. The sauce will thicken in the fridge, which is normal.
Reheating: To reheat, add a splash of milk to the mac and cheese in a skillet over low heat. Stir until creamy and heated through. You can also microwave it in 30-second intervals, stirring between each, adding milk as needed. Avoid the oven unless you’re reheating a large batch, as it can dry out the edges.
Freezing: I don’t recommend freezing this because the dairy sauce can separate when thawed. It’s best made fresh. But if you must, freeze the unbaked assembled dish for up to 1 month. Thaw in the fridge overnight and bake as directed, adding 10-15 minutes to the baking time.
Nutrition Information
I’m not a nutritionist, but here’s the breakdown if you’re tracking. Keep in mind this is a rich, indulgent dish.
Per Serving (based on 8 servings):
- Calories: 520
- Protein: 22g
- Carbs: 45g
- Fiber: 2g
- Sugar: 6g
- Fat: 26g
- Saturated Fat: 15g
- Cholesterol: 65mg
- Sodium: 580mg
It’s high in calories and fat, obviously, because of the cheese and butter. But it’s also high in protein and calcium. When I make this, I try to balance it with a side of vegetables or a light salad. It’s comfort food, so enjoy it mindfully.
Final Thoughts
So that’s my ultra-creamy baked mac and cheese. I’ve probably talked your ear off at this point, but when you make a recipe this often, you have a lot to say about it. This has saved weeknight dinners more times than I can count. It’s my answer to “what’s for dinner” when I’m tired, don’t want takeout, and still want something that tastes really good. My kids are happy, my husband’s happy, and I’m happy because I’m not stressed about cooking.
Make it yours! Try different add-ins, swap in your favorite vegetables, adjust the garlic (though more is always better in my opinion). The best recipes are the ones you adapt to your family’s tastes.
If you make this, drop a comment and let me know what you think! I love hearing how recipes turn out in your kitchen. And if something doesn’t work, tell me that too—I’m here to help troubleshoot.
Frequently Asked Questions
Can I use different pasta shapes?
Yes! Cavatappi, penne, or even shells work well. Just make sure the shape can hold the sauce. Avoid long, thin pastas like spaghetti, as they won’t have the same texture.
Why is my mac and cheese grainy?
This usually happens if you use pre-shredded cheese or if you boil the sauce after adding the cheese. Always grate your own cheese and remove the sauce from heat before adding the cheese. Keep the heat low.
Can I make this ahead of time?
Yes! Assemble the mac and cheese up to 24 hours ahead. Cover and refrigerate. When ready to bake, let it sit at room temperature for 30 minutes, then bake as directed, adding 10-15 minutes to the baking time.
What kind of cheese is best for mac and cheese?
A combination of cheeses is best. Sharp cheddar provides flavor, Gruyère provides meltability and nuttiness, and Parmesan adds saltiness. Avoid using only mild cheddar, as it can be bland.
How do I keep the topping crispy?
Add the panko topping just before baking. If you add it before storing leftovers, it will get soggy. If you have leftover crusty topping, you can re-crisp it in a dry skillet for a minute.
Can I use milk instead of half-and-half?
Yes, whole milk works perfectly. Half-and-half makes it richer, but whole milk is the standard for a balanced creamy texture. Avoid skim milk.
Is this recipe gluten-free?
Not traditionally, as it uses wheat flour and regular pasta. To make it gluten-free, use gluten-free pasta and gluten-free flour (or cornstarch) for the roux, and check your panko and cheese labels.
Pin This Recipe!
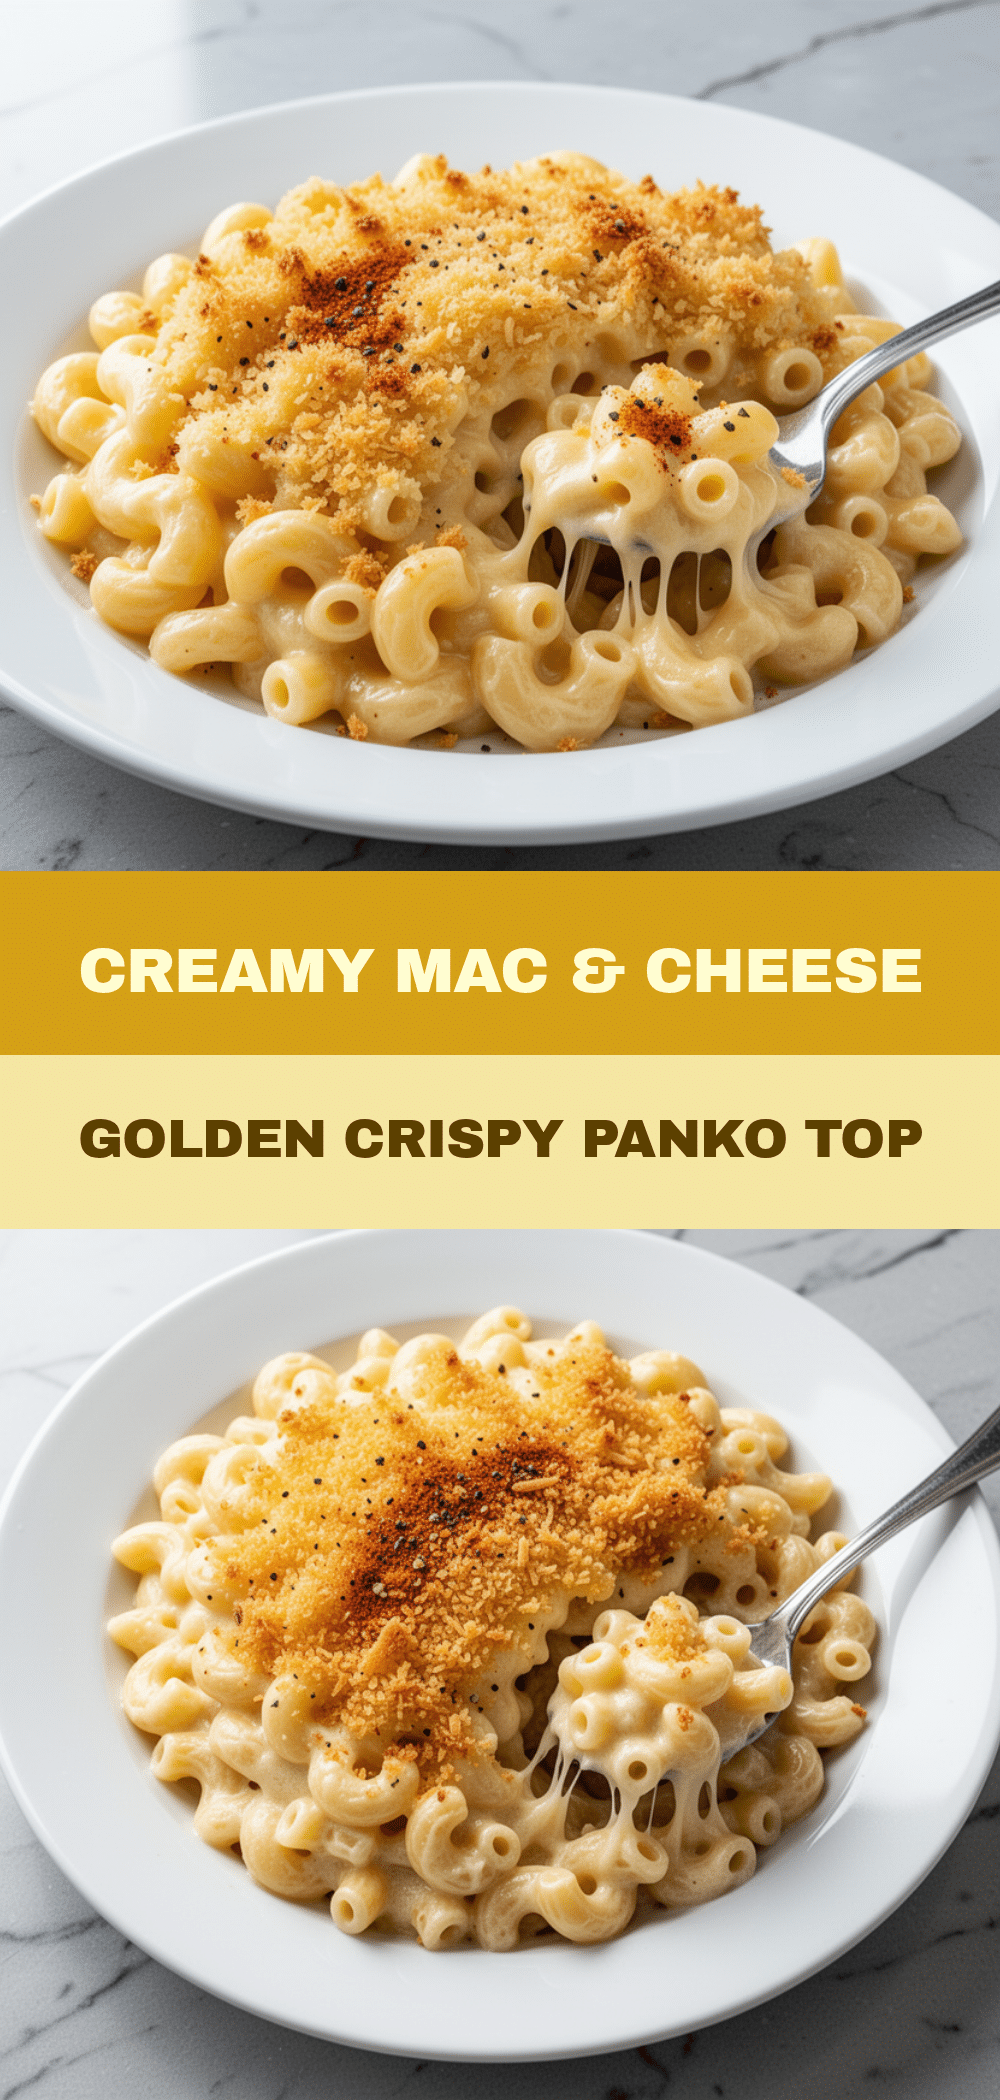
Ultra-Creamy Baked Mac and Cheese: Best Easy Homemade Recipe
- Total Time: 45 minutes
- Yield: 8 servings 1x
Description
This ultra-creamy baked mac and cheese features a velvety cheese sauce made with a roux and a blend of sharp cheddar, Gruyère, and Parmesan, topped with a golden, buttery panko crust for the perfect textural contrast.
Ingredients
- 1 pound elbow macaroni
- 4 tablespoons unsalted butter (divided)
- ¼ cup all-purpose flour
- 2 cups whole milk
- 2 cups sharp cheddar cheese, freshly grated
- 1 cup Gruyère cheese, freshly grated
- ½ cup Parmesan cheese, freshly grated
- 1 cup panko breadcrumbs
- 2 tablespoons melted butter (for topping)
- 1 teaspoon Dijon mustard
- ½ teaspoon smoked paprika
- ½ teaspoon garlic powder
- Salt and black pepper to taste
Instructions
- Preheat oven to 350°F (175°C).
- Grate all cheeses and mix in a bowl. Measure panko and topping ingredients into a separate small bowl.
- Bring a large pot of salted water to a boil. Cook elbow macaroni until al dente (1-2 minutes less than package directions). Drain without rinsing and toss with a teaspoon of oil.
- In a large saucepan, melt 4 tablespoons of butter over medium heat. Whisk in flour and cook for 1-2 minutes until light golden and nutty.
- Slowly whisk in whole milk. Cook and whisk for 3-4 minutes until sauce thickens enough to coat the back of a spoon.
- Remove from heat. Stir in Dijon mustard and smoked paprika.
- Gradually stir in the cheese blend until smooth and creamy. Do not boil after adding cheese.
- Pour cheese sauce over cooked pasta in a 9×13 inch baking dish. Toss to coat.
- Mix panko, 2 tablespoons melted butter, garlic powder, and a pinch of salt. Sprinkle evenly over the mac and cheese.
- Bake for 20-25 minutes until golden and bubbling. Optional: broil for 1-2 minutes for extra crispness.
- Let rest for 10 minutes before serving.
Notes
Grate your own cheese to ensure smooth melting; pre-shredded cheese contains anti-caking agents. Do not rinse pasta after boiling to retain starch for sauce adherence. Let the dish rest for 10 minutes after baking to allow the sauce to set. For a stovetop version, skip the baking step and serve immediately.
- Prep Time: 20 minutes
- Cook Time: 25 minutes
- Category: Main Course
- Cuisine: American
Nutrition
- Serving Size: 1/8 of the dish
- Calories: 520
- Sugar: 6
- Sodium: 580
- Fat: 26
- Saturated Fat: 15
- Carbohydrates: 45
- Fiber: 2
- Protein: 22
Keywords: mac and cheese, baked mac and cheese, creamy mac and cheese, panko crust, comfort food, homemade mac and cheese, cheese sauce


