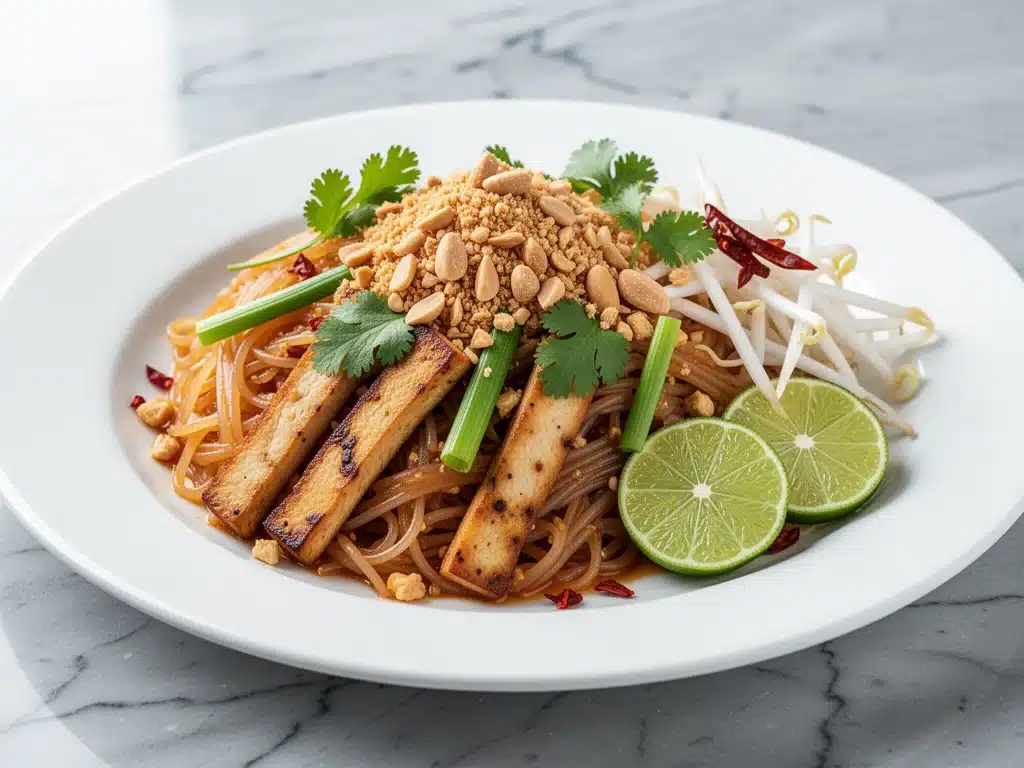
I have a confession to make. For years, I was terrified of Pad Thai. Not because I didn’t love the sweet, sour, salty, and nutty explosion of flavors, but because I was convinced it required a pantry full of mystery ingredients I’d never heard of and a wok that cost more than my first car. I remember standing in the aisle of my local Asian grocery store in college, staring at a jar of tamarind paste, feeling completely overwhelmed. I went home and ordered takeout instead. It was good, but it wasn’t mine.
Last weekend, I finally decided to stop avoiding it. I wanted to recreate that magic from my favorite local spot—the one with the smoky charcoal flavor and the perfect balance of lime and chili—without spending an hour prepping. I pulled out my trusty non-stick skillet (yes, you can make this in a regular pan), grabbed the basics, and threw together what I thought would be a mediocre attempt. But then I added that one specific trick with the tamarind, and suddenly, my kitchen smelled like a bustling street food stall in Bangkok.
That was the night I discovered that Restaurant-Style Pad Thai isn’t about complicated techniques. It’s about balance. And once you get the sauce ratio down, you can make this five-ingredient easy Pad Thai in under 20 minutes. It’s become my go-to when I’m craving something complex but don’t have the energy to chop a mountain of vegetables. It’s crispy, it’s chewy, it’s packed with crunch from those crushed peanuts, and it honestly tastes better than most delivery orders I’ve paid $20 for. If you’ve been intimidated by Thai cooking, this is the recipe that will change your mind.
Why You’ll Love This Recipe
There are about a dozen reasons I keep coming back to this version of Pad Thai, but let’s be real—you’re busy. You want dinner that tastes like you spent hours on it, but you actually get to sit down and eat it before it gets cold. Here is why this five-ingredient easy Pad Thai has completely taken over our weeknight rotation:
It’s Actually Five Ingredients — Seriously, I’m not exaggerating. You don’t need tamarind paste, fish sauce, palm sugar, dried shrimp, AND chili flakes all at once. I’ve streamlined the sauce so you’re using pantry staples you probably already have. The “five ingredients” refers to the core components: rice noodles, protein, veggies, the sauce base, and the garnish. It’s stupid simple.
The Sauce is Foolproof — The hardest part of Pad Thai is usually the sauce. Too sweet? Too sour? Too salty? I’ve tested the ratio of tamarind to sugar to soy sauce dozens of times. This version hits that perfect sweet-sour-salty trifecta every single time. You just taste and adjust, and you can’t mess it up.
Ready in 20 Minutes — Most of that time is just boiling water for the noodles. Active cooking time is about 10 minutes. I’ve made this after work on days when I was exhausted, and it still felt like a gourmet meal. It’s faster than waiting for a delivery driver to find your house.
Crowd-Pleasing Crunch — The crushed peanuts on top aren’t just decoration. They add that essential texture contrast to the soft noodles. My picky eater kids usually ignore the “weird Asian stuff” but they never say no to peanuts. It’s a win-win.
Perfect Leftovers — Pad Thai actually tastes better the next day. The noodles soak up more of that tangy sauce, and it’s great cold or reheated. I make a big batch on Sunday and eat it for lunch all week. It’s my secret weapon for meal prep that doesn’t feel like diet food.
This is my answer to “what’s for dinner” when I want something exciting but don’t want to stress. No fancy equipment, no obscure ingredients, just reliable, delicious food that makes everyone happy.
Ingredients You’ll Need
Here’s the best part: you probably have most of this already. I’m particular about the tamarind, but for everything else, this is pantry-friendly cooking. Let’s break down what you need for this restaurant-style Pad Thai.
For the Noodles
Rice Noodles (8 oz / 225g) — Look for flat rice noodles, about 1/4 inch wide. These are the standard Pad Thai noodles. Rice vermicelli (the thin spaghetti-like ones) work too, but the texture is slightly different. I always use the brand Thai Kitchen because they’re widely available and cook evenly. Don’t use the instant kind that only needs hot water—these need to boil.
Water (for boiling) — Enough to fill a large pot. You’ll need a lot of water to cook the noodles properly without them sticking together.
For the Protein and Veggies
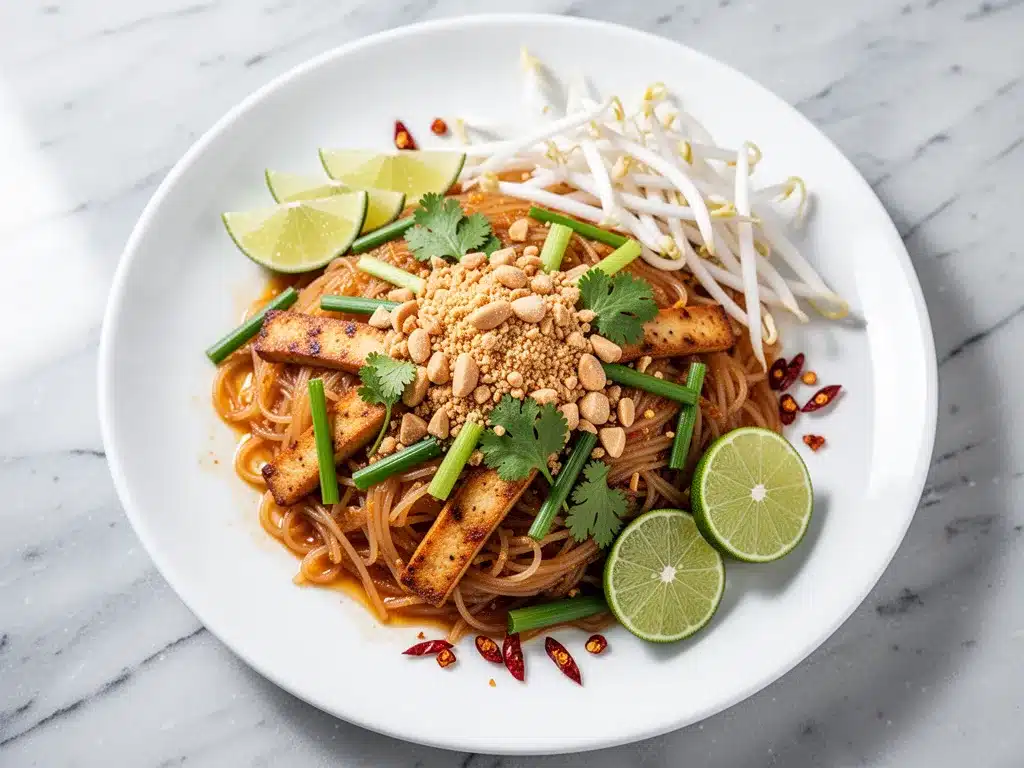
Chicken or Tofu (1 lb / 450g) — I usually use boneless, skinless chicken thighs cut into bite-sized pieces because they stay juicier than breasts. But if you’re vegetarian, extra-firm tofu works beautifully. Press the tofu first to remove excess water, then cube it. You can also use shrimp if you want seafood, but I stick to chicken for this version.
Bean Sprouts (1 cup / 85g) — This is non-negotiable for authentic texture. They add a fresh, crunchy snap that contrasts with the soft noodles. I buy them fresh from the produce section, not the dried kind. If you can’t find fresh bean sprouts, you can sub with julienned carrots, but it’s not the same.
Green Onions (4 stalks, chopped) — I use both the white and green parts. The whites go in the pan for flavor, the greens go on top for garnish. It’s a small detail, but it matters.
For the Five-Ingredient Sauce
Tamarind Paste (3 tablespoons / 45g) — This is the star. It provides that deep, tangy sourness that defines Pad Thai. Look for the block of tamarind paste in the Asian aisle, or use tamarind concentrate. Do not use tamarind cocktail mix—that’s too sweet and has additives. If you can’t find tamarind, you can use lemon juice and a touch of vinegar, but the flavor profile will be different.
Soy Sauce (2 tablespoons / 30ml) — Regular soy sauce works fine. I use low-sodium so I can control the saltiness. If you want umami depth, you can add a teaspoon of fish sauce, but for this “five-ingredient” version, I skip it to keep it simple and soy-based.
Brown Sugar (2 tablespoons / 25g) — Brown sugar adds a molasses-like depth that white sugar lacks. It caramelizes slightly in the pan, giving the sauce a richer color. If you don’t have brown sugar, white sugar or coconut sugar works, but brown is best.
Red Pepper Flakes (1/2 teaspoon) — Optional, but I always add them for a little kick. Adjust based on your heat tolerance. If you’re sensitive to spice, start with 1/4 teaspoon.
For the Garnish
Crushed Peanuts (1/4 cup / 30g) — You can buy roasted peanuts and crush them yourself with a rolling pin or food processor, or buy pre-crushed. I prefer buying whole roasted peanuts and crushing them myself—it’s fresher and tastier. Don’t use salted peanuts; you want them plain so you can control the salt in the sauce.
Lime Wedges — Fresh lime juice is essential. It brightens up the heavy sauce. Keep a few wedges on the side for squeezing over the top.
Optional Add-ins — I sometimes add a beaten egg, scrambling it in the pan before adding the noodles. It makes it heartier. You can also add chopped broccoli or bell peppers if you want more veggies. I keep it simple with just bean sprouts and green onions for this version.
Equipment Needed
You don’t need fancy equipment for this. Here’s what I actually use, and some alternatives if you don’t have the “pro” gear.
Large Skillet or Wok — I use a 12-inch non-stick skillet. It has enough surface area to toss the noodles without them getting mushy. A wok is traditional and great for high-heat stir-frying, but a large skillet works perfectly fine. Just make sure it’s big enough to hold all the noodles and sauce.
Large Pot — For boiling the rice noodles. Any 6-quart pot works. I use my ancient stainless steel pot from college—it’s scratched up but does the job.
Colander — For draining the noodles. Or just use the lid to drain—I do this when I’m lazy, but be careful not to splash yourself.
Wooden Spoon or Spatula — For stirring and tossing. Silicone works too. Don’t use metal if you’re using a non-stick skillet, or you’ll scratch the coating.
Mixing Bowl — For mixing the sauce ingredients together before you start cooking. It’s easier to whisk the sauce in a bowl than in the hot pan.
Small Bowl — For holding the crushed peanuts and lime wedges for garnish.
Optional but nice:
- Food Processor — If you’re crushing peanuts, a quick pulse in the food processor makes it super easy. But a rolling pin works fine.
- Tongs — Great for tossing the noodles. I use tongs to mix everything in the skillet, which helps distribute the sauce evenly.
Don’t have a wok? Don’t worry. Any big, wide pan works. The key is having enough surface area so the noodles can cook quickly and get a little char, rather than steaming in a crowded pot.
How to Make It: Step-by-Step
Alright, let’s make this! I’m walking you through exactly how I do it, including the little tricks I’ve picked up over the years. This process is fast, so have all your ingredients prepped before you turn on the heat.
Step 1: Prep Your Noodles (5 minutes)
Bring a large pot of water to a boil. While that’s heating up, check your rice noodles. If they’re very thick, you might need to soak them in warm water for 10 minutes first, but most standard flat rice noodles just need a quick boil. Once the water is boiling, add the noodles and cook according to package directions—usually 3-5 minutes. You want them tender but still firm (al dente). Do not overcook them, or they’ll turn to mush in the pan. Drain the noodles and rinse them under cold water to stop the cooking. Toss them with a tiny drop of oil to prevent sticking. Set aside.
Step 2: Make the Sauce (2 minutes)
While the noodles cook, mix your sauce. In a small bowl, whisk together the tamarind paste, soy sauce, brown sugar, and red pepper flakes. Add 2 tablespoons of water to thin it out slightly. Taste it. It should be sweet, sour, and salty all at once. If it’s too sour, add a bit more sugar. If it’s too sweet, add a splash more soy sauce or a squeeze of lime. This is your base, so get it right now.
Step 3: Cook the Protein (5 minutes)
Heat a large skillet or wok over medium-high heat. Add 1 tablespoon of oil. Once the oil is shimmering, add your chicken (or tofu). Cook for 4-5 minutes, stirring occasionally, until the chicken is cooked through and slightly browned. If using tofu, cook until it’s golden and crispy on all sides. Remove the protein from the pan and set it aside on a plate. Don’t clean the pan—those browned bits are flavor.
Step 4: Combine and Toss (3 minutes)
Return the skillet to medium heat. Add a little more oil if needed. Add the drained noodles and the cooked protein back into the pan. Pour the sauce over everything. Use tongs or a spatula to toss the noodles, ensuring every strand is coated in the sauce. The noodles will absorb the sauce quickly, so work fast. Add the bean sprouts and the white parts of the green onions. Toss for another minute until the bean sprouts are slightly wilted but still crunchy.
Step 5: Finish and Serve (1 minute)
Remove the pan from heat. Taste the Pad Thai one last time. Adjust salt or sugar if needed. Transfer to serving plates. Top generously with crushed peanuts and the green parts of the green onions. Serve immediately with lime wedges on the side. Squeeze the lime over the top just before eating—it makes all the difference.
Total Time: About 20 minutes (5 minutes prep, 15 minutes cooking)
Troubleshooting Tips:
- Noodles sticking together? Rinse them under cold water after draining and toss with a drop of oil.
- Sauce too thick? Add a splash of water or more soy sauce. The noodles will soak up liquid, so it’s better to have a bit too much sauce than too little.
- Sauce too thin? Cook for an extra minute to let the liquid reduce, or add a pinch more brown sugar.
Expert Tips & Tricks
Here’s everything I’ve learned from making this dozens of times. These tips will save you from my mistakes and help you get that restaurant-quality result.
Don’t Overcook the Noodles
This is the #1 mistake people make. Rice noodles continue to cook even after you drain them. If they’re too soft in the pot, they’ll be mushy in the pan. Aim for al dente—slightly firm to the bite. They’ll finish cooking in the hot sauce.
High Heat is Your Friend
Pad Thai is a stir-fry. You want the noodles to get a little char and the sauce to caramelize slightly. Keep the heat at medium-high and don’t crowd the pan. If you’re cooking for a large family, cook in batches. I know it’s annoying, but it’s worth it for the texture.
Crush Your Own Peanuts
Pre-crushed peanuts from the store are often dusty and stale. Buy whole roasted peanuts and crush them yourself. I put them in a zip-top bag and smash them with a rolling pin. It takes 30 seconds and tastes infinitely fresher. Plus, you control the size of the crunch.
Use Fresh Lime Juice
Bottled lime juice is acidic but lacks the bright aroma of fresh lime. Always squeeze fresh lime over the finished dish. It cuts through the richness of the sauce and peanuts and wakes up all the flavors.
Room Temperature Sauce
If your sauce ingredients are cold (straight from the fridge), they can shock the hot noodles. Let your soy sauce and tamarind sit out for 10 minutes before mixing. It’s a small thing, but it helps the sauce blend more evenly.
Common Mistakes (and how to avoid them):
- Mistake: Noodles are clumpy. Fix: Rinse under cold water after boiling and toss with oil.
- Mistake: Sauce is too salty. Fix: Use low-sodium soy sauce and taste before adding salt. You can add more, but you can’t take it away.
- Mistake: Vegetables are soggy. Fix: Add bean sprouts at the very end. They only need 30 seconds to wilt.
Pro Tricks I’ve Learned:
- For Extra Depth: Add a teaspoon of minced garlic to the oil before cooking the chicken. It adds a savory base note.
- For Better Color: A tiny splash of dark soy sauce (if you have it) gives the noodles that beautiful reddish-brown hue. Regular soy sauce works, but dark soy is the secret.
- For Meal Prep: Store the sauce and noodles separately. Combine when reheating. This keeps the noodles from getting soggy in the fridge.
Variations & Substitutions
Once you’ve nailed the basic version, here’s how you can mix it up. I’ve tried all of these, and they’re all delicious.
Shrimp Pad Thai
Swap the chicken for 1 lb of large shrimp, peeled and deveined. Cook the shrimp for 2-3 minutes until pink, then remove. Add them back in at the end so they don’t overcook. Shrimp and tamarind are a classic pair.
Vegetarian Pad Thai
Use extra-firm tofu instead of chicken. Press the tofu for 15 minutes, cube it, and fry until crispy. Add more bean sprouts and a handful of chopped bok choy for extra greens. It’s just as satisfying.
Spicy Pad Thai
Double the red pepper flakes and add a chopped fresh chili pepper (like jalapeño or bird’s eye chili) when cooking the chicken. Serve with extra chili oil on the side for those who want more heat.
Gluten-Free Pad Thai
Rice noodles are naturally gluten-free. Just make sure your soy sauce is gluten-free (use tamari instead). Everything else in this recipe is gluten-free, so it’s safe for celiacs.
Different Proteins:
- Beef: Thinly sliced flank steak works great. Sear it quickly and remove.
- Pork: Thinly sliced pork tenderloin. Cook until just done.
- Egg: Scramble an egg in the pan before adding the noodles. It adds protein and richness.
Dietary Modifications:
- Lower Sugar: Reduce brown sugar to 1 tablespoon and use a sugar substitute if needed. It will be less sweet but still flavorful.
- Low-Sodium: Use low-sodium soy sauce and no added salt. The tamarind provides enough flavor.
Serving & Storage
How to Serve:
I usually serve this straight from the skillet at the dinner table—it looks rustic and stays warm. But here are other ways I’ve enjoyed it:
Side Dishes:
- Crispy Baked Zucchini Fries — If you want a crunchy appetizer, these crispy baked zucchini fries are perfect. They’re easy to make and pair well with the tangy Pad Thai.
- Simple Green Salad — A light salad with rice vinegar dressing cuts through the richness of the noodles.
- Steamed Rice — Some people like a side of plain jasmine rice to soak up extra sauce.
Toppings Bar:
When I have guests, I put out: extra crushed peanuts, red pepper flakes, fresh lime wedges, chopped cilantro, and sliced jalapeños. Everyone customizes their bowl.
Storage Instructions:
Refrigerator: Store in an airtight container for up to 3 days. The noodles will absorb the sauce and get softer, which some people love. Reheat gently in a skillet with a splash of water to loosen them up.
Reheating: Best method: Add to a skillet with a splash of water over low heat. Stir until heated through. Microwave works too, but add a splash of water and cover with a damp paper towel to keep the noodles moist.
Freezing: Honestly, this doesn’t freeze well. The noodles get mushy when thawed. Make it fresh or store in the fridge for up to 3 days.
Pro tip: If leftovers are drying out, stir in a teaspoon of sesame oil when reheating. It brings back that restaurant aroma.
Nutrition Information
I’m not a nutritionist, but here’s the breakdown if you’re tracking. This is per serving (based on 4 servings).
Per Serving:
- Calories: 450
- Protein: 25g
- Carbs: 55g
- Fiber: 3g
- Sugar: 12g
- Fat: 15g
- Sodium: 600mg
What’s Good:
Decent protein from chicken or tofu. Rice noodles are gluten-free. You can boost the nutrition by adding more vegetables.
What to Know:
Higher in carbs from the noodles. Sodium can be high if you use regular soy sauce—use low-sodium to reduce. It’s comfort food, so enjoy it guilt-free.
Final Thoughts
So that’s my go-to five-ingredient easy Pad Thai! I’ve probably talked your ear off at this point, but when you make a recipe this often, you have a lot to say about it. This has saved weeknight dinners more times than I can count. It’s my answer to “what’s for dinner” when I’m tired, don’t want takeout, and still want something that tastes really good. My kids are happy, my husband’s happy, and I’m happy because I’m not stressed about cooking.
Make it yours! Try different add-ins, swap in your favorite vegetables, adjust the spice level. The best recipes are the ones you adapt to your family’s tastes. If you make this, drop a comment and let me know what you think! I love hearing how recipes turn out in your kitchen. And if something doesn’t work, tell me that too—I’m here to help troubleshoot.
Happy cooking! And I hope your kitchen smells half as good as mine does right now.
Frequently Asked Questions
Can I use rice vermicelli instead of flat rice noodles?
You can, but the texture will be different. Vermicelli is thinner and more delicate. It works, but it doesn’t have that classic chewy Pad Thai bite. If you use vermicelli, reduce the cooking time to 2-3 minutes. I prefer the flat noodles for authenticity, but vermicelli is fine in a pinch.
Why did my noodles turn to mush?
Usually, this means you overcooked them in the pot or didn’t rinse them with cold water after draining. Rice noodles continue to cook from residual heat. Always rinse them under cold water to stop the cooking process and toss them with a little oil to keep them separate.
Can I make the sauce ahead of time?
Yes! The sauce keeps well in the fridge for up to a week. In fact, it tastes better the next day as the flavors meld together. Just whisk it well before using, as the tamarind might settle at the bottom.
What if I can’t find tamarind paste?
If you can’t find tamarind paste, you can substitute with a mix of lemon juice and brown sugar. Use 2 tablespoons of lemon juice and 1 tablespoon of brown sugar for every 3 tablespoons of tamarind paste. It won’t be exactly the same, but it will give you that sweet-sour balance. Avoid using tamarind cocktail mix, as it’s too sweet.
How do I reheat leftovers without them getting dry?
Add a splash of water or broth to the skillet when reheating. Heat gently over low heat, stirring frequently. The extra liquid helps loosen the noodles and brings back the creamy texture. Microwave reheating can dry them out, so if you must use the microwave, cover the bowl with a damp paper towel and heat in 30-second intervals.
Can I double this recipe?
Absolutely! Double everything and use your biggest skillet. The cooking times stay the same. I do this when I’m meal-prepping or feeding a crowd. Just make sure your skillet is big enough for the noodles—you might need to cook in batches if your pan is small.
Pin This Recipe!
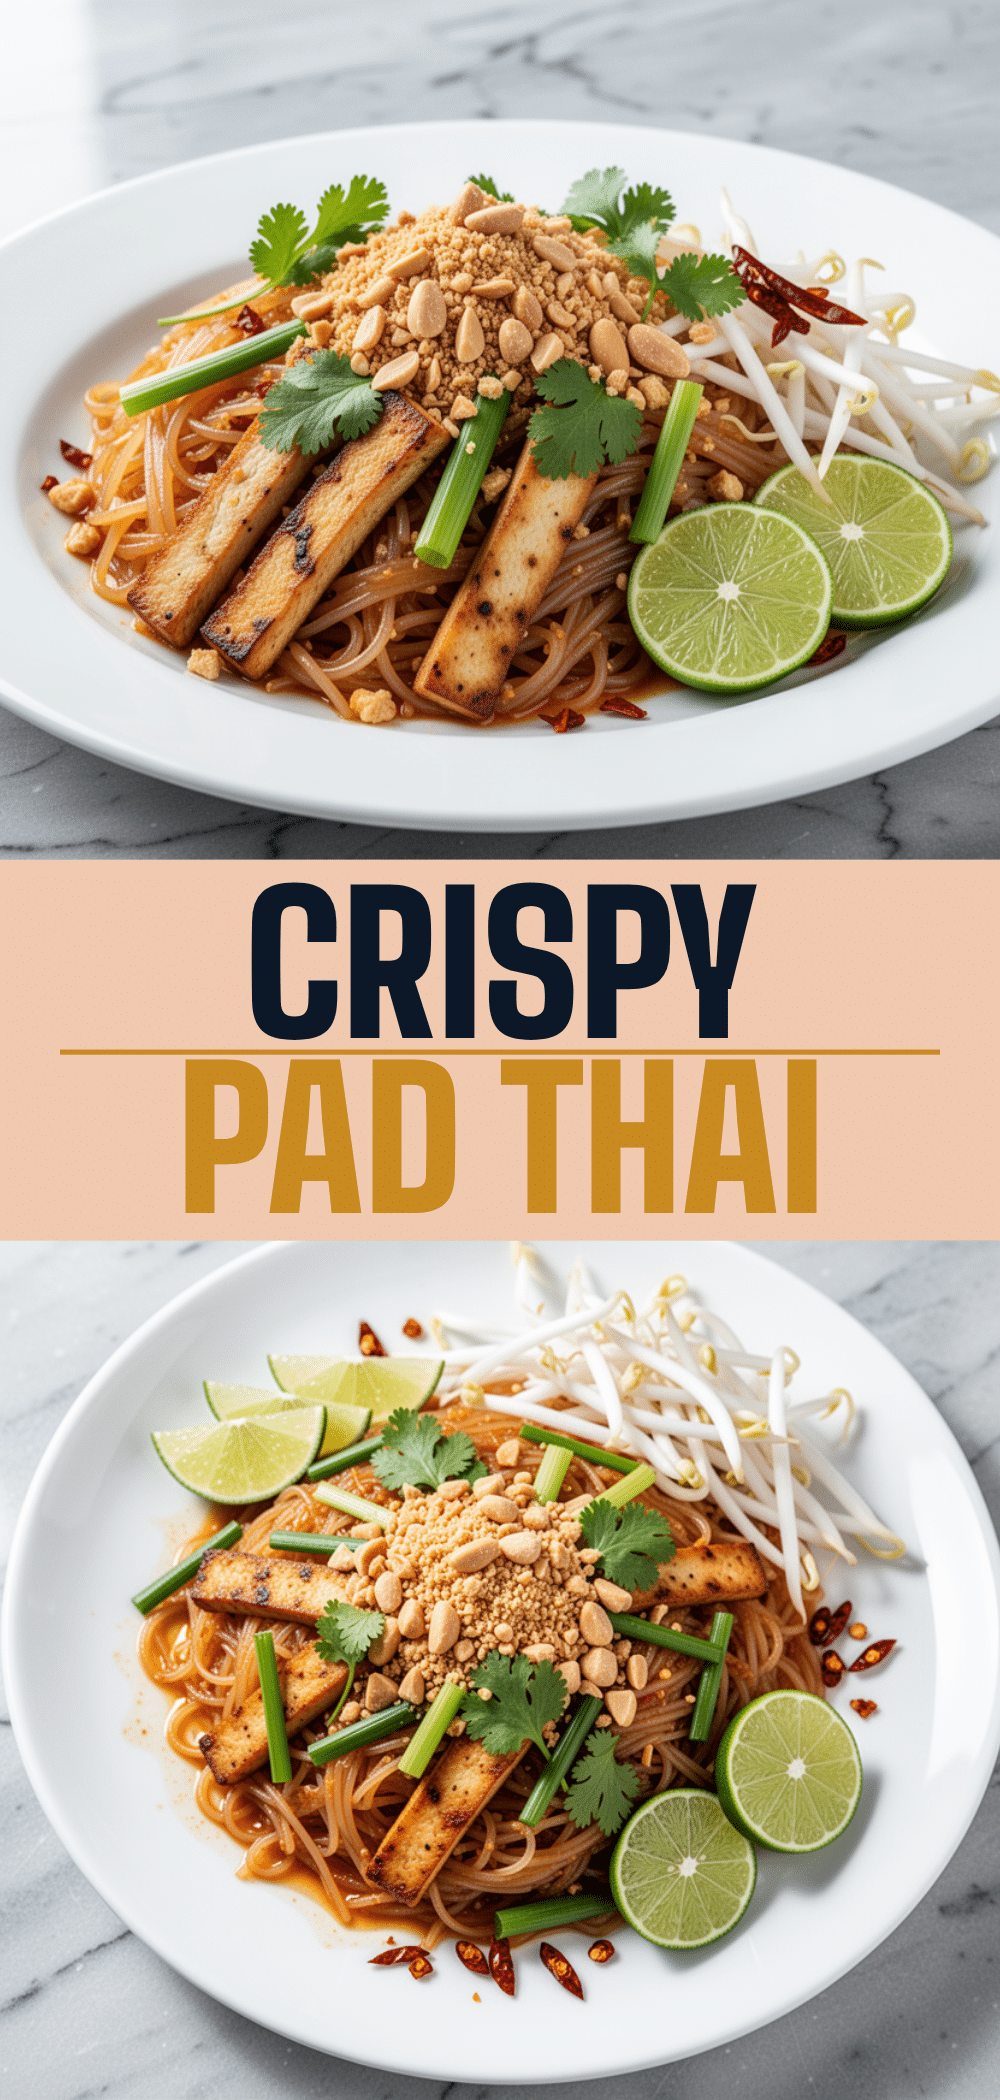
Restaurant-Style Pad Thai: 5-Ingredient Easy Pad Thai
- Total Time: 20 minutes
- Yield: 4 servings 1x
Description
A quick and easy weeknight dinner that recreates the sweet, sour, salty, and nutty flavors of restaurant Pad Thai using just five core ingredients and under 20 minutes of active cooking time.
Ingredients
- 8 oz (225g) flat rice noodles
- 1 lb (450g) boneless, skinless chicken thighs cut into bite-sized pieces (or extra-firm tofu)
- 1 cup (85g) fresh bean sprouts
- 4 stalks green onions, chopped
- 3 tablespoons (45g) tamarind paste
- 2 tablespoons (30ml) soy sauce (low-sodium recommended)
- 2 tablespoons (25g) brown sugar
- 1/2 teaspoon red pepper flakes
- 1/4 cup (30g) crushed roasted peanuts
- Lime wedges for serving
- 1 tablespoon oil (for cooking)
- Water (for boiling noodles)
Instructions
- Bring a large pot of water to a boil. Add rice noodles and cook for 3-5 minutes until tender but firm (al dente).
- Drain noodles and rinse under cold water to stop cooking. Toss with a tiny drop of oil to prevent sticking and set aside.
- In a small bowl, whisk together tamarind paste, soy sauce, brown sugar, red pepper flakes, and 2 tablespoons of water. Taste and adjust sweetness or saltiness if needed.
- Heat a large skillet or wok over medium-high heat with 1 tablespoon of oil. Add chicken (or tofu) and cook for 4-5 minutes until cooked through and browned. Remove protein from pan and set aside.
- Return skillet to medium heat. Add drained noodles and cooked protein back to the pan. Pour sauce over everything and toss to coat evenly.
- Add bean sprouts and white parts of green onions. Toss for another minute until bean sprouts are slightly wilted but still crunchy.
- Remove from heat. Taste and adjust seasoning if necessary.
- Transfer to serving plates. Top generously with crushed peanuts and green parts of green onions.
- Serve immediately with lime wedges on the side for squeezing.
Notes
Do not overcook the noodles; they should be al dente as they will continue to cook in the hot sauce. Rinse noodles under cold water after boiling to prevent sticking. Crush your own peanuts for fresher flavor. Use fresh lime juice for best results. If the sauce is too thick, add a splash of water. If too thin, cook for an extra minute to reduce.
- Prep Time: 5 minutes
- Cook Time: 15 minutes
- Category: Main Course
- Cuisine: Thai
Nutrition
- Serving Size: 1 plate (approx. 1/4
- Calories: 450
- Sugar: 12
- Sodium: 600
- Fat: 15
- Saturated Fat: 3
- Carbohydrates: 55
- Fiber: 3
- Protein: 25
Keywords: Pad Thai, Thai food, easy dinner, weeknight meals, 5-ingredient recipe, rice noodles, tamarind, stir fry, gluten-free option


