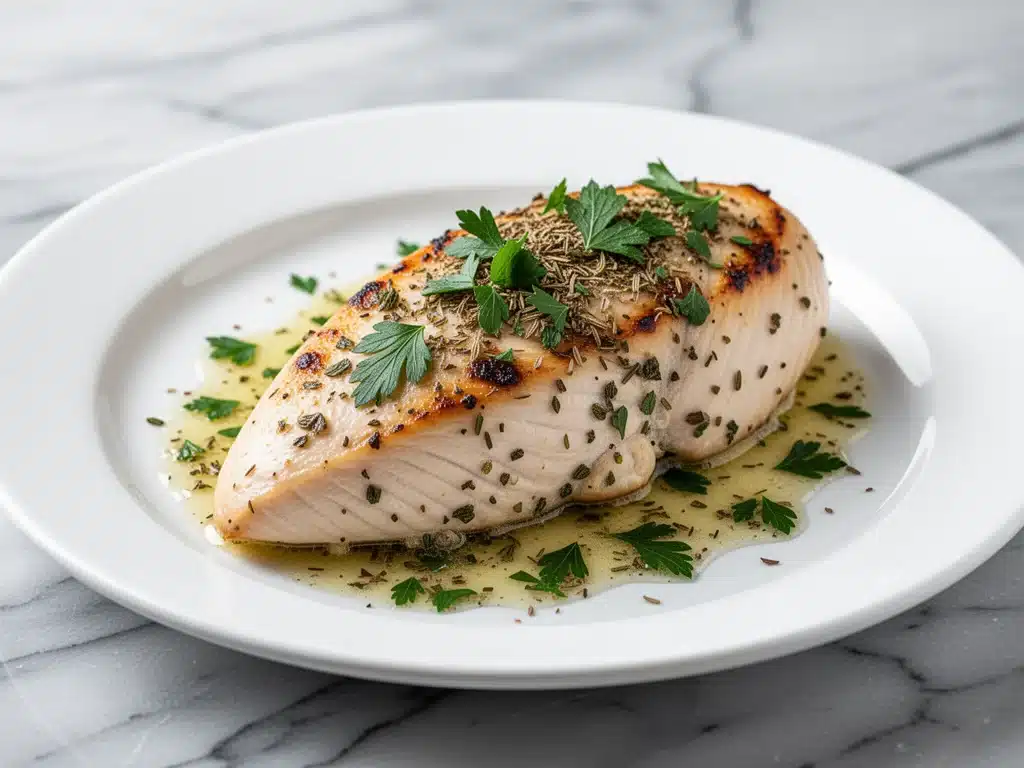
Let’s be honest for a second. Chicken breast is the ultimate high-maintenance ingredient. It’s lean, it’s healthy, and it’s the default dinner choice for about 90% of us on weeknights. But it’s also the most likely to end up looking like a shoe leather disc on your plate. I’ve spent years trying to make it juicy, and I’ve failed more times than I care to admit. I’m talking about the kind of dry chicken that makes you want to throw the whole pan in the trash. (I did this once. It was a bad Tuesday.)
Then I discovered the herb garlic butter method. Not just slathering a stick of cold butter on top and hoping for the best, but actually creating a flavorful, aromatic coating that bastes the meat from the outside while keeping the internal temperature perfectly controlled. This Never-Dry Oven-Baked Chicken Breast with Herb Garlic Butter is the recipe I’ve been making on repeat since last spring. It’s tender, it’s flavorful, and it actually tastes like I spent an hour in the kitchen, even though it takes less than 30 minutes of active time.
I first perfected this technique when I was trying to meal prep for the week but didn’t want to eat boring, boiled chicken salad every day. I threw together some butter, fresh herbs, and garlic, rubbed it over the breasts, and baked them at a slightly higher temperature than usual. The result? Juicy, golden, fragrant chicken that stayed moist even after sitting in the fridge for three days. My kids devoured it. My husband asked for the recipe. And honestly? I haven’t bought dry chicken breast since.
This isn’t just another chicken recipe. It’s the solution to the dry chicken problem. Whether you’re serving it for a quick weeknight dinner or meal prepping for busy days, this method guarantees results every single time. No more guessing, no more overcooked meat, just perfect, juicy chicken.
Why You’ll Love This Herb Garlic Butter Chicken
There are a dozen reasons I keep coming back to this method, but let’s get to the ones that actually matter to your dinner table.
It’s Impossible to Mess Up — Seriously. If you can melt butter and mix herbs, you can make this. I’ve walked my teenage daughter through it over FaceTime while she was in college. She hasn’t burned a single piece of chicken since.
It’s Juicy Every Time — The butter basting is the secret. It creates a barrier that locks in moisture, and the herbs infuse the meat with flavor as it cooks. I’ve tested this with breasts straight from the freezer (thawed first, obviously) and fresh ones, and the results are consistently moist.
It’s Versatile — You can serve this with honey roasted carrots for a sweet and savory contrast, or pair it with a simple green salad. It works for lunch, dinner, or even slicing cold for a high-protein snack.
It’s Fast — Prep takes 5 minutes. Cook takes 20-25 minutes. That’s it. I make this on nights when I’m exhausted and don’t want to deal with a complicated recipe.
It’s Flavor-Packed — Most baked chicken is bland. This one is aromatic, savory, and rich without being heavy. The garlic butter mixture penetrates the meat, so every bite is flavorful.
This is my go-to when I need dinner to just work. No complicated techniques, no weird ingredients, just reliable, delicious food that makes everyone happy. And if you’re looking for other easy weeknight ideas, check out my one-pot chicken and wild rice soup for a cozy option.
Ingredients You’ll Need
Here’s the best part: you probably have most of this already. I’m particular about three ingredients here, and I’ll tell you exactly why.
For the Chicken
Chicken breasts (4 large, boneless, skinless / about 1.5 lbs / 680g) — I prefer boneless, skinless for ease, but you can use bone-in if you adjust cooking time. Look for breasts that are relatively even in size so they cook uniformly. If they’re super thick, pound them to an even thickness. This is crucial for even cooking.
Sea salt (1 teaspoon) — I use kosher salt or sea salt. It dissolves evenly and seasons the meat well. Avoid table salt if you can; it’s too fine and can make the chicken too salty.
Black pepper (½ teaspoon, freshly cracked) — Freshly cracked is better. Pre-ground pepper loses its flavor quickly. I use a pepper mill for this.
For the Herb Garlic Butter
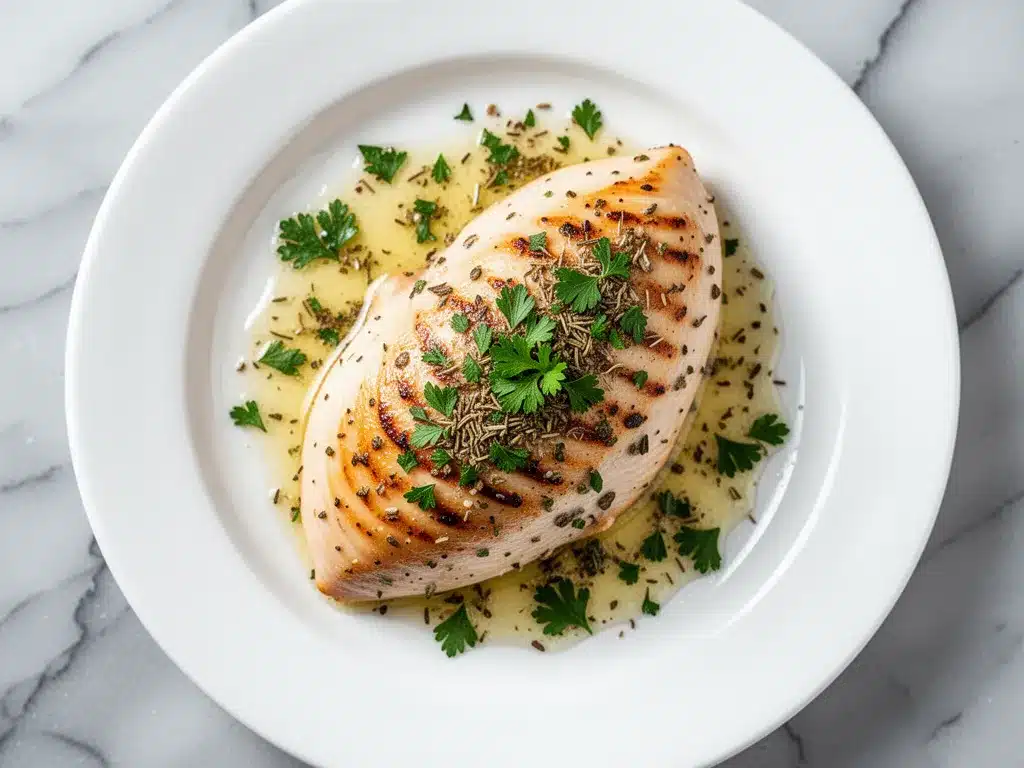
Unsalted butter (4 tablespoons / 60g) — Unsalted so you can control the saltiness. I use European-style butter if I have it, because it has a higher fat content and richer flavor, but regular unsalted works fine. Soften it slightly before mixing—this makes it easier to blend with the herbs.
Garlic (4 cloves, minced / about 2 tablespoons) — Fresh garlic only. No jarred garlic in this recipe. It has a weird metallic taste that ruins the butter. Mince it finely so it distributes evenly. If you’re lazy, you can use a garlic press, but make sure to scrape off all the garlic from the sides.
Fresh parsley (2 tablespoons, chopped) — Flat-leaf parsley is best. It has a cleaner, brighter flavor than curly parsley. Chop it finely. If you only have dried parsley, use 1 teaspoon, but fresh is so much better. I grow mine in a pot on the windowsill.
Fresh thyme (1 tablespoon, leaves stripped from stems) — Thyme pairs beautifully with chicken. Strip the leaves from the stems and chop them roughly. If you don’t have fresh thyme, 1 teaspoon of dried thyme works, but fresh is preferred.
Fresh rosemary (1 teaspoon, finely chopped) — Rosemary is strong, so don’t overdo it. Finely chop it so you get bits of flavor in every bite. If you’re sensitive to rosemary, you can skip it or use less.
Lemon zest (1 teaspoon) — This adds brightness and cuts through the richness of the butter. Use a microplane or fine grater. Only the yellow part, not the white pith, which is bitter.
Optional Add-ins
Red pepper flakes (¼ teaspoon) — If you like a little kick, add this to the butter mixture. It adds a nice warmth without overpowering the herbs.
White wine (2 tablespoons) — Deglaze the pan with white wine after baking for a quick pan sauce. I use a dry Sauvignon Blanc or Pinot Grigio. Not a wine drinker? Chicken broth works too.
Extra virgin olive oil (1 tablespoon) — I sometimes mix this with the butter for a slightly healthier version, but it changes the flavor profile. I prefer pure butter for this recipe.
Pro Tip: I always buy organic chicken breasts when possible. The flavor is noticeably better, and I feel better about what I’m feeding my family. It’s worth the extra few dollars.
Equipment Needed
You don’t need fancy equipment for this. Here’s what I actually use.
Baking dish or sheet pan — I use a 9×13 inch baking dish for easy cleanup and even cooking. A rimmed sheet pan works too, but the chicken might dry out faster if the butter runs off. I prefer the dish.
Small bowl — For mixing the butter and herbs. Any small bowl works.
Measuring spoons — Standard stuff. Dollar store versions work fine.
Knife and cutting board — For chopping herbs and mincing garlic. Sharp knives make this easier and safer.
Meat thermometer — This is the most important tool. I use an instant-read thermometer to check the internal temperature. It takes the guesswork out of cooking chicken. If you don’t have one, you’ll have to rely on timing, which is riskier.
Fork or small spatula — For spreading the butter mixture over the chicken.
Optional but nice:
Rolling pin or meat mallet — To pound the chicken breasts to even thickness. This ensures they cook evenly. I use a rolling pin because it’s easier to control.
Microplane grater — For zesting the lemon. It’s small but makes zesting easy and safe.
How to Make It: Step-by-Step
Alright, let’s make this! I’m walking you through exactly how I do it, including the little tricks I’ve picked up.
Step 1: Prep the Chicken (5 minutes)
Preheat your oven to 400°F (200°C). While it heats, pat the chicken breasts dry with paper towels. This seems minor, but drying the surface helps the butter stick and promotes browning. If the breasts are unevenly thick, place them between two sheets of plastic wrap and gently pound the thicker ends with a rolling pin until they’re about ½ inch thick all around. This is crucial for even cooking. Season both sides generously with salt and pepper.
Step 2: Make the Herb Garlic Butter (3 minutes)
In a small bowl, combine the softened unsalted butter, minced garlic, chopped parsley, thyme, rosemary, lemon zest, and red pepper flakes (if using). Mix well with a fork until it’s a smooth, fragrant paste. The butter should be soft enough to spread easily but not melted. If it’s too hard, microwave it for 5-10 seconds to soften it.
Step 3: Coat the Chicken (2 minutes)
Place the seasoned chicken breasts in the baking dish. Spoon the herb garlic butter mixture over the top of each breast. Use a fork or your fingers to spread it evenly, making sure to cover the entire surface. Try to get some of the butter under the edges if you can. This helps flavor the meat as it cooks.
Step 4: Bake the Chicken (20-25 minutes)
Place the baking dish in the preheated oven. Bake for 20-25 minutes, depending on the thickness of the breasts. The chicken is done when the internal temperature reaches 165°F (74°C) at the thickest part. I check at the 20-minute mark with a meat thermometer. If it’s not there yet, check every 2-3 minutes. Don’t overcook it! Once it hits 165°F, take it out immediately.
Step 5: Rest the Chicken (5 minutes)
Remove the chicken from the oven and let it rest in the pan for 5 minutes before slicing. This allows the juices to redistribute throughout the meat. If you cut into it immediately, the juices will run out, and the chicken will be dry. This step is non-negotiable for juicy chicken.
Step 6: Serve
Slice the chicken against the grain and serve warm. Spoon any remaining butter from the pan over the top. It’s delicious with creamy southern coleslaw or a simple green salad.
Total Time: About 35 minutes (5 minutes prep, 25 minutes cook, 5 minutes rest)
Troubleshooting:
Chicken is dry: You likely overcooked it. Next time, check the temperature a minute or two before 165°F. Chicken continues to cook slightly after being removed from the oven, so you can pull it at 160°F and let it rest.
Butter is burning: If your oven runs hot, the butter might brown too quickly. Cover the pan with foil for the first 15 minutes, then remove the foil to let it brown.
Expert Tips & Tricks
Here’s everything I’ve learned from making this dozens of times. These tips will save you from my mistakes.
Pound the Chicken Even — This is the #1 tip. Uneven chicken breasts cook unevenly. The thick parts dry out before the thin parts are done. Pounding them to an even thickness ensures uniform cooking. I know it’s an extra step, but it’s worth it.
Don’t Skip the Rest — I know it’s hard to wait, but resting is crucial. The juices need time to settle. If you cut into it immediately, you’ll lose all that moisture. Set a timer for 5 minutes and resist the urge to peek.
Use a Thermometer — Guessing is for amateurs. A meat thermometer takes the guesswork out. Insert it into the thickest part of the breast. If it reads 165°F, it’s done. If it’s lower, keep cooking. If it’s higher, you’ve overcooked it.
Softened Butter — Make sure the butter is soft enough to spread easily. If it’s too hard, it won’t coat the chicken evenly. If it’s melted, it won’t stick as well. Aim for a soft, spreadable consistency.
Fresh Herbs Only — Dried herbs don’t have the same brightness as fresh. I’ve tried it, and the flavor is just not the same. Fresh parsley, thyme, and rosemary make a huge difference.
Pro Trick: Add Lemon Juice — After resting, squeeze a little fresh lemon juice over the chicken before serving. It brightens the flavor and cuts through the richness of the butter.
Pro Trick: Pan Sauce — After removing the chicken, deglaze the pan with 2 tablespoons of white wine or chicken broth. Scrape up the browned bits and simmer for 2 minutes. Pour this sauce over the chicken for extra flavor.
Variations & Substitutions
Once you’ve nailed the basic version, here’s how you can mix it up. I’ve tried all of these.
Italian Style — Swap thyme and rosemary for Italian seasoning. Add 1 teaspoon of dried oregano. Serve with marinara sauce and mozzarella cheese. This is a great way to use leftover chicken in pasta.
Mediterranean Style — Add 1 teaspoon of dried oregano and 1 tablespoon of chopped fresh oregano. Add 2 tablespoons of chopped Kalamata olives to the butter mixture. Serve with hummus and pita bread.
Spicy Chicken — Add 1 teaspoon of cayenne pepper and 1 teaspoon of smoked paprika to the butter mixture. This gives it a nice kick. Great with crispy baked zucchini fries for a spicy appetizer.
Honey Garlic — Add 1 tablespoon of honey to the butter mixture. This adds a slight sweetness that pairs well with the garlic. Great with roasted vegetables.
Dairy-Free — Use olive oil instead of butter. The flavor will be different, but it still works. Add extra herbs to compensate for the lost richness.
Gluten-Free — This recipe is naturally gluten-free. Just make sure your herbs and spices are certified gluten-free if you’re sensitive.
Different Proteins:
Chicken Thighs — Use boneless, skinless chicken thighs. They’re more forgiving and stay juicy even if slightly overcooked. Cook for 18-20 minutes.
Turkey Breasts — Turkey breasts are leaner and can dry out faster. Cook for 15-20 minutes and check temperature frequently.
Serving & Storage
How to Serve:
I usually serve this straight from the pan at the dinner table—it looks rustic and stays warm. But here are other ways I’ve enjoyed it:
Side Dishes:
- Honey roasted carrots for a sweet and savory contrast
- Simple green salad with balsamic vinaigrette
- Roasted broccoli or green beans
- Mashed potatoes (to soak up the butter sauce)
Toppings Bar:
When I have guests, I put out: extra lemon wedges, fresh herbs, red pepper flakes. Everyone customizes their bowl.
Storage Instructions:
Refrigerator:
Store in an airtight container for up to 4 days. The chicken will stay moist if stored in the pan juices. Reheat gently in the microwave or oven to avoid drying out.
Reheating:
Best method: Reheat in the oven at 350°F for 10-15 minutes, covered with foil. This keeps it moist. Microwave in 30-second intervals, stirring between, if you’re in a hurry.
Freezing:
This doesn’t freeze well because of the butter. The sauce separates when thawed. Make it fresh or store in the fridge for up to 4 days.
Meal Prep:
Make the chicken on Sunday, store in the fridge. Slice it and add to salads, sandwiches, or grain bowls throughout the week. It’s a versatile protein that makes meal prep easy.
Nutrition Information
I’m not a nutritionist, but here’s the breakdown if you’re tracking.
Per Serving (based on 4 servings):
- Calories: 280
- Protein: 35g
- Carbs: 2g
- Fiber: 0g
- Sugar: 0g
- Fat: 14g
- Saturated Fat: 8g
- Cholesterol: 100mg
- Sodium: 350mg
What’s Good:
- High protein from the chicken
- Low carb, making it great for low-carb diets
- Rich in vitamins from the herbs
What to Know:
- Higher in calories from the butter
- Contains dairy
- Moderate sodium (use low-sodium broth if needed)
My Take:
Look, this is comfort food with butter. It’s not a diet recipe. But it’s way better than takeout, costs less, and I know exactly what’s in it. When I want to make it lighter, I use less butter and load up on vegetables. But usually? I just eat a reasonable portion and enjoy it.
Final Thoughts
So that’s my go-to Never-Dry Oven-Baked Chicken Breast with Herb Garlic Butter! I’ve probably talked your ear off at this point, but when you make a recipe this often, you have a lot to say about it.
This has saved weeknight dinners more times than I can count. It’s my answer to “what’s for dinner” when I’m tired, don’t want takeout, and still want something that tastes really good. My kids are happy, my husband’s happy, and I’m happy because I’m not stressed about cooking.
Make it yours! Try different herbs, swap in your favorite vegetables, adjust the garlic (though more is always better in my opinion). The best recipes are the ones you adapt to your family’s tastes.
If you make this, drop a comment and let me know what you think! I love hearing how recipes turn out in your kitchen. And if something doesn’t work, tell me that too—I’m here to help troubleshoot.
Happy cooking! And I hope your kitchen smells half as good as mine does right now.
Frequently Asked Questions
Can I use frozen chicken breasts?
You can, but you’ll need to thaw them first. Cooking frozen chicken directly in the oven will result in uneven cooking. I recommend thawing them in the fridge overnight or using the defrost setting on your microwave. Once thawed, proceed with the recipe as written.
Why did my chicken turn out dry?
Usually, this means you overcooked it. Chicken breast cooks quickly, and it’s easy to go past 165°F. Next time, check the temperature a minute or two before the recommended time. Also, make sure you’re pounding the chicken to an even thickness so it cooks uniformly.
Can I make this ahead for a dinner party?
Sort of. Prep the chicken and butter mixture up to 2 days ahead and store in the fridge. Bake the chicken fresh right before serving (takes 25 minutes). It won’t be quite as good as fresh, but it’s close and saves you stress during the party. I do this all the time.
Can I use dried herbs instead of fresh?
You can, but the flavor will be different. Use 1 teaspoon of dried herbs for every 1 tablespoon of fresh. Dried herbs are more concentrated, so use less. Fresh herbs are preferred for this recipe because they add brightness and aroma.
How do I reheat leftovers without it getting dry?
Add a splash of chicken broth or water to a skillet, add your leftover chicken, and heat gently over low heat, stirring frequently. The extra liquid brings back the moisture. Microwave sort of works but tends to dry it out. If you do microwave, definitely add a splash of liquid first and heat in short bursts, stirring between.
Can I double this recipe?
Absolutely! Double everything and use a larger baking dish. The cooking times stay the same. I do this when I’m meal-prepping or feeding a crowd. Just make sure your baking dish is big enough for the chicken to sit in a single layer.
What’s the best side dish to serve with this?
I love serving it with honey roasted carrots for a sweet and savory contrast. A simple green salad with balsamic vinaigrette is also great. Mashed potatoes are perfect for soaking up the butter sauce.
Pin This Recipe!
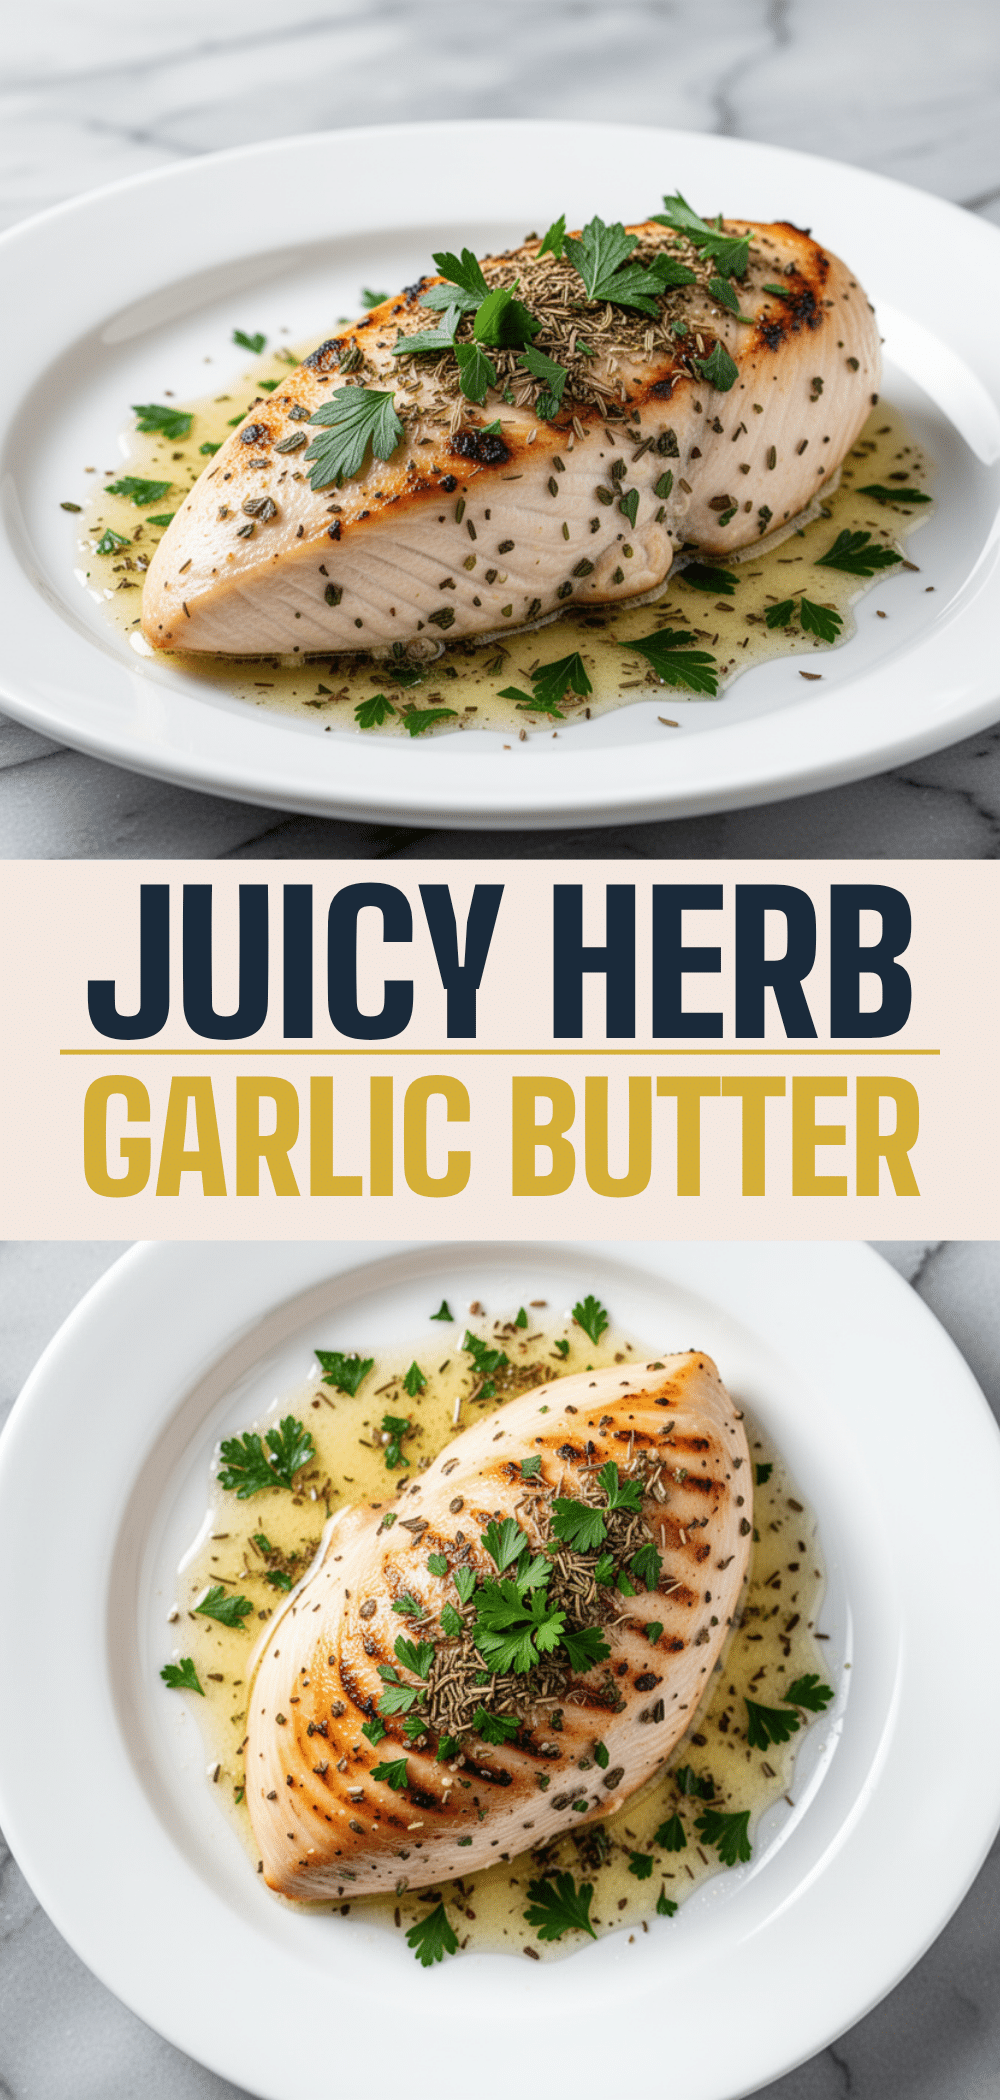
Perfect Oven-Baked Chicken Breast with Herb Garlic Butter
- Total Time: 35 minutes
- Yield: 4 servings 1x
Description
Juicy, flavorful oven-baked chicken breasts coated in a homemade herb garlic butter mixture. This method ensures tender meat every time, preventing the common issue of dry chicken.
Ingredients
- 4 large boneless, skinless chicken breasts (about 1.5 lbs / 680g)
- 1 teaspoon sea salt
- ½ teaspoon freshly cracked black pepper
- 4 tablespoons unsalted butter, softened
- 4 cloves garlic, minced
- 2 tablespoons fresh parsley, chopped
- 1 tablespoon fresh thyme leaves
- 1 teaspoon fresh rosemary, finely chopped
- 1 teaspoon lemon zest
- ¼ teaspoon red pepper flakes (optional)
Instructions
- Preheat oven to 400°F (200°C). Pat chicken breasts dry with paper towels. If uneven, pound to ½ inch thickness. Season both sides with salt and pepper.
- In a small bowl, mix softened butter, minced garlic, parsley, thyme, rosemary, lemon zest, and red pepper flakes until a smooth paste forms.
- Place chicken in a 9×13 inch baking dish. Spread the herb garlic butter mixture evenly over the top of each breast, getting some under the edges if possible.
- Bake for 20-25 minutes until internal temperature reaches 165°F (74°C) at the thickest part.
- Remove from oven and let rest in the pan for 5 minutes to redistribute juices.
- Slice against the grain and serve warm, spooning any remaining pan butter over the top.
Notes
Pounding chicken to even thickness is crucial for uniform cooking. Do not skip the resting period, as it keeps the meat juicy. Use a meat thermometer to avoid overcooking; pull at 160°F as it will continue to cook while resting. If your oven runs hot, cover with foil for the first 15 minutes to prevent butter from burning.
- Prep Time: 5 minutes
- Cook Time: 25 minutes
- Category: Main Course
- Cuisine: American
Nutrition
- Serving Size: 1 chicken breast
- Calories: 280
- Sodium: 350
- Fat: 14
- Saturated Fat: 8
- Carbohydrates: 2
- Protein: 35
Keywords: chicken breast, herb garlic butter, oven baked chicken, juicy chicken, weeknight dinner, meal prep, high protein, gluten-free


