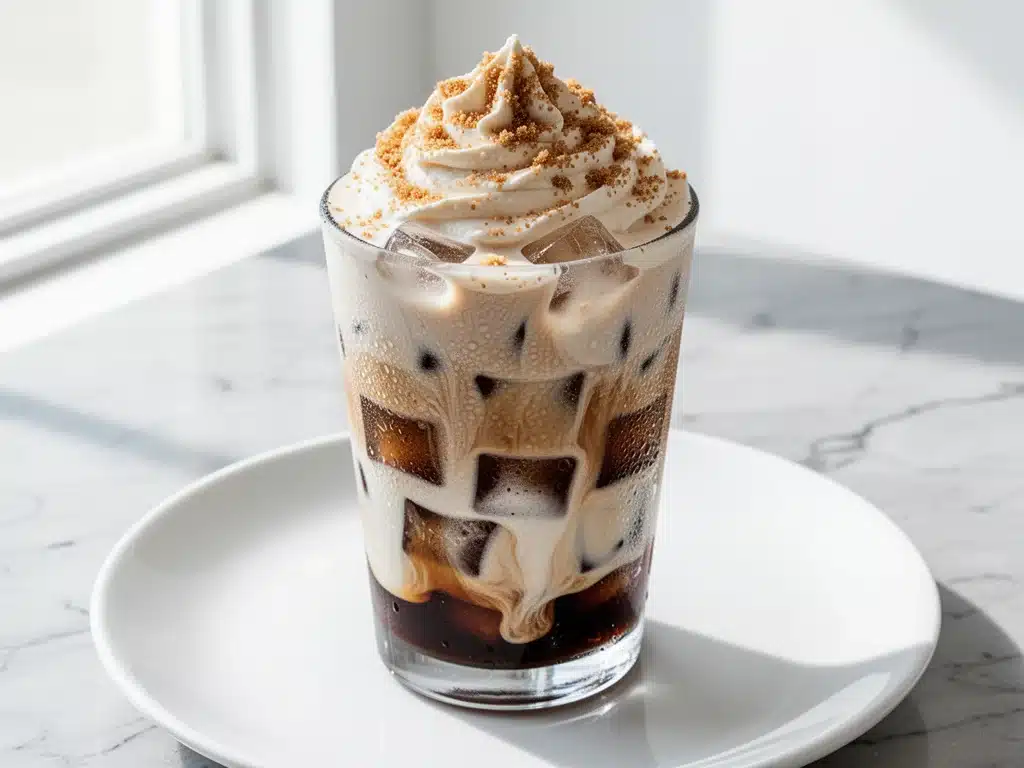
Last October, I stood in line at my local Starbucks for twelve minutes. Twelve minutes. I watched the barista behind me order a drink that cost $9.50, which is honestly criminal pricing for roasted beans and ice water. When my turn finally came, I ordered the Brown Sugar Shaken Espresso. I got it back about three minutes later, looked at the receipt, and almost cried. Nine dollars and fifty cents. For a drink I could make in my kitchen for about sixty cents.
But here’s the thing—it wasn’t just the price that bothered me. It was the consistency. Some days it was perfect, sweet, and frothy. Other days? It was watery, bitter, or just… sad. I started wondering if I could actually replicate that specific taste in my own kitchen. Not just a decent version, but the real deal. The one that makes you close your eyes and sigh when you take that first sip.
I’ve made this copycat Starbucks Brown Sugar Shaken Espresso with oat milk recipe dozens of times over the last year. I’ve tweaked the ice ratios, experimented with different espresso brands, and even tried shaking it by hand versus using a shaker. The result? I finally cracked the code. This version is sweet, creamy, bold, and honestly better than what you get at the coffee shop because you control the quality of every ingredient.
And yes, it uses oat milk. Because while I love dairy, oat milk creates that specific silky, velvety foam that Starbucks is famous for. It’s the perfect partner to the bold espresso and the caramelized brown sugar. If you’re tired of paying premium prices for mediocre coffee, or if you just want to impress your guests with a fancy morning drink, this is your new go-to. It’s easier than you think, and it tastes incredible.
Why You’ll Love This Copycat Starbucks Brown Sugar Shaken Espresso
There are about ten reasons I keep making this drink, but let’s be real—you’re here because it tastes amazing and saves you money. Here’s the breakdown of why this copycat Starbucks Brown Sugar Shaken Espresso with oat milk has completely replaced my morning coffee run.
It Takes Three Minutes Flat — Seriously. From pulling the espresso shot to shaking it with ice, it’s faster than walking to the coffee shop. I make this on weekdays when I’m running late for work, and it never fails me. The actual shaking part takes about 15 seconds. The rest is just prep.
You Control the Sweetness — At the shop, you’re stuck with their pump count. Here, you decide how sweet you want it. Want it lightly sweetened? Use less brown sugar. Want that syrupy Starbucks kick? Use a full tablespoon. It’s your drink, your rules.
Oat Milk Foam is Magic — I know some people swear by almond or coconut milk, but for this specific recipe, oat milk wins hands-down. It has a higher fat and protein content that froths beautifully when shaken. It creates that signature thick head of foam that sits on top of the espresso. It’s luxurious without being heavy.
It’s Budget-Friendly — If you buy a bag of good espresso beans and a carton of oat milk, one serving costs less than $1. That’s a huge savings over the years. I calculate that I’ve saved enough money from making this at home to buy a new coffee grinder. That’s how often I make it.
It’s Impressively Fancy — Don’t let the simplicity fool you. When you serve this to friends, they will think you’re a barista. The layering of the dark espresso against the creamy white oat milk, topped with a dusting of brown sugar, looks stunning. It’s perfect for weekend brunches or when you want to treat yourself to something special.
This drink has become my answer to “I need a pick-me-up” when I’m tired of the same old drip coffee. It’s exciting, it’s quick, and it just works. No complicated techniques, no weird equipment, just reliable, delicious caffeine in a glass.
Ingredients You’ll Need
Here’s the best part: you probably have most of this already. This copycat Starbucks Brown Sugar Shaken Espresso with oat milk relies on just four key ingredients. I’m particular about two of them, and I’ll tell you exactly why.
Espresso Beans (1/4 cup whole beans, or 2 shots of brewed espresso) — I use a medium-dark roast. Starbucks uses a specific blend called “Starbucks Blonde” or their standard dark roast, but you can use any good quality espresso beans. I prefer beans with notes of chocolate or caramel to complement the brown sugar. Freshly ground is non-negotiable for the best flavor. If you don’t have an espresso machine, you can use a Moka pot or even strong brewed coffee, but the texture won’t be quite as rich.
Brown Sugar (1 tablespoon, packed) — This is the star. Don’t use white sugar. Don’t use maple syrup (unless you want a different flavor profile). You need real, dark brown sugar. It has that molasses kick that caramelizes slightly when it hits the ice. I buy mine in small bags because I don’t use it for baking that often. If you don’t have brown sugar, you can make a quick brown sugar syrup by dissolving 1 tablespoon of brown sugar in 1 tablespoon of hot water, but the granular sugar adds a nice texture when shaken.
Oat Milk (3/4 cup) — I use Barista Edition oat milk. Regular oat milk works, but the Barista Edition has added fats that help it foam better. Oatly is the most common brand, but any oat milk labeled “barista” will give you that creamy foam. Do not use almond milk or coconut milk if you want that specific Starbucks texture—they don’t foam the same way and can taste too thin.
Ice Cubes (1 cup, large cubes preferred) — The ice is crucial. It chills the drink rapidly and creates the agitation needed to mix the espresso and sugar. Large cubes are better because they melt slower, keeping the drink cold without watering it down too quickly. If you don’t have large cubes, regular cubes work fine, but you’ll need to drink it a bit faster.
Optional Topping — A pinch of extra brown sugar or a light dusting of cinnamon. I usually just sprinkle a little extra brown sugar on top for that authentic look and a bit of crunch.
Personal Tips:
- Bean Choice: I always keep a bag of Lavazza or Illy espresso beans on hand. They’re reliable and widely available. If you’re feeling fancy, try a single-origin Ethiopian bean for fruity notes.
- Sugar Prep: If your brown sugar is hard, microwave it for 10 seconds with a tablespoon of water to soften it. This helps it dissolve faster in the shaker.
- Milk Temperature: Keep your oat milk in the fridge until the last minute. Cold milk froths better than room temperature milk.
- Storage: Espresso beans should be stored in an airtight container away from light. Oat milk should be shaken well before pouring, as the solids settle at the bottom.
Equipment Needed
You don’t need fancy equipment for this. Here’s what I actually use.
Coffee Machine or Espresso Maker — Obviously, you need to make the espresso. I use a Breville Barista Express, but a simple pod machine or a Moka pot works perfectly fine. The goal is strong, concentrated coffee.
Cocktail Shaker or Jar — This is the most important tool. I use a Boston shaker (the two-piece metal kind) because it seals tight. But honestly? A mason jar with a tight-fitting lid works just as well. I’ve used a simple jelly jar many times when I’m in a rush. Just make sure the lid is secure so you don’t spray espresso all over your kitchen.
Espresso Cup or Glass — I prefer a clear glass so you can see the layers. A 12-ounce glass is perfect. If you don’t have one, a regular drinking glass works, but it won’t look as pretty for photos.
Scale (Optional) — For measuring the espresso, I use a scale for precision, but you can eyeball it if you’re confident in your shot pulling. Two shots (about 2 ounces) is the standard.
Measuring Spoon — For the brown sugar. Just a standard tablespoon.
Strainer (Optional) — If you’re using a jar and not a shaker with a built-in strainer, you might want a small mesh strainer to catch any ice chips when you pour.
Tool Tips:
- Shaker Alternative: If you don’t have a shaker, use a sturdy plastic water bottle. It’s not as elegant, but it seals well and shakes vigorously.
- Ice Tongs: Nice to have for removing large ice chunks if you want to serve it over fresh ice, but usually, we shake with ice and pour it all in.
How to Make It: Step-by-Step
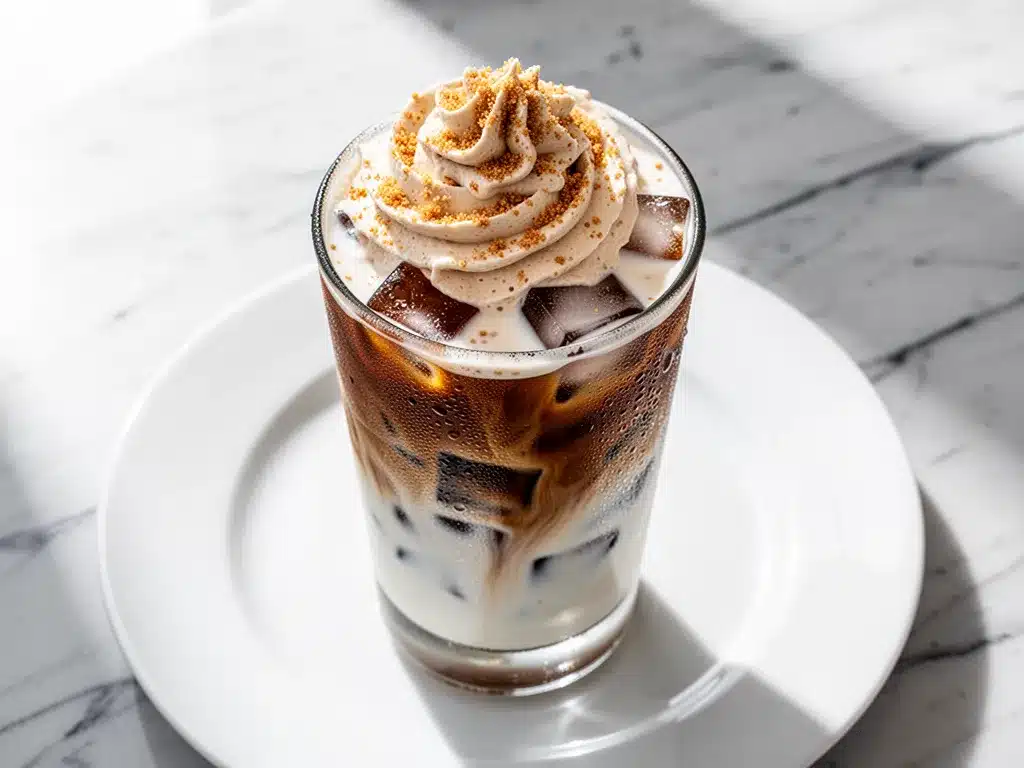
Alright, let’s make this! I’m walking you through exactly how I do it, including the little tricks I’ve picked up.
Step 1: Brew Your Espresso (2 minutes)
Start by pulling two shots of espresso. If you’re using a pod machine, use two pods. If you’re using a Moka pot, brew a strong cup of coffee. The espresso needs to be hot and concentrated. Pour it into a heatproof measuring cup or small bowl. If you’re using pre-ground coffee, make sure it’s fine enough for espresso.
Step 2: Prep the Shaker (1 minute)
Add 1 tablespoon of packed brown sugar to your cocktail shaker or mason jar. Then, add your cup of ice cubes. The ice should fill about half the shaker. If the shaker is too small, the pressure might build up and pop the lid. Use a large enough container to accommodate the ice and liquid.
Step 3: Add the Espresso (30 seconds)
Pour the hot espresso directly over the ice and brown sugar in the shaker. The heat from the espresso will help dissolve the brown sugar slightly. If you’re worried about the sugar not dissolving, you can add a teaspoon of hot water to help it melt, but the shaking action usually takes care of it.
Step 4: Shake Vigorously (15 seconds)
Secure the lid tightly. This is the fun part. Shake the mixture hard for 15 seconds. You want to agitate the ice, espresso, and sugar together. You’ll hear the ice cracking and the liquid splashing. This process chills the espresso rapidly and creates a frothy, creamy texture. Don’t rush this step—shake until your arm feels it. The mixture should look lighter in color and foamy.
Step 5: Strain into Glass (30 seconds)
Remove the lid from the shaker. Place a mesh strainer over your serving glass. Pour the shaken espresso mixture into the glass. The ice and sugar will be caught by the strainer, leaving you with a smooth, frothy liquid. If you’re using a shaker with a built-in strainer, just pour it directly.
Step 6: Add the Oat Milk (1 minute)
Slowly pour the cold oat milk over the back of a spoon into the glass. This helps it layer on top of the espresso. If you pour it too fast, it will mix immediately. You want to see that beautiful contrast between the dark espresso and the white oat milk. If you don’t care about layers, just stir it in.
Step 7: Garnish and Serve
Sprinkle a pinch of extra brown sugar on top for garnish. This adds a bit of visual appeal and a tiny bit of crunch. Serve immediately with a straw. The foam will start to settle after a few minutes, so drink it while it’s fresh.
Total Time: About 5 minutes (2 minutes brewing, 1 minute shaking, 2 minutes assembly)
Built-in Troubleshooting:
- Sauce too watery? Not applicable here, but if your drink is too weak, you didn’t use enough espresso. Use two shots, not one.
- Sugar not dissolved? Shake longer. The friction and heat should dissolve it. If not, use a quick syrup.
- Too much foam? Use less ice or shake for fewer seconds. The foam is desirable, but not if it overflows the glass.
Expert Tips & Tricks
Here’s everything I’ve learned from making this dozens of times. These tips will save you from my mistakes.
Use Cold Oat Milk
This is the #1 tip. Cold milk froths better. If your oat milk is warm, it won’t create that thick, creamy foam. I keep my oat milk in the fridge until the moment I need it. If I forget, I put it in the freezer for 10 minutes. It makes a huge difference in texture.
Don’t Skip the Shake
You might be tempted to just stir the espresso and sugar. Don’t. The shaking is what creates the signature Starbucks texture. It aerates the espresso and creates a silky mouthfeel. If you don’t shake it, you’re just making sweet iced coffee. It’s a different drink entirely.
Choose the Right Brown Sugar
Dark brown sugar has more molasses and a deeper flavor. Light brown sugar is milder. For this copycat Starbucks Brown Sugar Shaken Espresso with oat milk, I prefer dark brown sugar because it mimics the caramelized taste of the Starbucks syrup. If you only have light brown sugar, add a teaspoon of molasses to deepen the flavor.
Layering for Aesthetics
If you want that Instagram-worthy look, pour the oat milk slowly over the back of a spoon. This allows the milk to float on top of the denser espresso mixture. It creates distinct layers that mix as you drink. It’s not necessary for taste, but it’s fun to watch.
Common Mistakes (and how to avoid them):
- Mistake: Drink is too sweet Fix: Use less brown sugar. Start with 1 teaspoon and add more to taste. You can always add more, but you can’t take it away.
- Mistake: Drink is too weak Fix: Use two shots of espresso. One shot is not enough to stand up to the ice and milk. Espresso needs to be bold.
- Mistake: Lid pops off Fix: Make sure the lid is screwed on tight. If using a mason jar, ensure the ring is secure. Ice expansion can push lids off.
Pro Tricks I’ve Learned:
- For Extra Creaminess: Add a splash of vanilla extract. It’s not in the original recipe, but it adds a nice depth of flavor that complements the brown sugar.
- For Better Foam: Use oat milk with higher fat content. Some brands add sunflower oil or other fats to improve foam. Check the label.
- For Icing Cold: Freeze your espresso in ice cube trays beforehand. Then use espresso ice cubes instead of water ice. This way, as the ice melts, it just adds more coffee flavor instead of diluting the drink.
Variations & Substitutions
Once you’ve nailed the basic version, here’s how you can mix it up. I’ve tried all of these.
Vanilla Version
Add 1/2 teaspoon of vanilla extract to the shaker. This is a classic variation and tastes like a vanilla latte in iced form. My friends love this version because it’s slightly less sweet and more aromatic.
Coconut Milk Version
Substitute oat milk with full-fat coconut milk. It’s creamier and richer, but the flavor will be more tropical. I use this when I’m avoiding oats. It doesn’t foam as well as oat milk, but it’s still delicious.
Almond Milk Version
Use unsweetened almond milk. It’s lighter and lower in calories, but the foam will be thinner. I make this when I’m trying to be health-conscious. It’s still good, just less luxurious.
Dirty Version (With Alcohol)
Add 1 ounce of vanilla vodka or whiskey to the shaker. This turns it into a cocktail. Perfect for evening drinks or brunch with adults. I’ve served this at parties and it’s always a hit.
Chocolate Version
Add 1 tablespoon of chocolate syrup to the shaker. It’s like a mocha shaken espresso. Great for chocolate lovers. I use this when I want something indulgent.
Dietary Modifications:
- Vegan: This recipe is naturally vegan if you use oat milk and brown sugar (some brown sugars are processed with bone char, so check your brand if you’re strict vegan).
- Gluten-Free: Naturally gluten-free. Just ensure your espresso beans and oat milk are certified gluten-free if you have celiac disease.
- Lower Sugar: Use half the brown sugar or substitute with a zero-calorie sweetener. It won’t be as sweet, but it’s still flavorful.
Serving & Storage
How to Serve:
I usually serve this straight from the shaker into a clear glass. It looks rustic and stays cold. But here are other ways I’ve enjoyed it:
- With Pastries: Pair it with a fall maple pecan sticky bun for a sweet brunch treat.
- With Cookies: Serve with gluten-free fall pumpkin snickerdoodle cookies for a cozy afternoon snack.
- With Bread: Enjoy with a slice of ultra-moist pumpkin bread for a complete fall experience.
Storage Instructions:
Refrigerator: You can’t store the shaken mixture. Brew the espresso and store it in the fridge for up to 2 days. Shake it fresh each time. The oat milk should be kept in the fridge and used within its expiration date.
Freezing: Do not freeze the shaken drink. The texture will separate and become grainy. You can freeze brewed espresso in ice cube trays for later use.
Meal Prep: Brew a large batch of espresso in the morning and store it in a jar in the fridge. When you’re ready to drink, just shake it with ice and sugar. It saves time on busy mornings.
Nutrition Information
I’m not a nutritionist, but here’s the breakdown if you’re tracking.
Per Serving (based on 1 drink):
- Calories: 120
- Protein: 2g
- Carbs: 20g
- Fiber: 0g
- Sugar: 16g
- Fat: 4g
- Sodium: 60mg
What’s Good:
- Low in calories compared to coffee shop drinks
- Plant-based (if using oat milk)
- No artificial flavors
What to Know:
- Contains sugar from brown sugar
- Contains oat milk (gluten-free if certified)
- Caffeine content depends on espresso shots (approx. 150mg)
My Take:
Look, this is a sweet treat. It’s not a health drink. But it’s way better than the sugary syrups you get at coffee shops. I know exactly what’s in it. When I want to make it lighter, I use half the sugar. But usually? I just enjoy it as a special morning indulgence.
Final Thoughts
So that’s my go-to copycat Starbucks Brown Sugar Shaken Espresso with oat milk! I’ve probably talked your ear off at this point, but when you make a recipe this often, you have a lot to say about it.
This drink has saved my mornings. It’s my answer to “I need coffee” when I’m tired of the same old routine. It’s quick, it’s delicious, and it makes me feel fancy without leaving my house. My friends are always impressed when I serve this, and I love that I can customize it to my taste.
Make it yours! Try different sugars, add vanilla, or swap the milk. The best recipes are the ones you adapt to your preferences. If you make this, drop a comment and let me know what you think! I love hearing how recipes turn out in your kitchen.
Happy brewing! And I hope your kitchen smells half as good as mine does right now.
Frequently Asked Questions
Can I use regular coffee instead of espresso?
You can, but the flavor won’t be as strong. Espresso is concentrated, which is why it stands up to the ice and milk. If you use regular coffee, make it very strong—almost like a concentrate. I’ve used strong Moka pot coffee, and it works okay, but it’s not quite the same. For the best results, use actual espresso.
Why did my drink turn out watery?
Usually, this means you didn’t shake it long enough or you used too much ice. The shaking creates the foam and chills the drink rapidly. If you shake it for only 5 seconds, it won’t be as frothy. Also, if you use small ice cubes, they melt faster. Use large cubes and shake for a full 15 seconds.
Can I make this ahead for guests?
Not really. The foam settles quickly. You need to make it fresh right before serving. However, you can brew the espresso ahead of time and store it in the fridge. When guests arrive, just shake it with ice and sugar. It takes less than a minute per drink.
Why did my lid pop off while shaking?
Pressure built up inside the shaker. This happens if you shake too hard or if the lid wasn’t tight. Always make sure the lid is secure. If using a mason jar, tighten the ring. If you’re worried, shake it gently at first, then increase intensity. Or use a shaker with a better seal.
Can I use almond milk instead of oat milk?
You can, but the foam won’t be as thick. Oat milk has a higher fat content that helps it foam. Almond milk is thinner and can taste watery. If you must use almond milk, choose a “barista” version that’s designed for frothing. It will work, but it’s not as creamy.
How do I store leftover espresso?
Store it in an airtight container in the fridge for up to 2 days. It will lose some of its aroma, but it’s still usable. Don’t freeze it unless you’re making espresso ice cubes. Freshly brewed is always best.
Can I double this recipe?
Yes! Just use a larger shaker. Double the ingredients and shake in batches if your shaker is too small. Don’t try to shake a huge amount in a small shaker—it won’t work well. One shaker per drink is ideal for best results.
Pin This Recipe!
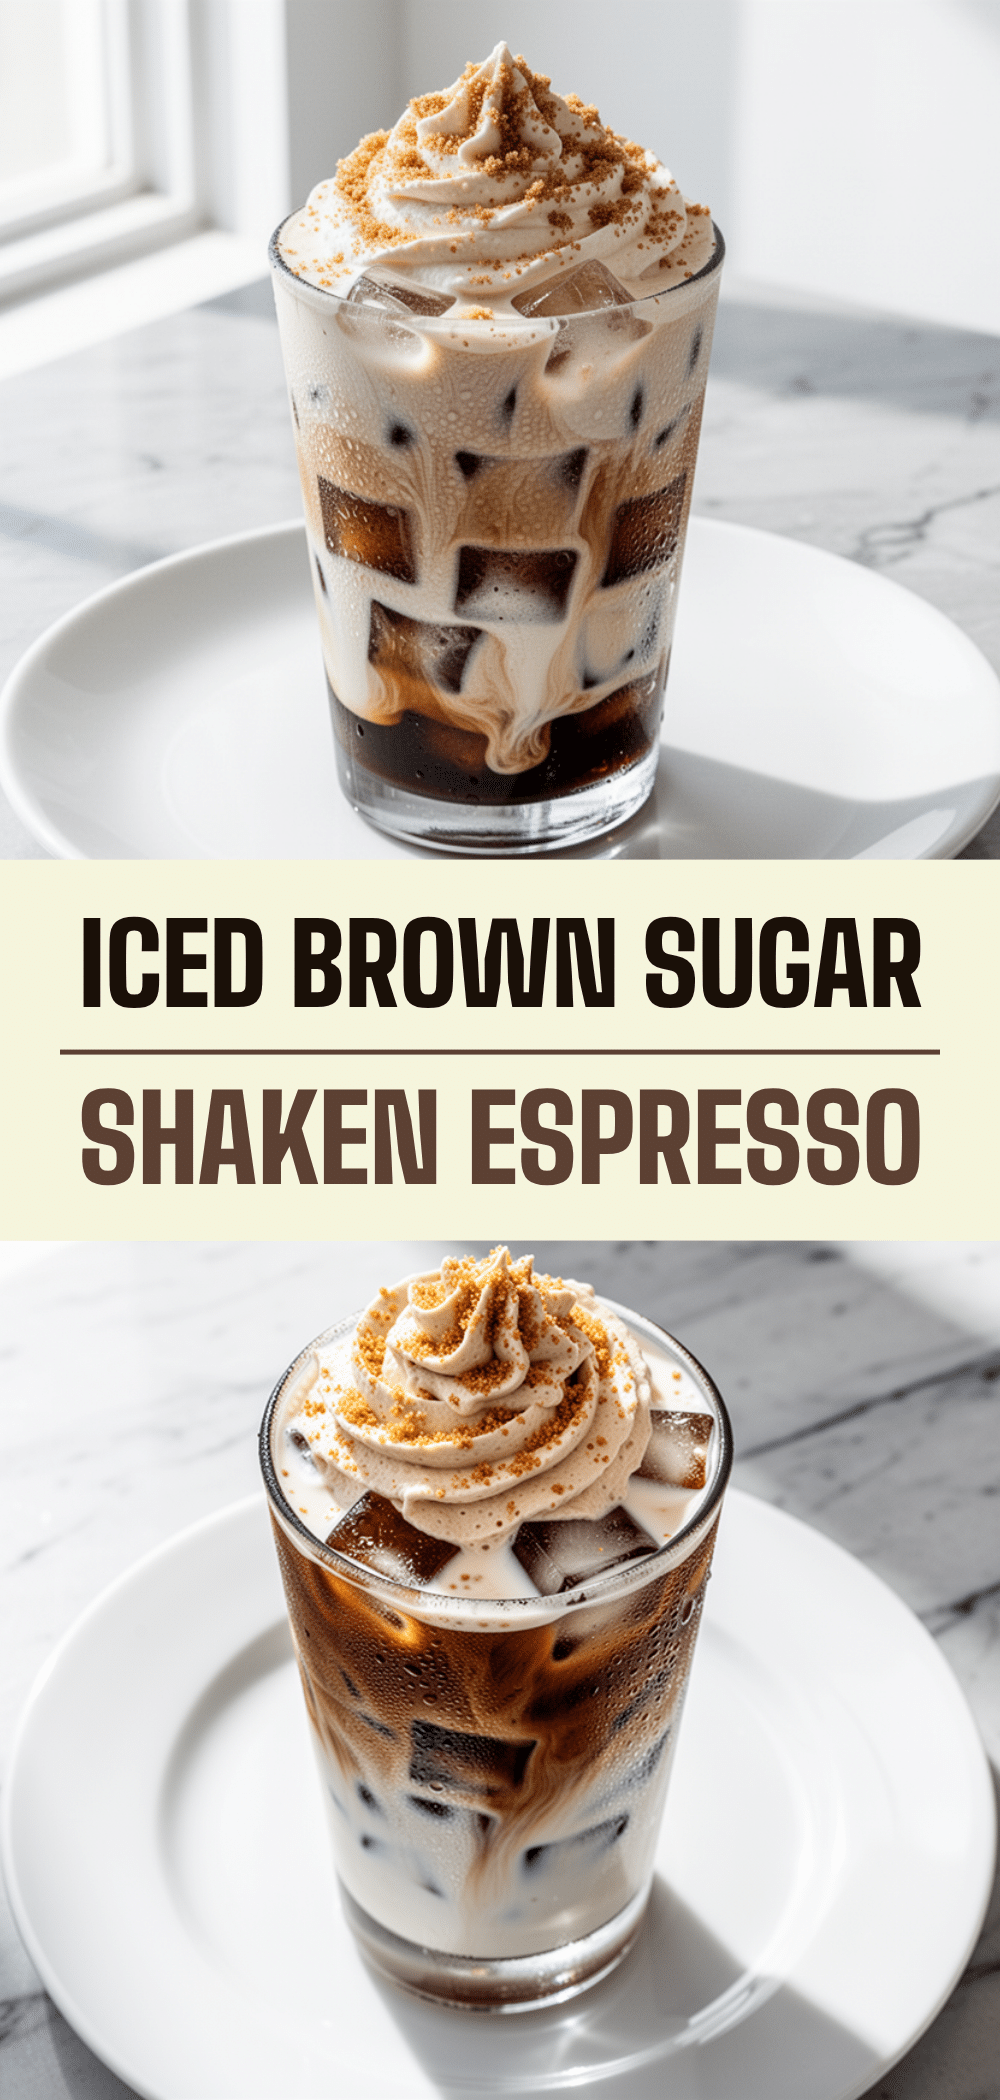

Copycat Starbucks Brown Sugar Shaken Espresso: Easy Oat Milk Drink
- Total Time: 5 minutes
- Yield: 1 serving 1x
Description
A quick, budget-friendly homemade version of the popular Starbucks drink, featuring bold espresso, caramelized brown sugar, and creamy oat milk foam.
Ingredients
- 1/4 cup espresso beans (or 2 shots of brewed espresso)
- 1 tablespoon packed brown sugar
- 3/4 cup oat milk (Barista Edition recommended)
- 1 cup ice cubes (large cubes preferred)
- Pinch of extra brown sugar or cinnamon for garnish (optional)
Instructions
- Brew two shots of espresso using an espresso machine, pod machine, or Moka pot. Pour into a heatproof measuring cup.
- Add 1 tablespoon of packed brown sugar and 1 cup of ice cubes to a cocktail shaker or mason jar.
- Pour the hot espresso directly over the ice and brown sugar in the shaker.
- Secure the lid tightly and shake vigorously for 15 seconds to chill the espresso and dissolve the sugar.
- Place a mesh strainer over a 12-ounce glass and pour the shaken espresso mixture into the glass.
- Slowly pour the cold oat milk over the back of a spoon to layer it on top of the espresso.
- Garnish with a pinch of extra brown sugar or cinnamon and serve immediately with a straw.
Notes
Use cold oat milk for better foam. Shake vigorously for 15 seconds to create the signature texture. If brown sugar is hard, microwave with a teaspoon of water to soften. For a vanilla variation, add 1/2 teaspoon vanilla extract to the shaker.
- Prep Time: 2 minutes
- Cook Time: 1 minute
- Category: Beverage
- Cuisine: American
Nutrition
- Serving Size: 1 drink (approx. 12
- Calories: 120
- Sugar: 16
- Sodium: 60
- Fat: 4
- Saturated Fat: 0.5
- Carbohydrates: 20
- Protein: 2
Keywords: Starbucks copycat, brown sugar shaken espresso, oat milk latte, iced coffee, homemade espresso, vegan coffee drink, quick breakfast


