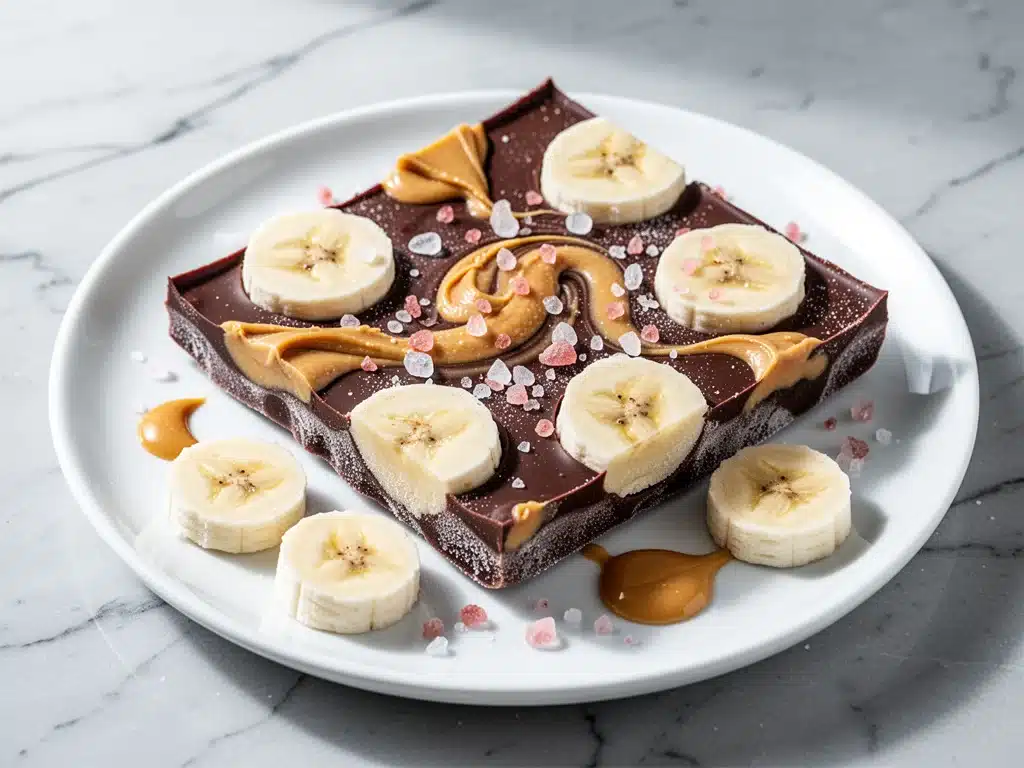
I have a confession to make. Last Tuesday, around 7:30 PM, I was standing in my kitchen with the lights off, staring into the open freezer like it held the secrets to the universe. My husband had just walked in the door, tired from work. My kids were hungry, loud, and demanding something “fun” for dessert. I didn’t have time to bake. I didn’t have time to clean up a mixing bowl, let alone a stand mixer. And honestly? I didn’t want to order takeout.
So, I did what any desperate, tired parent does. I grabbed a handful of bananas that were looking a little too brown to eat raw, some peanut butter from the pantry, and a bag of chocolate chips I’d been hoarding since October. I threw it together on a sheet of parchment paper, shoved it in the freezer, and went to bed.
Forty minutes later, we were all sitting on the couch, cracking pieces of frozen chocolate peanut butter banana bark like it was some fancy artisanal confection. My kids thought it was magic. My husband asked for the recipe. I realized I’d just created the perfect solution for those chaotic weeknights when you want to treat your family but have zero energy left.
This isn’t just a snack. It’s a survival tool. It’s that moment of triumph when you pull a dessert out of thin air, no baking required. I’ve made this bark at least a dozen times since that Tuesday—sometimes with strawberries, sometimes with pretzels, sometimes with just plain banana—but the classic chocolate and peanut butter combo remains my absolute favorite. It’s sweet, it’s salty, it’s cold, and it tastes like you spent hours crafting it (even though it took ten minutes).
If you’ve ever been caught off guard by a hungry family or just want a healthy-ish treat that feels indulgent, you need this in your rotation. It’s easier than making a bowl of cereal and way more exciting. Let me show you how to make this magic happen.
Why You’ll Love This Recipe
There are about a million reasons I keep coming back to this frozen bark, but if I had to narrow it down, it’s because it solves the biggest problem in modern parenting: the dessert dilemma. You want something special, but you don’t want to turn your kitchen into a flour bomb zone. Here’s why this chocolate peanut butter banana bark has earned a permanent spot in my freezer:
- Zero Baking Required — Seriously. If you can spread peanut butter on a banana, you can make this. No oven, no mixer, no dirty bowls. Just a sheet pan and a freezer. I’ve made this while helping my youngest with homework. It’s that simple.
- Ready in Under an Hour — You need about 10 minutes of active time to assemble it. Then, you just wait for the freezer to do the heavy lifting. By the time you’ve finished your own shower or scrolled through your phone, it’s ready to eat.
- Healthy-ish Indulgence — Okay, it’s covered in chocolate. But the base is fruit. It’s not loaded with refined sugar like a candy bar, and it has protein from the peanut butter. It feels like a cheat, but it’s actually pretty reasonable. My kids think it’s a treat; I know it’s a snack.
- Endlessly Customizable — This is the best part. You can change it every week. Did you buy the wrong bananas? Use frozen ones. Out of peanut butter? Try almond butter. Want to add crunch? Throw in some granola or crushed pretzels. It’s a blank canvas for your cravings.
- Portable and Packable — Unlike a cake or a pie, bark breaks into pieces. I pack these into my kids’ lunchboxes (thawed slightly) or throw a few in a baggie for road trips. It’s the ultimate on-the-go dessert that doesn’t melt as fast as ice cream.
- Uses Up Ripe Bananas — We’ve all been there. Those bananas with the black spots that are too mushy for pancakes but too sweet for eating raw. This recipe is their redemption arc. No waste, just yum.
It’s my go-to when I need a win. It’s reliable, it’s delicious, and it makes everyone happy without making me work for it. That’s a winning combination in my book.
Ingredients You’ll Need
Here’s the best part: you probably have 90% of these ingredients already. I’m not asking you to drive to three different stores for obscure spices. This is pantry-friendly cooking at its finest. Here’s exactly what you need to make this frozen chocolate peanut butter banana bark perfect.
For the Base
Ripe bananas (3 large, or about 2 cups of slices) — This is the star. You want them spotty brown. The browner, the sweeter. If they’re still yellow, they’ll be too tart and the chocolate might clash. Peel them and slice them into half-inch rounds. Uniform slices make the bark look prettier and break more evenly.
Peanut butter (½ cup / 120g) — I use natural creamy peanut butter. The kind with just peanuts and salt. No sugar added is best because the bananas provide the sweetness. If you have kids with allergies, sunflower seed butter or almond butter works perfectly fine here. Just make sure it’s spreadable.
Parchment paper (1 large sheet) — Do not skip this. Do not use wax paper. Do not use foil. Parchment is non-stick and handles the cold moisture from the bananas without sticking. I keep a roll in my pantry specifically for this. It makes cleanup literally non-existent.
For the Coating
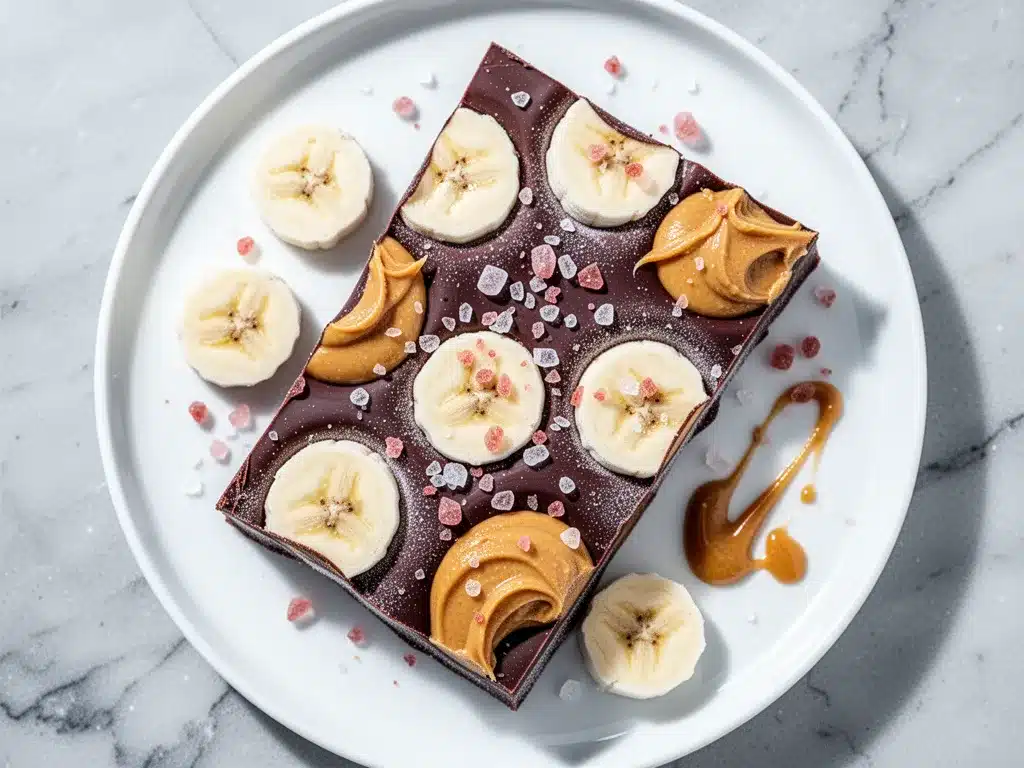
Dark chocolate chips (1 cup / 170g) — I prefer dark chocolate (60-70% cocoa) because it’s less sweet and has a richer flavor that balances the bananas. Semi-sweet works too if you have kids who are sugar-sensitive to dark chocolate. Milk chocolate is an option, but it can get cloyingly sweet when frozen. Pro tip: Chop larger chocolate bars into chunks if you can’t find chips. It adds a nice rustic look.
Mini chocolate chips (½ cup / 85g) — I use these for the drizzle. Mini chips melt faster and more evenly than standard chips, making that beautiful marbled effect easier to achieve.
Coconut oil (1 teaspoon) — This is the secret weapon. Mixing a tiny bit of coconut oil into your melted chocolate makes it thinner and easier to drizzle. It also helps the chocolate snap when you break the bark. It adds a subtle coconut flavor that pairs amazingly with peanut butter and banana.
For the Crunch (Optional but Recommended)
Crushed peanuts or pretzels (¼ cup) — I love the salty crunch. If you’re using peanuts, lightly toast them in a dry pan for 2 minutes to bring out the flavor. If you’re using pretzels, crush them in a bag with a rolling pin. The saltiness cuts through the sweetness of the chocolate and banana perfectly.
Sea salt flakes (a pinch) — A tiny sprinkle on top right after the chocolate sets. It elevates the whole thing from “kid snack” to “gourmet treat.” Trust me, the salt makes the chocolate taste more chocolatey.
Quick tips on shopping: I always buy the bulk bags of chocolate chips. They last forever in the pantry. For bananas, I check for the ones with the most brown spots at the store. If you can’t find them, just put your green bananas in a paper bag with an apple for a day or two to speed up ripening.
Equipment Needed
You don’t need fancy gadgets for this. In fact, the less equipment, the better. Here’s what I actually use:
Large baking sheet — I use a standard half-sheet pan (18×13 inches). It needs to fit in your freezer comfortably. If you have a smaller freezer, you might need two smaller pans. Just make sure you have enough room to stack them if needed.
Parchment paper — As mentioned, this is non-negotiable. Get the unbleached kind if you can, but any parchment works. Line your baking sheet completely. Overhang the edges so you can lift the bark out later if you want.
Small saucepan or microwave-safe bowl — For melting the chocolate. I prefer the microwave because it’s faster and there’s less mess. If you use a saucepan, use a double boiler method (bowl over simmering water) to avoid burning the chocolate. Burnt chocolate is bitter and ruins everything.
Spatula — A silicone spatula is best for scraping the chocolate bowl and spreading the peanut butter. A rubber scraper works too.
Knife — A sharp chef’s knife for slicing the bananas. A dull knife will crush the banana slices. I learned this the hard way with a sad, mashed banana situation.
Fork or piping bag — For drizzling the chocolate. A fork works fine if you’re in a hurry. A piping bag gives you more control, but honestly, a messy drizzle looks just as good once it’s frozen.
How to Make It: Step-by-Step
Alright, let’s make this! I’m walking you through exactly how I do it, including the little tricks I’ve picked up over time. It’s simple, but there are a few key steps to ensure your bark doesn’t stick or turn out too soft.
Step 1: Prep Your Bananas (5 minutes)
Peel your ripe bananas and slice them into half-inch rounds. Try to keep them uniform so they freeze evenly. Lay them out on your parchment-lined baking sheet. They should be in a single layer, slightly overlapping but not touching too much. You want them to form a sort of mosaic. If you have small bananas, you might need two rows. If you have huge ones, maybe just one. Just make sure the sheet isn’t overcrowded.
Step 2: Freeze the Base (30-45 minutes)
Place the baking sheet in the freezer. This is the most important step. You need the bananas to be completely firm. If you try to put chocolate on soft bananas, they’ll slide around and the chocolate will smear. Set a timer for 30 minutes. After 30 minutes, check one slice. It should be hard as a rock. If it’s still soft, wait another 10-15 minutes. Patience pays off here.
Step 3: Melt the Chocolate (5 minutes)
While the bananas freeze, melt your chocolate. I put my chocolate chips and the teaspoon of coconut oil in a microwave-safe bowl. Microwave in 30-second intervals, stirring between each. Stop when there are still a few small unmelted chunks—just keep stirring, and the residual heat will melt them. Do not overheat! Chocolate burns easily. If it gets too hot, it will seize up and become grainy. You want a smooth, glossy liquid.
Step 4: Spread the Peanut Butter (2 minutes)
Take the frozen bananas out of the freezer. Working quickly, spread a thin layer of peanut butter on each banana slice. You don’t need to cover it completely, but you want a visible layer. If the bananas are too cold, the peanut butter might be hard to spread. Let them sit on the counter for 2 minutes to take the chill off slightly. Use a butter knife or a small spatula to spread it smoothly.
Step 5: Drizzle and Decorate (5 minutes)
Now for the fun part. Dip your fork into the melted chocolate and drizzle it back and forth over the peanut butter-covered bananas. Don’t worry about being neat. The marbled look is part of the charm. If you want, use the back of the fork to swirl the chocolate slightly for a more artistic effect. Sprinkle your crushed peanuts, pretzels, or sea salt flakes on top immediately. The chocolate is still wet, so the toppings will stick. If you wait, they’ll just roll off.
Step 6: Final Freeze (1-2 hours)
Put the baking sheet back in the freezer. Let it sit for at least 1 hour, preferably 2. You want the chocolate to be completely set and hard. This ensures that when you break it, it snaps cleanly instead of crumbling or sticking to your fingers.
Step 7: Break and Serve
Lift the parchment paper out of the pan. You can break the bark into pieces right on the paper, or transfer it to a cutting board. Use your hands to snap it into irregular shards. It should break with a satisfying crack. Serve immediately, or store in an airtight container in the freezer.
Expert Tips & Tricks
Here’s everything I’ve learned from making this dozens of times. These tips will save you from my mistakes and ensure your bark is perfect every time.
- The Banana Ratio Matters — Don’t use green bananas. I know they’re cheaper, but they’re starchy and bland. The brown spots are where the sugar is. If you’re worried about waste, freeze the brown bananas in their peel until you’re ready to make this. They’ll thaw perfectly for the recipe.
- Don’t Skimp on the Coconut Oil — I know it sounds weird, but that teaspoon changes the texture. It makes the chocolate less brittle and easier to bite through. Without it, the chocolate can be so hard it cracks your teeth. I’ve done it both ways, and the coconut oil version is superior.
- Work Fast — Once you take the bananas out of the freezer, they start to soften. Try to complete the spreading and drizzling within 5-10 minutes. If you take too long, the peanut butter will get messy and the chocolate won’t stick as well. Have everything prepped before you pull the pan out.
- Store Properly — If you’re storing the bark, place parchment paper between layers. This prevents the pieces from sticking together. If you just throw them in a bag, you’ll end up with one giant frozen clump of chocolate and banana. Nobody wants that.
- Thawing is Key — When you’re ready to eat, take the bark out of the freezer and let it sit on the counter for 5-10 minutes. This allows the chocolate to soften slightly and the banana to become creamy. Eating it straight from the freezer is good, but letting it thaw for a minute makes it infinitely better.
Common Mistakes:
- Chocolate seizing: If your chocolate gets grainy, it’s likely because water got in. Make sure your bowl and utensils are completely dry. One drop of water can ruin the texture.
- Sticking to the pan: If your bark sticks, you probably didn’t use enough parchment paper or the bananas weren’t frozen enough before adding chocolate. Always use parchment.
- Soggy bark: If your bark feels soft or chewy instead of crisp, the chocolate layer was too thin or the bananas were too wet. Make sure you freeze the base thoroughly and use a generous amount of chocolate.
Variations & Substitutions
Once you’ve nailed the basic version, here’s how you can mix it up. I’ve tried all of these, and they’re all winners.
Strawberry Banana Bark — Swap half the bananas for sliced strawberries. The tartness of the strawberries balances the sweet chocolate beautifully. It’s like a strawberry shortcake in bark form.
Peanut Butter Cup Bark — Add a small dollop of peanut butter on top of the chocolate drizzle before it sets. It creates little peanut butter cups within the bark. This is my husband’s favorite variation.
White Chocolate & Raspberry — Use white chocolate chips and freeze-dried raspberries. The raspberries add a tart crunch and a beautiful pink color. It’s perfect for spring or summer.
Almond Butter & Honey — Substitute almond butter for peanut butter and drizzle with honey instead of chocolate. It’s lighter and nuttier. Great for a less sweet treat.
Granola Crunch — Sprinkle granola over the peanut butter layer before adding the chocolate. It adds a oatty, crunchy texture that contrasts nicely with the soft banana.
Gluten-Free Option — This recipe is naturally gluten-free if you use certified gluten-free chocolate chips and ensure your peanut butter doesn’t have cross-contamination. Check labels if you have celiac disease.
Dairy-Free Option — Use dairy-free chocolate chips and ensure your peanut butter is dairy-free (most are, but check). This makes the entire recipe vegan-friendly if you use vegan chocolate.
Serving & Storage
How to Serve: I usually serve this straight from the freezer, but I let it sit for 5 minutes to take the edge off. It’s great as a standalone snack, or paired with a glass of cold milk. It’s also amazing crumbled over yogurt or oatmeal for breakfast.
Side Dishes: Pair this with a simple green salad or some crispy baked zucchini fries for a balanced meal. The sweetness of the bark contrasts well with savory sides.
Storage Instructions:
- Refrigerator: Do not store in the fridge. The humidity will make the chocolate sweat and the bananas get soggy. Always keep it in the freezer.
- Freezer: Store in an airtight container or heavy-duty freezer bag. It will keep for up to 3 months. Beyond that, the bananas might develop freezer burn.
- Thawing: Let it sit at room temperature for 5-10 minutes before eating. This improves the texture significantly.
Pro Tip: If you’re making this for a party, break the bark into small pieces and put them in a decorative bowl with a pair of tongs. It’s elegant enough for guests but easy for everyone to grab.
Nutrition Information
I’m not a nutritionist, but here’s the breakdown if you’re tracking. Keep in mind that these are estimates and can vary based on the specific brands of chocolate and peanut butter you use.
Per Serving (based on 8 servings):
- Calories: 180
- Protein: 5g
- Carbs: 22g
- Fiber: 3g
- Sugar: 15g
- Fat: 10g
- Saturated Fat: 4g
What’s Good: It has fiber from the bananas and healthy fats from the peanut butter. It’s not loaded with refined sugar like traditional candy bars.
What to Know: It’s still a treat. The chocolate adds sugar and fat. But compared to a cookie or a bar of candy, it’s a lighter option. When I want to make it lighter, I use dark chocolate and less peanut butter. But usually? I just enjoy a reasonable portion and don’t stress about it.
Final Thoughts
So that’s my frozen chocolate peanut butter banana bark! I’ve probably talked your ear off at this point, but when you make a recipe this often, you have a lot to say about it. This has saved weeknight desserts more times than I can count. It’s my answer to “what’s for dessert?” when I’m tired, don’t want takeout, and still want something that tastes really good.
Make it yours! Try different add-ins, swap in your favorite nut butter, or adjust the chocolate. The best recipes are the ones you adapt to your family’s tastes. If you make this, drop a comment and let me know what you think! I love hearing how recipes turn out in your kitchen. And if something doesn’t work, tell me that too—I’m here to help troubleshoot.
Happy cooking! And I hope your kitchen smells half as good as mine does right now (which is to say, like chocolate and bananas).
Frequently Asked Questions
Can I use frozen bananas instead of fresh ripe ones?
Yes! In fact, frozen bananas work great for this. Just thaw them slightly so they’re sliceable, but still cold. You’ll need to freeze the base longer since they start colder. It’s a great way to use up bananas that are past their prime.
Why did my chocolate seize up?
Chocolate seizes when water gets into it. Make sure your bowl and spoon are completely dry. Also, don’t overheat it. Microwave in short bursts and stir often. If it seizes, you can sometimes save it by adding a teaspoon of warm water and stirring vigorously, but it’s better to prevent it.
Can I make this ahead for a party?
Absolutely. Make it up to 3 days ahead and store in the freezer. It actually tastes better after a day or two as the flavors meld. Just make sure to store it in an airtight container to prevent freezer burn.
Can I use almond butter instead of peanut butter?
Yes, almond butter is a perfect substitute. It has a slightly milder flavor but works just as well. Sunflower seed butter is another good option for nut-free schools or families.
How do I stop the bark from sticking to the parchment paper?
Make sure you use high-quality parchment paper. Also, ensure the bananas are completely frozen before adding the chocolate. If the bananas are soft, they’ll stick. The cold surface helps the chocolate set quickly and release from the paper.
Is this recipe gluten-free?
Yes, it is naturally gluten-free as long as you use certified gluten-free chocolate chips and ensure your peanut butter is gluten-free. Most peanut butters are, but check labels to be sure.
Pin This Recipe!
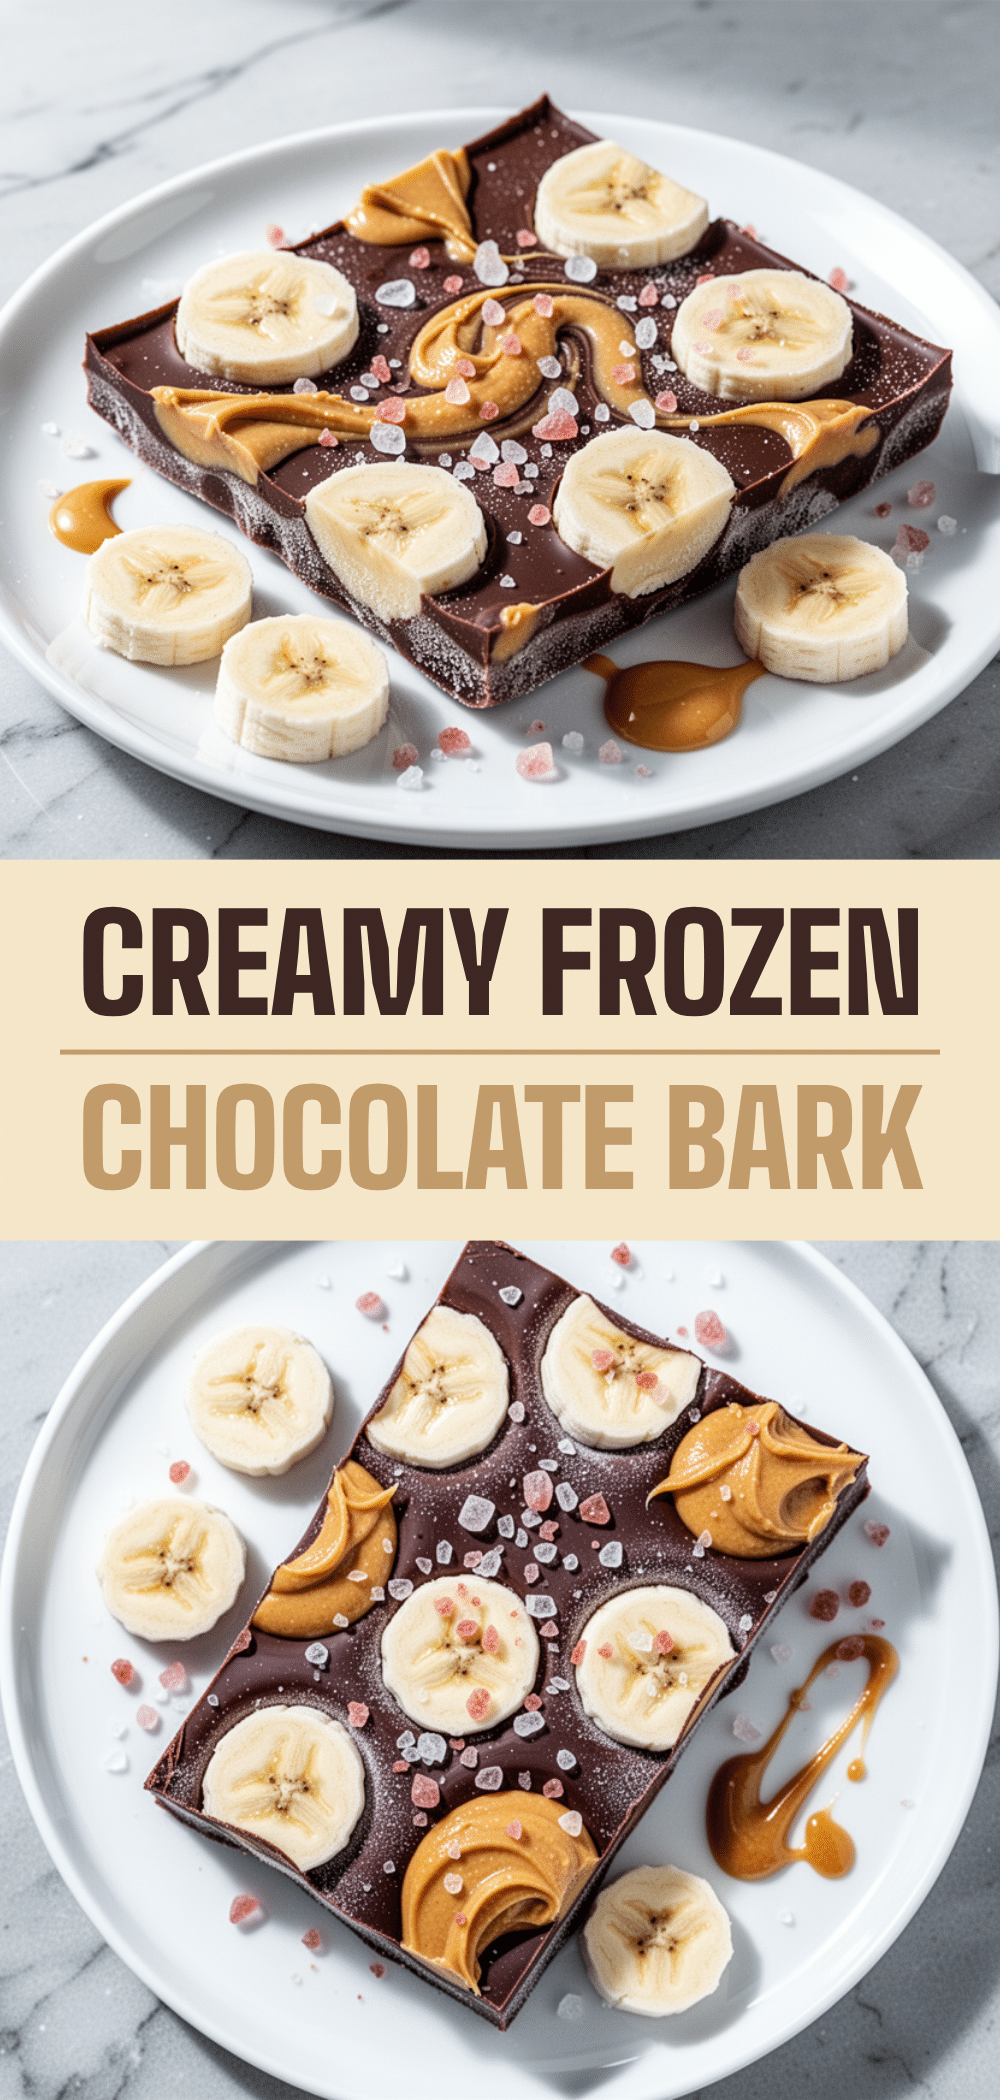
Frozen Chocolate Peanut Butter Banana Bark
- Total Time: 45 minutes
- Yield: 8 servings 1x
Description
A quick, no-bake frozen treat made with ripe bananas, peanut butter, and chocolate. Perfect for busy weeknights, this healthy-ish dessert is customizable, portable, and ready in under an hour.
Ingredients
- 3 large ripe bananas (sliced into half-inch rounds)
- ½ cup (120g) natural creamy peanut butter
- 1 large sheet parchment paper
- 1 cup (170g) dark chocolate chips (or semi-sweet)
- ½ cup (85g) mini chocolate chips (for drizzle)
- 1 teaspoon coconut oil
- ¼ cup crushed peanuts or pretzels (optional)
- Pinch of sea salt flakes (optional)
Instructions
- Line a large baking sheet with parchment paper.
- Peel bananas and slice into half-inch rounds. Arrange in a single layer on the prepared sheet, slightly overlapping but not touching.
- Freeze the banana slices for 30-45 minutes until completely firm.
- While bananas freeze, melt chocolate chips and coconut oil in a microwave-safe bowl in 30-second intervals, stirring until smooth.
- Remove bananas from freezer. Spread a thin layer of peanut butter on each slice.
- Drizzle melted chocolate over the peanut butter-covered bananas using a fork or piping bag.
- Immediately sprinkle with crushed peanuts, pretzels, or sea salt flakes.
- Freeze for 1-2 hours until the chocolate is completely set.
- Lift parchment paper out of pan and break bark into irregular shards. Serve immediately or store in freezer.
Notes
Use ripe, spotty brown bananas for maximum sweetness. Ensure bananas are completely frozen before adding chocolate to prevent sticking. Do not store in the refrigerator as humidity will make the chocolate sweat. For best texture, let bark sit at room temperature for 5-10 minutes before eating.
- Prep Time: 10 minutes
- Cook Time: 0 minutes
- Category: Dessert
- Cuisine: American
Nutrition
- Serving Size: 1 piece of bark
- Calories: 180
- Sugar: 15
- Fat: 10
- Saturated Fat: 4
- Carbohydrates: 22
- Fiber: 3
- Protein: 5
Keywords: frozen bark, banana dessert, no bake, healthy treat, peanut butter, chocolate, weeknight dessert, gluten-free, dairy-free


