I stared at the jar on top of my fridge for three days straight. It was getting thick, bubbly, and vaguely alarming. You know the look. It’s that sourdough starter you promised yourself you’d bake bread with last Tuesday, but life got in the way. Work ran late, the kids were sick, or maybe you just forgot to feed it. Now you have a jar of tangy, fermented goo that smells like feet and old gym socks. The guilt is real. But here’s the thing: throwing it away feels like a crime against nature.
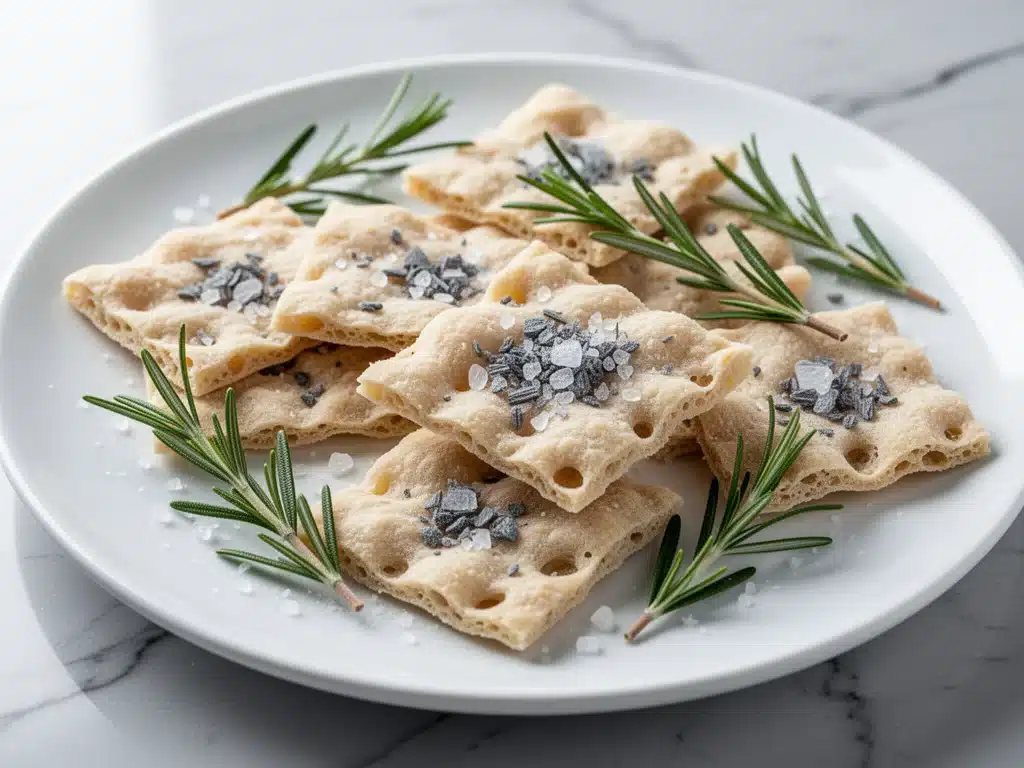
For the longest time, I treated discard like garbage. I’d dump it down the sink, telling myself I’d start fresh tomorrow. But then I stumbled onto a tip from a baker in Portland, and everything changed. She told me that discard isn’t waste—it’s just unfed potential. And if you’re tired of the usual discard pancakes that leave you feeling heavy and bloated, you need to try these sourdough discard crackers with sea salt and rosemary. They are crisp, savory, addictive, and honestly, they taste like something you’d buy at a fancy boutique grocery store for $8 a box. Spoiler alert: they cost about $0.50 to make.
I made this batch last Sunday while trying to avoid doing laundry. It took me maybe 15 minutes of active work. The rest was just waiting for the dough to rest and the oven to do its thing. The smell of rosemary and baking dough filled the house, and suddenly, my kitchen didn’t feel like a chore zone anymore. It felt like a bakery. My kids devoured them before they even cooled. Now, I keep a jar of discard in the fridge specifically for this. It’s my secret weapon for snack time, dinner parties, or just when I need a little win in the kitchen.
Why You’ll Love These Sourdough Discard Crackers
Let’s be real. Most people have a sourdough starter they’re terrified to throw out, but they have no idea what to do with it. These crackers solve that problem in the best way possible. Here’s why I keep making them over and over:
Zero Waste Cooking at Its Best — I hate wasting food. Using your discard means you’re recycling tangy, fermented goodness instead of sending it down the drain. It’s sustainable, it’s smart, and it makes you feel like a kitchen wizard.
Pantry Staples Only — You probably have everything you need right now. Flour, water, fat, salt, rosemary. That’s it. No weird ingredients you have to drive to three stores to find. This is true comfort food simplicity.
Crispy Perfection — I’ve tried so many discard recipes that turn out soggy or tough. These? They are shatteringly crisp. Thin, delicate, and perfect for dipping. Once you get the rolling technique down, they come out restaurant-quality every time.
Quick and Easy — You don’t need a mixer. You don’t need fancy tools. Just a bowl, a rolling pin, and a baking sheet. I make these when I have exactly zero energy but still want to make something special.
Kid-Approved Snack — My picky eaters actually asked for “more crackers” last week. That’s a miracle. They love the savory rosemary flavor, and it’s a much healthier alternative to processed store-bought snacks.
This recipe has completely changed how I view sourdough discard. It’s not trash; it’s the foundation of the best snack you’ll ever make.
Ingredients You’ll Need
Here’s the best part: you don’t need a specialty shop for this. The beauty of these sourdough discard crackers is how simple the ingredient list is. I’m particular about a few things, but mostly, this is about using what you have.
Sourdough Discard (1 cup / 240g) — This is the star. It should be active, bubbly, and fed within the last 24 hours. If it’s been sitting in the fridge for a week, it might be too acidic. Give it a sniff. If it smells pleasant and tangy, you’re good. If it smells like acetone or nail polish remover, toss it and start fresh. I always keep about a cup in the fridge specifically for crackers.
All-Purpose Flour (2 cups / 250g) — I use standard all-purpose flour. Bread flour can make them too tough, and cake flour is too delicate. All-purpose gives that perfect snap without being chewy. Measure it by spooning it into the cup and leveling it off. Don’t scoop directly, or you’ll pack too much flour and get dry crackers.
Unsalted Butter (1/2 cup / 115g, cold and cubed) — Cold butter is non-negotiable here. I cut it into small cubes before adding it to the flour. This creates little pockets of fat that steam during baking, creating flakiness and crunch. You can use olive oil if you’re dairy-free, but butter just tastes better. Trust me on this.
Fresh Rosemary (2 tablespoons, finely chopped) — Fresh rosemary is key. Dried rosemary can be woody and bitter. If you don’t have fresh, you can use 1 teaspoon of dried, but chop it finely so you don’t get mouthfuls of needle-like leaves. I grow mine on the windowsill—it’s one of the easiest herbs to keep alive.
Fine Sea Salt (1 teaspoon) — Use fine sea salt for mixing into the dough. It distributes evenly. I prefer Maldon for sprinkling on top because those big flakes add a beautiful crunch and visual appeal.
Black Pepper (1/2 teaspoon, freshly cracked) — Adds a little heat and complexity. Don’t skip this. It balances the saltiness perfectly.
Optional Add-ins: I love adding 1/4 cup of grated Parmesan cheese to the dough. It adds a nutty, savory depth. You can also add a pinch of garlic powder or red pepper flakes if you want a kick.
Equipment Needed
You don’t need fancy equipment for this. Here’s what I actually use:
Mixing Bowl — Any large bowl works. I use a ceramic one because it’s heavy and doesn’t slip around.
Pastry Blender or Fork — To cut the butter into the flour. A pastry blender is easier, but a fork works fine. I use a fork when I’m being lazy.
Rolling Pin — A standard wooden rolling pin is perfect. I like mine smooth and well-oiled so the dough doesn’t stick.
Baking Sheets — Two large sheets. I line them with parchment paper. Do not skip the parchment. These crackers stick easily, and parchment is your best friend.
Cutter (Optional) — I use a pizza cutter for cutting the dough into squares. It’s faster than a knife. A cookie cutter is fun for shapes, but squares are classic.
Pastry Brush — For brushing the tops with a little water or egg wash before sprinkling salt. I just use a little water to help the salt stick.
How to Make It: Step-by-Step
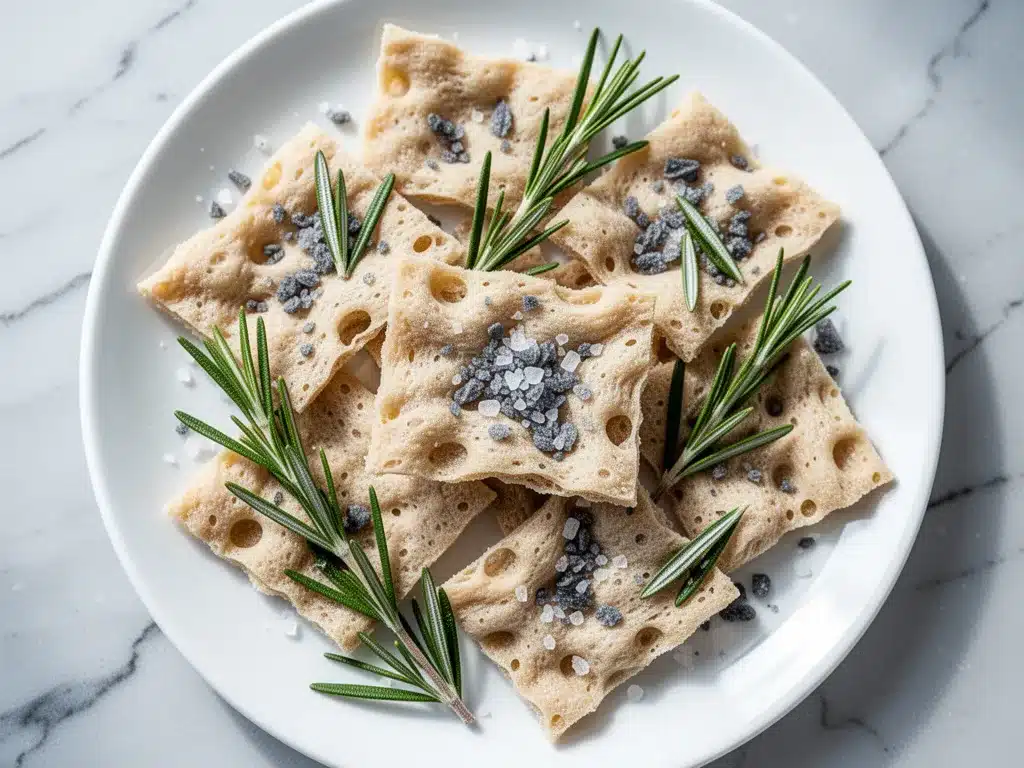
Alright, let’s make these crackers! I’m walking you through exactly how I do it, including the little tricks I’ve picked up over dozens of batches.
Step 1: Prep Your Ingredients (5 minutes)
Before you start, make sure your butter is cold. Take it out of the fridge and cube it. Finely chop your rosemary. Measure your flour. I know it seems fussy, but having everything ready makes the mixing process smooth. If you’re adding cheese or other mix-ins, grate them now.
Step 2: Mix the Dry Ingredients (2 minutes)
In your large mixing bowl, combine the flour, fine sea salt, and black pepper. Whisk them together to distribute the salt evenly. This ensures every cracker has a consistent flavor. If you’re adding Parmesan, whisk it in now too.
Step 3: Cut in the Butter (3 minutes)
Add the cold, cubed butter to the flour mixture. Use a pastry blender or a fork to cut the butter into the flour. You’re looking for pea-sized crumbs. Some larger pieces are okay—they create flakiness. Don’t overmix. You want visible bits of butter throughout. This is the secret to a tender, crisp texture.
Step 4: Add the Sourdough Discard (2 minutes)
Slowly pour in the 1 cup of sourdough discard. Mix gently with a wooden spoon or your hands. The dough will come together quickly. It should be slightly sticky but manageable. If it’s too dry, add a teaspoon of water. If it’s too wet, add a sprinkle of flour. You want a cohesive ball.
Step 5: Chill the Dough (30 minutes)
This is the step I usually want to skip, but please don’t. Wrap the dough in plastic wrap and refrigerate it for at least 30 minutes. Chilling firms up the butter, which prevents it from melting too quickly in the oven. It also makes the dough easier to roll out. If you’re short on time, 15 minutes works, but 30 is ideal.
Step 6: Roll Out the Dough (5 minutes)
Preheat your oven to 350°F (175°C). Line two baking sheets with parchment paper. On a lightly floured surface, roll out the dough. I aim for about 1/8 inch thick. The thinner you roll it, the crispier the cracker. I use a ruler sometimes to check thickness. If it’s too thick, they’ll be more like biscuits than crackers.
Step 7: Cut and Score (5 minutes)
Use a pizza cutter or sharp knife to cut the dough into squares or rectangles. You can also use a fork to prick holes in the dough if you like the classic saltine look, but it’s not necessary. Transfer the cut crackers to the prepared baking sheets, leaving a little space between them.
Step 8: Top and Bake (15-20 minutes)
Brush the tops lightly with water. This helps the sea salt stick. Sprinkle generously with coarse sea salt and extra rosemary if you like. Bake for 15-20 minutes, or until the edges are golden brown. They might look pale when they come out, but they’ll crisp up as they cool. Keep an eye on them—they burn easily because of the sugar in the starter.
Step 9: Cool Completely (15 minutes)
Let the crackers cool on the baking sheet for 5 minutes, then transfer to a wire rack. They will firm up significantly as they cool. Do not try to eat them hot—they’ll be soft and chewy. Patience is key. Once cool, they are shatteringly crisp.
Expert Tips & Tricks
Here’s everything I’ve learned from making these dozens of times. These tips will save you from my mistakes.
Keep the Butter Cold
This is the #1 rule. If the butter melts before it hits the oven, you lose the flaky texture. Work quickly, and if the dough gets warm, pop it back in the fridge for 10 minutes.
Roll Thin
I cannot stress this enough. Thin is thin. If your crackers are 1/4 inch thick, they will be dense. Aim for paper-thin. I roll mine until I can almost see the table through the dough.
Don’t Overbake
They look done when they are just starting to turn golden. They continue to cook on the hot pan after you take them out. If they look dark brown in the oven, they’ll be burnt by the time they cool.
Store Properly
These crackers go stale fast if exposed to humidity. Store them in an airtight container at room temperature for up to one week. If your kitchen is humid, add a piece of bread to the container to absorb moisture—wait, no, that’s for keeping things soft. Actually, just keep them in a dry, cool place. Airtight is non-negotiable.
Freeze the Dough
You can freeze the dough ball for up to three months. Thaw it in the fridge overnight before rolling. This is great for meal prep. I make a double batch of dough and freeze half for later.
Common Mistakes
If your crackers are soggy, you didn’t roll them thin enough, or you didn’t bake them long enough. If they are tough, you overworked the dough. Handle it gently.
Variations & Substitutions
Once you’ve nailed the basic version, here’s how you can mix it up. I’ve tried all of these.
Garlic Parmesan
Add 1/4 cup grated Parmesan and 1/2 teaspoon garlic powder to the dough. Skip the rosemary. These are incredible with soup.
Everything Bagel
Sprinkle everything bagel seasoning on top instead of salt and rosemary. Adds a nice crunch and flavor.
Spicy Jalapeño
Add 1 finely chopped jalapeño and a pinch of cayenne to the dough. Great with guacamole.
Herb Garden
Use a mix of fresh thyme, oregano, and chives instead of rosemary. Very fragrant.
Gluten-Free
Use a 1:1 gluten-free flour blend. The texture might be slightly more crumbly, but it still works. Add an extra teaspoon of xanthan gum if your blend doesn’t have it.
Serving & Storage
How to Serve:
I serve these with everything. Soft cheese, sharp cheddar, hummus, olive tapenade, or just plain with a glass of wine. They are the perfect vehicle for dips.
Storage:
Store in an airtight container at room temperature for up to one week. If they go soft, pop them in the oven at 300°F for 5 minutes to crisp them back up.
Freezing:
You can freeze baked crackers for up to three months. Thaw at room temperature. They might lose a little crunch, but they’re still good.
Nutrition Information
I’m not a nutritionist, but here’s the breakdown if you’re tracking. Per serving (about 10 crackers):
- Calories: 120
- Protein: 3g
- Carbs: 15g
- Fiber: 1g
- Fat: 5g
These are relatively light snacks, especially compared to store-bought crackers. The sourdough fermentation makes them easier to digest, which is a huge plus for my sensitive stomach.
Final Thoughts
So that’s my go-to sourdough discard crackers! I’ve probably talked your ear off at this point, but when you make a recipe this often, you have a lot to say about it. These crackers have saved me from wasting so much discard. They’re easy, delicious, and make you feel productive in the kitchen.
If you make this, drop a comment and let me know what you think! I love hearing how recipes turn out in your kitchen. And if something doesn’t work, tell me that too—I’m here to help troubleshoot.
Happy baking! And I hope your kitchen smells half as good as mine does right now.
Frequently Asked Questions
Can I use dried rosemary instead of fresh?
You can, but fresh tastes so much better. Dried rosemary can be bitter and woody. If you must use it, use 1 teaspoon and chop it finely. I’ve done this when I run out of fresh—it works okay, just not as good as the real thing.
Why did my crackers spread in the oven?
This usually means the butter was too warm. If the butter melts before baking, the dough spreads. Make sure your butter is cold and your dough is chilled before rolling. Also, don’t overwork the dough.
Can I make these ahead for a party?
Absolutely! Make them up to 3 days ahead and store in an airtight container. They actually get crispier as they sit. I make these for every dinner party I host.
Why did my crackers turn out tough?
You likely overmixed the dough or rolled it too thick. Handle the dough gently, and roll it as thin as possible. Overmixing develops gluten, which makes them chewy instead of crisp.
Can I use whole wheat flour?
You can substitute up to half the all-purpose flour with whole wheat. The crackers will be denser and nuttier. I sometimes do this for a healthier option, but 100% whole wheat can be too heavy.
How do I know when they are done baking?
They should be lightly golden around the edges. They might look pale in the center, but they will firm up as they cool. If they are dark brown, they are overbaked.
Can I double this recipe?
Yes! Just use a larger bowl and two baking sheets. The cooking time stays the same. I double it when I’m meal-prepping for the week.
Pin This Recipe!
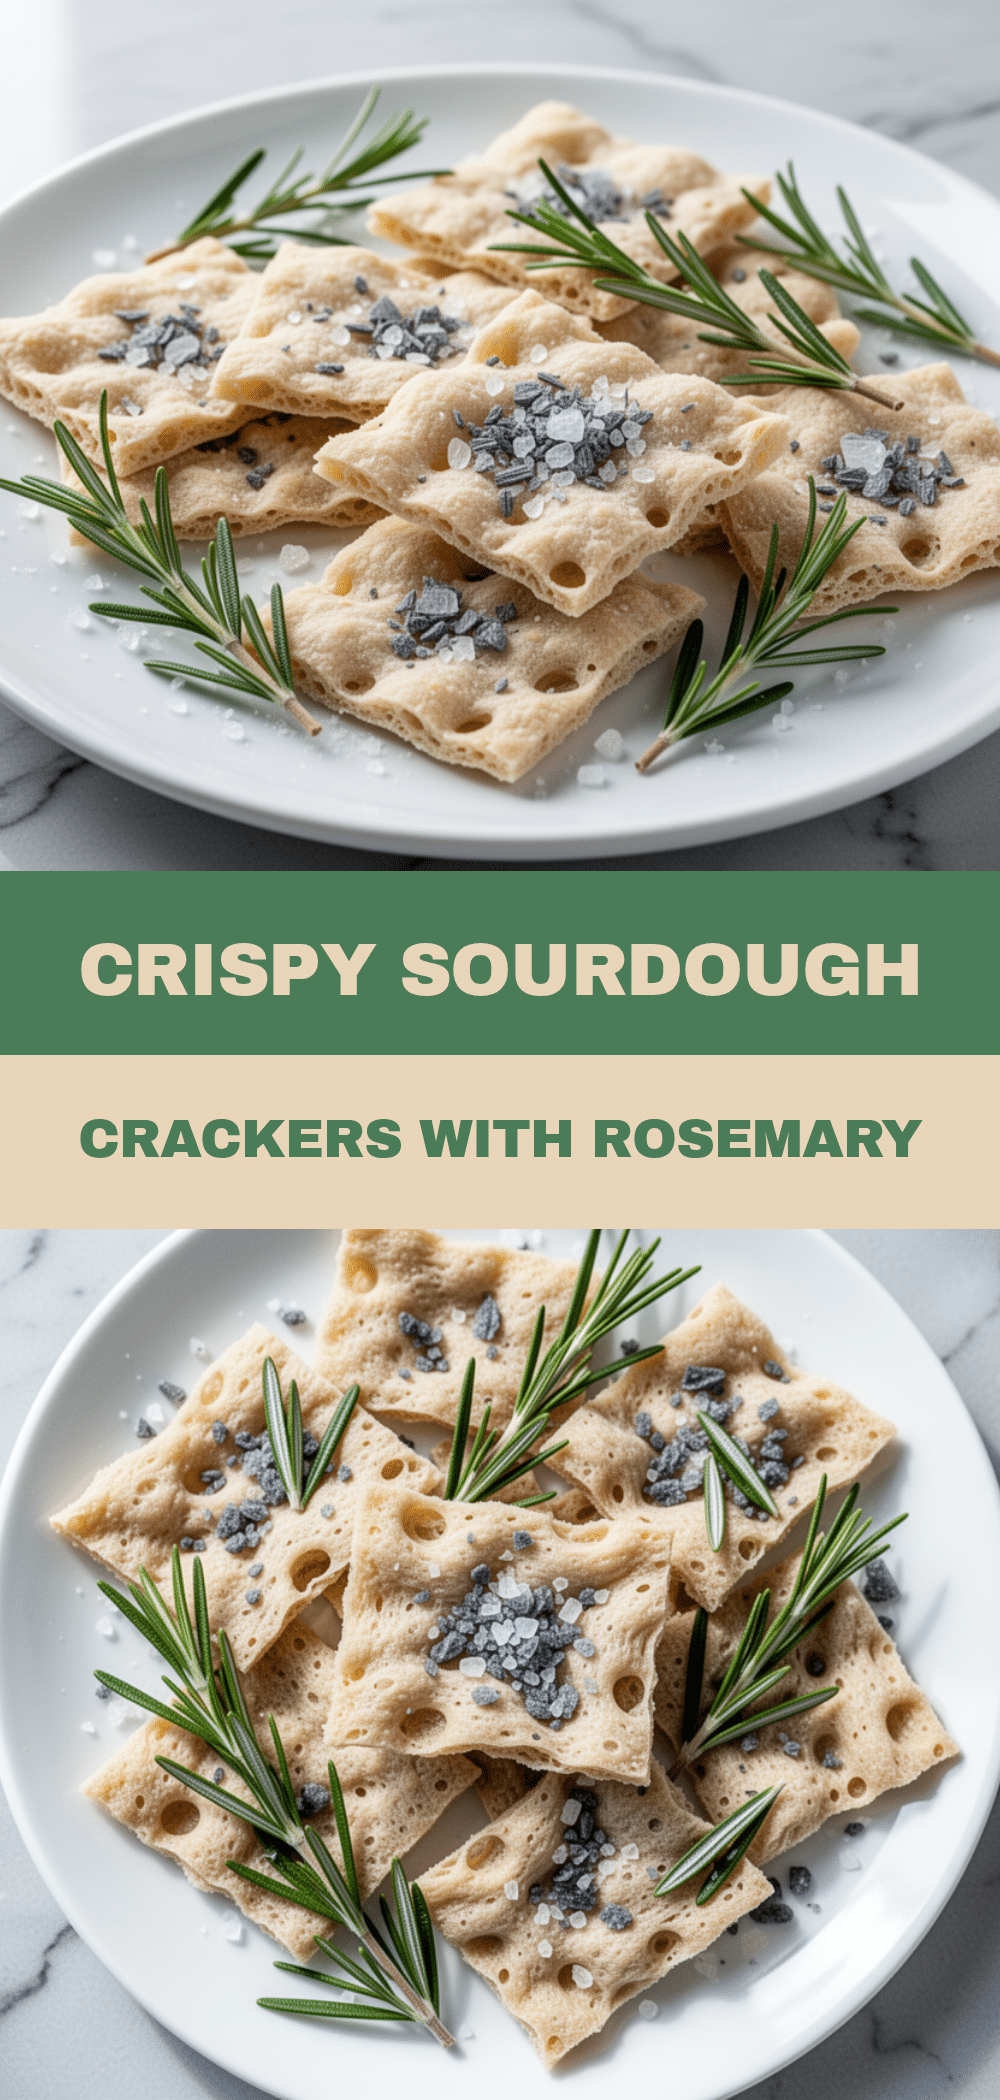
Sourdough Discard Crackers: Easy Homemade Recipe
- Total Time: 35 minutes
- Yield: Approximately 40 crackers 1x
Description
Crisp, savory, and addictive homemade crackers made with sourdough discard, rosemary, and sea salt. A zero-waste snack that is easy to make and perfect for dipping.
Ingredients
- 1 cup (240g) active sourdough discard
- 2 cups (250g) all-purpose flour
- 1/2 cup (115g) unsalted butter, cold and cubed
- 2 tablespoons fresh rosemary, finely chopped
- 1 teaspoon fine sea salt
- 1/2 teaspoon freshly cracked black pepper
- Optional: 1/4 cup grated Parmesan cheese
- Optional: Coarse sea salt for topping
Instructions
- Preheat oven to 350°F (175°C) and line two baking sheets with parchment paper.
- In a large mixing bowl, whisk together the flour, fine sea salt, and black pepper.
- Add the cold, cubed butter to the flour mixture and cut it in using a pastry blender or fork until the mixture resembles pea-sized crumbs.
- Slowly pour in the sourdough discard and mix gently with a wooden spoon or hands until a cohesive, slightly sticky dough forms.
- Wrap the dough in plastic wrap and refrigerate for at least 30 minutes to firm up the butter.
- On a lightly floured surface, roll the dough out to about 1/8 inch thickness.
- Cut the dough into squares or rectangles using a pizza cutter or knife.
- Transfer the cut crackers to the prepared baking sheets, leaving space between them.
- Brush the tops lightly with water and sprinkle generously with coarse sea salt and extra rosemary if desired.
- Bake for 15-20 minutes until the edges are golden brown.
- Let the crackers cool on the baking sheet for 5 minutes, then transfer to a wire rack to cool completely until shatteringly crisp.
Notes
Keep the butter cold to ensure flakiness. Roll the dough as thin as possible for crispiness. Do not overbake as they continue to cook on the hot pan. Store in an airtight container at room temperature for up to one week. If they go soft, crisp them in the oven at 300°F for 5 minutes.
- Prep Time: 15 minutes
- Cook Time: 20 minutes
- Category: Snack
- Cuisine: American
Nutrition
- Serving Size: 10 crackers
- Calories: 120
- Sodium: 200
- Fat: 5
- Saturated Fat: 3
- Carbohydrates: 15
- Fiber: 1
- Protein: 3
Keywords: sourdough discard, crackers, rosemary crackers, zero waste cooking, homemade snacks, savory crackers, easy baking