Last November, I was in full-blown panic mode. You know the feeling. It’s 4 PM on Thanksgiving Day, the turkey is resting (or burning, depending on the year), and the table is set. But the dessert plate? Empty. Desperate, I opened the fridge and stared at a bag of gingersnaps, a tub of cream cheese, and a can of pumpkin puree that had been sitting there since October. I didn’t have time to bake. I didn’t have energy to bake. I definitely didn’t have the patience to clean three mixing bowls and a stand mixer.
So I threw them together. I crushed the cookies, mixed the cheese, swirled in the pumpkin, and popped it in the fridge. I expected a weird, dense block of sadness. Instead, when I sliced it eight hours later, it was silky, tangy, spiced to perfection, and absolutely stunning. My in-laws, who are notoriously picky about “real” cheesecake, asked for the recipe before I even finished slicing it. That was the moment I realized: sometimes the best recipes happen when you stop trying to be fancy and just make what’s in the fridge.
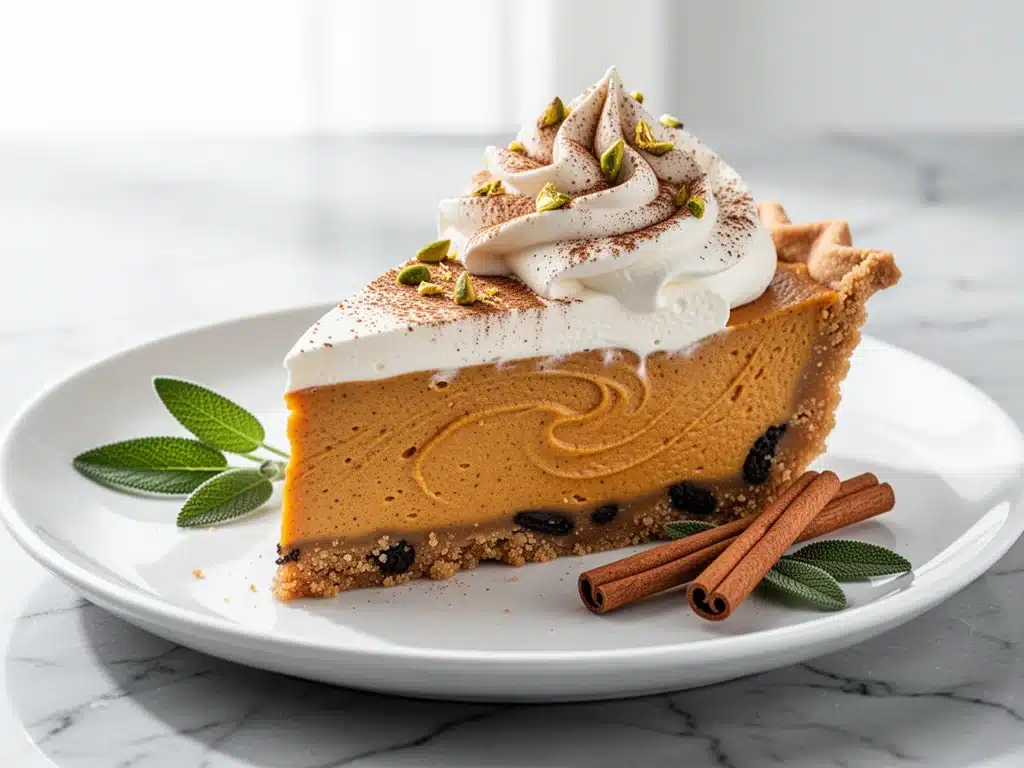
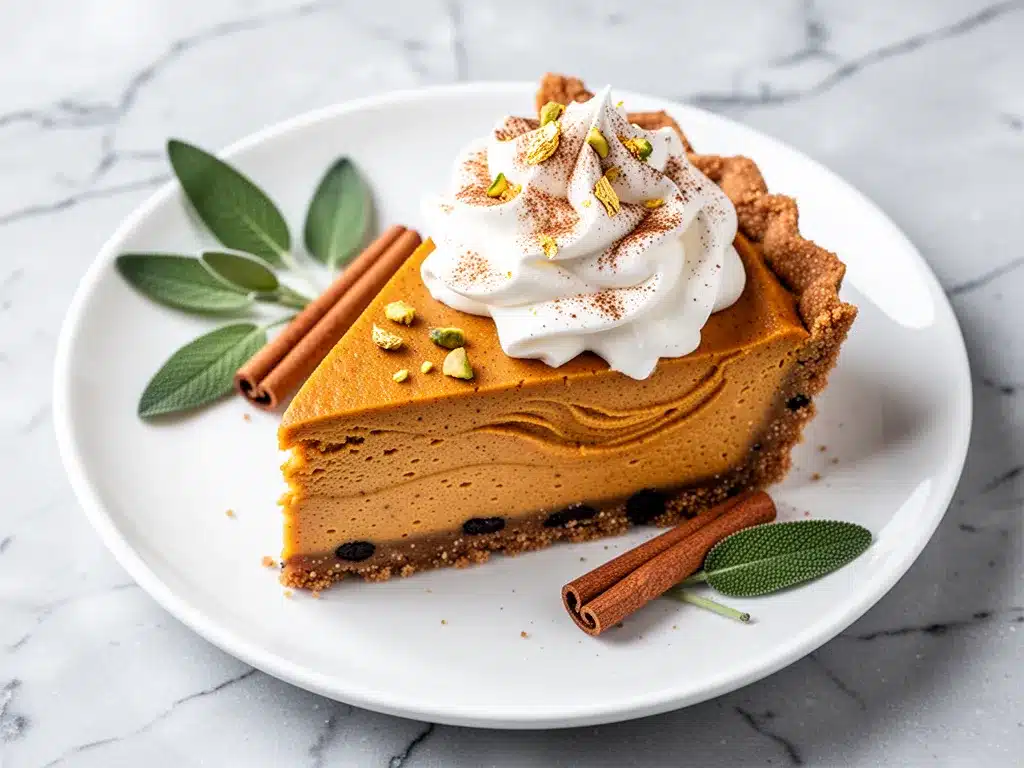
This no-bake fall pumpkin pie cheesecake with gingersnap crust has saved my Thanksgiving dinner more times than I can count. It’s the perfect bridge between a classic New York cheesecake and a slice of pumpkin pie. The gingersnap crust adds a spicy crunch that cuts through the rich, creamy filling, and because it’s no-bake, you can make it days in advance. That’s huge. It means you’re not stuck in the kitchen when everyone else is eating. It’s my go-to dessert when I want something impressive but stress-free.
Why You’ll Love This No-Bake Pumpkin Cheesecake
I’ve made this dessert for every holiday, potluck, and random Tuesday dinner party since that November night. Here’s why it keeps coming back to my menu:
Zero Oven Required — Seriously, this is the best part. You don’t need to preheat anything, and you don’t need to worry about water baths or cracked tops. If you can mix ingredients in a bowl, you can make this. I’ve made it while watching the game, and it turned out fine.
Makes Ahead Friendly — This needs to chill for at least 4 hours, but it’s actually better the next day. I usually make it the morning of the party or even the day before. It sits in the fridge, doing absolutely nothing, while I handle the turkey and sides. No last-minute panic.
Spice-Forward Flavor — A lot of pumpkin desserts taste like they’re missing something. The gingersnap crust solves this. The ginger, cinnamon, and molasses in the cookies complement the pumpkin spice in the filling perfectly. It tastes like autumn in a bite.
Crowd-Pleasing Texture — It’s not as dense as a baked cheesecake, but it’s not as airy as a mousse. It’s that perfect creamy, spoonable texture that feels indulgent but not heavy. My husband says it’s “lighter” than the real thing, which is high praise.
Budget-Smart — You probably have most of these ingredients already. Cream cheese, pumpkin puree, sugar, spices. It’s way cheaper than buying a fancy dessert from a bakery, and it tastes fresher.
This is my secret weapon for holiday entertaining. It looks like I spent hours on it, but it’s mostly just waiting time. And that’s a gift.
Ingredients You’ll Need
Here’s the best part: you don’t need any fancy or hard-to-find ingredients. This is pantry-friendly comfort food. I’m particular about three things here, but I’ll tell you exactly why.
Gingersnap Cookies (3 cups / about 300g) — These are the stars of the crust. I use standard gingersnaps, not ginger molasses cookies (which are too soft) or ginger snaps that are just cinnamon sugar. Look for the ones with a distinct snap and a spicy kick. I usually buy a big bag of store brand—they work just as well as name brand for this.
Unsalted Butter (½ cup / 115g, melted) — This binds the crumbs together. Use real butter, not margarine. The flavor matters here. Melt it completely before mixing with the crumbs.
Cream Cheese (24 oz / 680g, two 12-oz blocks) — This is the base of the filling. Full-fat only. I know, I know, but low-fat cream cheese turns grainy and doesn’t set right in a no-bake recipe. Let it come to room temperature before mixing. If it’s cold, you’ll get lumps.
Heavy Cream (1 cup / 240ml) — This gives the filling that whipped, airy texture. Cold heavy cream works best for whipping. Don’t use half-and-half; it won’t whip up stiff enough.
Powdered Sugar (1 cup / 100g) — Also called confectioners’ sugar. It dissolves instantly, unlike granulated sugar, which would leave gritty spots in the cream cheese. Sift it if it’s clumpy.
Pumpkin Puree (15 oz / 425g, one can) — Make sure it’s 100% pure pumpkin, not pumpkin pie filling. Pie filling already has sugar and spices added, which will mess up the balance. Puree is neutral and lets you control the sweetness.
Pumpkin Pie Spice (2 teaspoons) — Check your spice cabinet. If you don’t have it, mix cinnamon, ginger, nutmeg, and cloves. I use a generous amount because pumpkin can be mild. Don’t be shy with the spice.
Vanilla Extract (1 teaspoon) — Pure vanilla, if you can find it. It adds depth that balances the sweetness.
Salt (½ teaspoon) — Just a pinch to bring out the flavors. Don’t skip it.
Optional Toppings — Whipped cream, extra gingersnap crumbs, candied pecans, or a drizzle of caramel. I usually keep it simple with just a dollop of whipped cream and a sprinkle of crumbs.
Shopping Tips
- Cream Cheese: I buy the block form and let it soften on the counter for 30-60 minutes. Room temperature cream cheese blends smoothly. Cold cream cheese = lumpy cheesecake.
- Pumpkin Puree: Any brand works. I’ve used Libby’s and store brand, and the difference is negligible for this recipe.
- Gingersnaps: If you can’t find gingersnaps, ginger snaps work, but they might be sweeter. Adjust the sugar in the crust if needed.
Equipment Needed
You don’t need fancy equipment for this. Here’s what I actually use:
Food Processor — This is the easiest way to crush the cookies into fine crumbs. If you don’t have one, put them in a zip-top bag and crush them with a rolling pin. It takes more effort but works fine.
9-Inch Springform Pan — This is essential. It allows you to remove the cake cleanly without flipping it over. I use a 9-inch pan because it gives the right height. A regular round pan works, but slicing will be messier.
Electric Hand Mixer or Stand Mixer — You need to whip the cream cheese and cream until smooth. Doing this by hand is possible but exhausting. I use my hand mixer, and it takes about 3 minutes.
Large Mixing Bowls — Two bowls. One for the crust, one for the filling. I like having separate bowls so I don’t cross-contaminate the dry and wet ingredients.
Spatula — A rubber spatula is great for scraping the bowl and folding in the whipped cream. You want to keep the air in the mixture, so gentle folding is key.
Measuring Cups and Spoons — Standard stuff. Accuracy matters here because it’s a no-bake recipe, so the ratios affect the texture.
Plastic Wrap — To cover the pan while it chills. Keeps the fridge smells out and prevents a skin from forming.
How to Make It: Step-by-Step
Alright, let’s make this! I’m walking you through exactly how I do it, including the little tricks I’ve picked up over the years.
Step 1: Prep the Pan (2 minutes)
Grease the bottom and sides of your 9-inch springform pan with a little butter or non-stick spray. I also line the bottom with a circle of parchment paper for easy removal. If you don’t have parchment, just grease it well. This step ensures your cheesecake doesn’t stick.
Step 2: Make the Crust (5 minutes)
Crush the gingersnap cookies into fine crumbs. If using a food processor, pulse until they look like sand. If using a bag, keep crushing until no large chunks remain. In a medium bowl, mix the crumbs with the melted butter and a pinch of salt. The mixture should look like wet sand. If it’s too dry, add more butter. If it’s too soupy, add more crumbs.
Press this mixture firmly into the bottom of the springform pan. Use the bottom of a measuring cup to pack it down tight. You want a solid base, not a crumbly one. I usually press it up the sides slightly, about an inch up, for a nice rim. Set aside.
Step 3: Whip the Cream (3 minutes)
In a large bowl, pour the cold heavy cream. Whip it with an electric mixer on medium-high speed until stiff peaks form. This means when you lift the beaters, the cream stands up straight. Don’t over-whip it into butter, just stiff peaks. Set this aside. This is what gives the cheesecake its light, airy texture.
Step 4: Mix the Filling (5 minutes)
In another large bowl, beat the room-temperature cream cheese on medium speed until smooth and creamy. This might take 2-3 minutes. Scrape down the sides of the bowl. Add the powdered sugar, pumpkin pie spice, vanilla, and salt. Beat until combined.
Now, add the pumpkin puree. Mix on low speed just until incorporated. Don’t overmix once the pumpkin is in, or you might incorporate too much air and make it fluffy instead of creamy. The mixture should be smooth, orange, and thick.
Step 5: Fold It Together (3 minutes)
Here’s the crucial step. Gently fold the whipped cream into the pumpkin cheese mixture. Use your spatula and cut down through the middle, scrape the bottom, and fold over the top. Turn the bowl and repeat. Do this until the white streaks are gone. You want to keep as much air in the whipped cream as possible. This takes about 1-2 minutes. Be gentle.
Step 6: Assemble and Chill (4+ hours)
Pour the filling into the prepared crust. Smooth the top with your spatula. Cover the pan with plastic wrap. Refrigerate for at least 4 hours, but ideally overnight. The longer it chills, the firmer it gets and the better the flavors meld. I usually make it the night before, so it’s ready to go in the morning.
Step 7: Serve
When ready to serve, run a thin knife around the edge of the pan to loosen it. Unlock the springform ring and remove it. Slice with a sharp knife, wiping the blade between cuts for clean slices. Top with whipped cream and extra gingersnap crumbs if you like.
Expert Tips & Tricks
Here’s everything I’ve learned from making this dozens of times. These tips will save you from my mistakes.
Room Temperature is Key
I cannot stress this enough. Your cream cheese MUST be room temperature. If it’s cold, you’ll have lumps that don’t blend out. I take it out of the fridge 30 minutes before I start. If I forget, I microwave it in 10-second bursts, checking often. It should be soft to the touch but not melted.
Don’t Skip the Whip
The whipped cream is what makes this “no-bake” instead of just “pumpkin pudding.” If you skip whipping it, the texture will be dense and heavy. Make sure your cream is cold and your bowl is cold for best results.
Press the Crust Hard
A loose crust is a sad crust. Press it down firmly. If it crumbles when you slice, you didn’t pack it enough. Wet your hands slightly if the crumbs are sticking to you, and keep pressing.
Chill Time Matters
I know you want to eat it now. But wait. If you slice it after 1 hour, it will be soft and messy. After 4 hours, it’s firm. After 8 hours, it’s perfect. Patience pays off.
Common Mistakes
- Soggy Crust: This happens if the filling is too wet. Make sure you don’t add too much pumpkin puree, and don’t use pumpkin pie filling (which is watery).
- Grainy Texture: Usually from not beating the cream cheese long enough, or using powdered sugar with cornstarch clumps. Sift your sugar if needed.
- Flat Top: This is normal for no-bake cheesecakes. They settle as they chill. It’s not a flaw; it’s just how they set.
Variations & Substitutions
Once you’ve nailed the basic version, here’s how you can mix it up. I’ve tried all of these.
Maple Pecan Version
Add ½ cup chopped pecans to the crust. Toast them first for extra flavor. Drizzle maple syrup over the top when serving. My kids love this version.
White Chocolate Pumpkin
Melt ½ cup white chocolate and mix it into the cream cheese mixture. Adds a sweet, creamy twist. Great for holiday parties.
Gluten-Free
Use gluten-free gingersnap cookies. Most brands are GF, but check the label. Everything else is naturally gluten-free. I’ve used store-brand GF cookies, and they work great.
Dairy-Free
Replace cream cheese with vegan cream cheese (like Kite Hill or Tofutti). Use coconut cream instead of heavy cream. Use vegan butter for the crust. It’s different but still tasty. My lactose-intolerant friend requests this version.
Lower Sugar
Reduce the powdered sugar to ½ cup. It’s less sweet but still good. Use unsweetened pumpkin puree and check the cookies for added sugar.
Flavor Twists
- Add 1 teaspoon orange zest to the filling for brightness.
- Swap pumpkin spice for chai spice for a different kick.
- Swirl in caramel sauce before chilling for a salted caramel pumpkin version.
Serving & Storage
How to Serve:
I usually serve this straight from the fridge, sliced with a sharp knife. It looks rustic and stays cold. But here are other ways I’ve enjoyed it:
- With Whipped Cream: A dollop on top adds extra creaminess.
- With Candied Pecans: Adds crunch and sweetness.
- With Caramel Drizzle: For a richer, dessert-like feel.
Storage Instructions:
Refrigerator: Store in the springform pan, covered with plastic wrap, for up to 5 days. It actually tastes better on day 2 as the flavors meld.
Freezing: You can freeze this! Wrap the whole pan (or individual slices) in plastic wrap and then foil. Freeze for up to 2 months. Thaw in the fridge overnight. The texture might be slightly softer, but it’s still delicious. I freeze extra slices for later.
Reheating: Don’t reheat this. It’s meant to be served cold. If you want it softer, let it sit at room temperature for 15 minutes before serving.
Nutrition Information
I’m not a nutritionist, but here’s the breakdown if you’re tracking. Note that this is an estimate based on standard ingredients.
Per Serving (based on 12 slices):
- Calories: 380
- Protein: 6g
- Carbs: 35g
- Fiber: 1g
- Sugar: 28g
- Fat: 24g
- Saturated Fat: 14g
What’s Good:
- Provides some calcium from the cheese.
- Pumpkin adds a bit of vitamin A.
- Portion control is key here—it’s rich!
What to Know:
- Higher in calories and sugar due to cream cheese, sugar, and cookies.
- Contains dairy and gluten.
- Use low-sugar cookies or reduce sugar in the filling to lower calories.
Look, this is a dessert. It’s meant to be indulgent. Enjoy a slice, savor it, and don’t stress the numbers. It’s way better than store-bought.
Final Thoughts
So that’s my no-bake fall pumpkin pie cheesecake with gingersnap crust! I’ve probably talked your ear off at this point, but when you make a recipe this often, you have a lot to say about it.
This has saved my Thanksgiving dinner more times than I can count. It’s my answer to “what’s for dessert” when I’m tired, don’t want to bake, and still want something that tastes really good. My family is happy, my guests are happy, and I’m happy because I’m not stressed about cooking.
Make it yours! Try different toppings, swap in your favorite spices, or adjust the sweetness. The best recipes are the ones you adapt to your family’s tastes. If you make this, drop a comment and let me know what you think! I love hearing how recipes turn out in your kitchen.
Happy cooking! And I hope your kitchen smells half as good as mine does right now.
Frequently Asked Questions
Can I use pumpkin pie filling instead of puree?
No, I don’t recommend it. Pumpkin pie filling already has sugar and spices added, which will make the cheesecake too sweet and the texture too watery. Stick with 100% pure pumpkin puree.
Why did my cheesecake turn out runny?
Usually, this means the cream cheese wasn’t fully softened, or you didn’t whip the heavy cream enough. Make sure the cream cheese is smooth and the cream holds stiff peaks. Also, ensure you chilled it for at least 4 hours.
Can I make this in a regular pan?
You can, but it will be harder to remove. A springform pan is best because it releases the sides. If you use a regular pan, line it with parchment paper and lift it out after chilling.
How long does this last in the fridge?
Up to 5 days. It actually tastes better on day 2 or 3 as the flavors meld. Just keep it covered.
Can I freeze this cheesecake?
Yes! Wrap it well in plastic and foil. Freeze for up to 2 months. Thaw in the fridge overnight. The texture might be slightly softer, but it’s still delicious.
What kind of cookies work best for the crust?
Gingersnaps are traditional and add the perfect spice. Ginger molasses cookies work too, but they’re softer, so you might need less butter. Avoid plain vanilla wafers unless you want a different flavor profile.
Can I make this dairy-free?
Yes! Use vegan cream cheese, coconut cream, and vegan butter. It’s a bit different but still tasty. My lactose-intolerant friends love it.
Pin This Recipe!
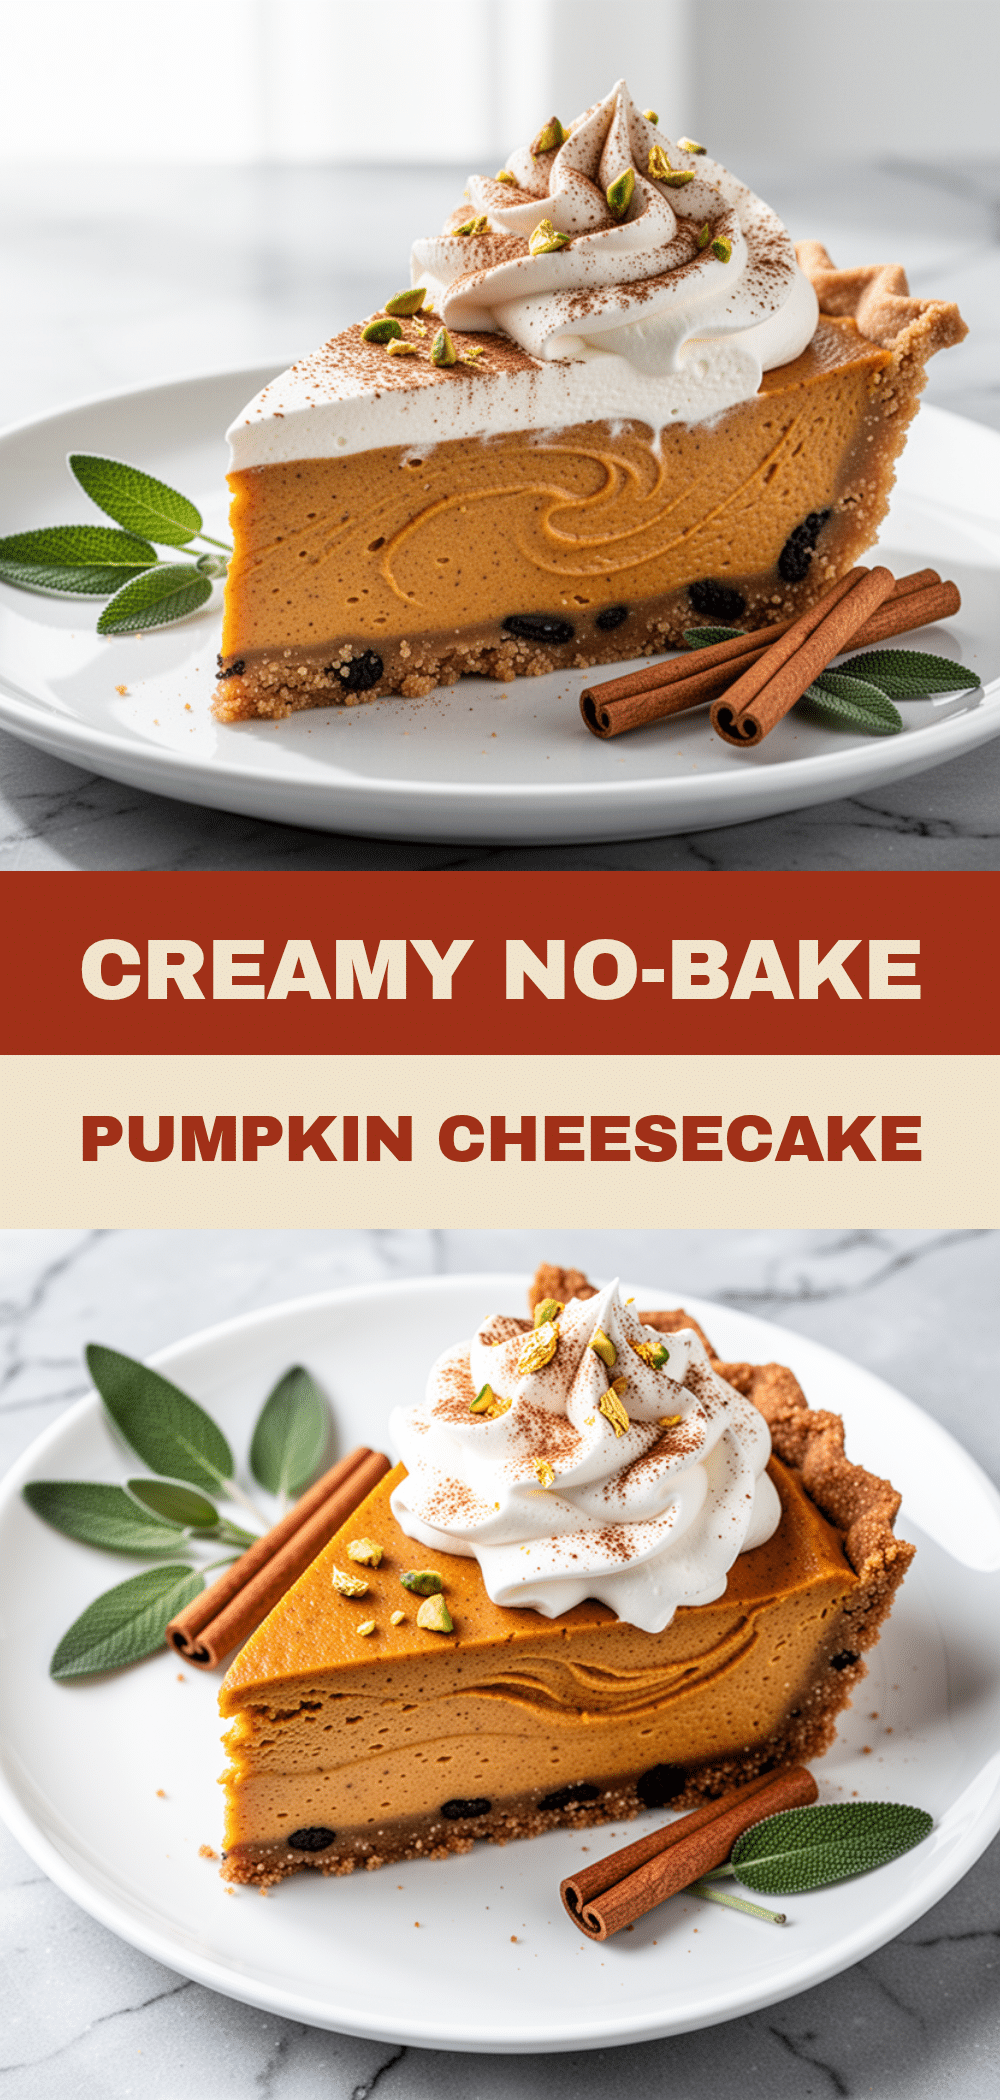
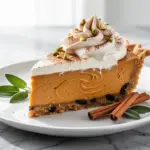
No-Bake Fall Pumpkin Pie Cheesecake with Gingersnap Crust
- Total Time: 4 hours 20 minutes
- Yield: 12 servings 1x
Description
A stress-free, no-bake dessert that combines the creamy tang of New York cheesecake with the warm spices of pumpkin pie. Featuring a crunchy gingersnap crust and a silky filling, this make-ahead treat is perfect for holidays or any time you want an impressive yet easy dessert.
Ingredients
- 3 cups (about 300g) gingersnap cookies
- 1/2 cup (115g) unsalted butter, melted
- 24 oz (680g) full-fat cream cheese, two 12-oz blocks, room temperature
- 1 cup (240ml) heavy cream, cold
- 1 cup (100g) powdered sugar
- 15 oz (425g) 100% pure pumpkin puree
- 2 teaspoons pumpkin pie spice
- 1 teaspoon vanilla extract
- 1/2 teaspoon salt
Instructions
- Grease the bottom and sides of a 9-inch springform pan with butter or non-stick spray. Line the bottom with parchment paper for easy removal.
- Crush the gingersnap cookies into fine crumbs using a food processor or a zip-top bag and rolling pin.
- In a medium bowl, mix the cookie crumbs with the melted butter and a pinch of salt until the mixture resembles wet sand.
- Press the crust mixture firmly into the bottom of the springform pan, packing it down tight. Optionally press up the sides about an inch. Set aside.
- In a large bowl, whip the cold heavy cream with an electric mixer on medium-high speed until stiff peaks form. Set aside.
- In another large bowl, beat the room-temperature cream cheese on medium speed until smooth and creamy (2-3 minutes). Scrape down the sides.
- Add the powdered sugar, pumpkin pie spice, vanilla, and salt to the cream cheese. Beat until combined.
- Add the pumpkin puree and mix on low speed just until incorporated. Do not overmix.
- Gently fold the whipped cream into the pumpkin cheese mixture using a spatula until no white streaks remain, keeping as much air in the mixture as possible.
- Pour the filling into the prepared crust and smooth the top.
- Cover the pan with plastic wrap and refrigerate for at least 4 hours, ideally overnight, until firm.
- To serve, run a thin knife around the edge to loosen, remove the springform ring, and slice with a sharp knife. Top with whipped cream or extra crumbs if desired.
Notes
Ensure cream cheese is at room temperature to avoid lumps. Do not use pumpkin pie filling; use 100% pure pumpkin puree. The cheesecake needs at least 4 hours to set but is best made the day before. It can be stored in the fridge for up to 5 days or frozen for up to 2 months.
- Prep Time: 20 minutes
- Cook Time: 0 minutes
- Category: Dessert
- Cuisine: American
Nutrition
- Serving Size: 1 slice
- Calories: 380
- Sugar: 28
- Fat: 24
- Saturated Fat: 14
- Carbohydrates: 35
- Fiber: 1
- Protein: 6
Keywords: no-bake cheesecake, pumpkin pie, gingersnap crust, fall dessert, Thanksgiving dessert, make-ahead dessert, pumpkin cheesecake