There is a specific kind of panic that hits when you realize your guests are arriving in twenty minutes and you have absolutely nothing prepared for dessert. Last Saturday, I was in that exact spot. I had just finished a hearty one-pot chicken and chorizo paella for the main course, and my kitchen was still smelling of smoky paprika and saffron. I needed something sweet, but something that felt elevated enough to match the effort I’d put into dinner. I didn’t want to bake a whole pie and deal with a soggy bottom, and I definitely didn’t want to buy something from a store that tasted like cardboard.
So, I raided my pantry and grabbed a few overripe pears and a knob of fresh ginger I’d bought for a tea recipe I never got around to making. I threw together what I thought would be a quick, messy little crisp. But then the smell hit. It wasn’t just sweet; it was warm, spicy, and deeply comforting. The scent of brown butter, nutmeg, and sharp ginger drifted through the house, making my husband stop mid-conversation and ask, “What is *that*?”
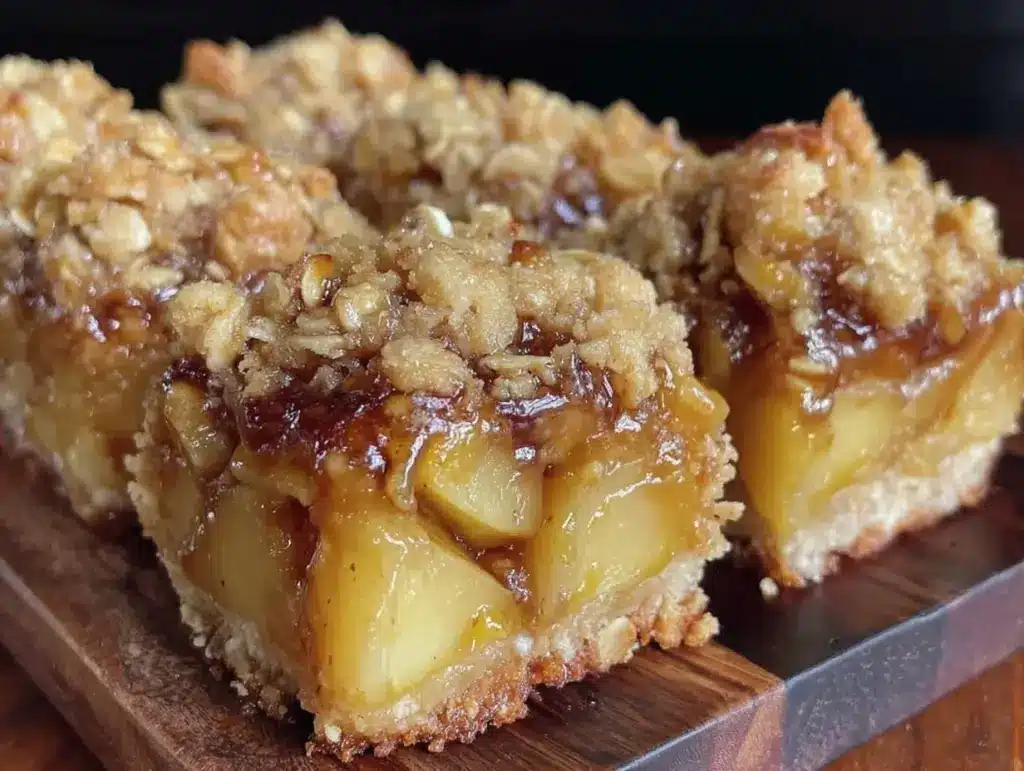
When I pulled the pan out of the oven, the result was magic. The crust was shatteringly crisp on top and tender underneath, the filling was bubbling with spiced pear juice, and the ginger added this incredible zing that cut right through the richness. I served them warm with a dollop of vanilla bean ice cream, and they disappeared so fast I had to scrape the pan for seconds. That was the moment I knew I had to write this down. These Fall Spiced Pear Ginger Crumble Bars are now my go-to for impressing guests, holiday gatherings, or just when you need a hug in dessert form.
Why You’ll Love This Recipe
I’ve made these bars at least a dozen times since that Saturday night. They’ve become my secret weapon for entertaining, and here is exactly why they work so well.
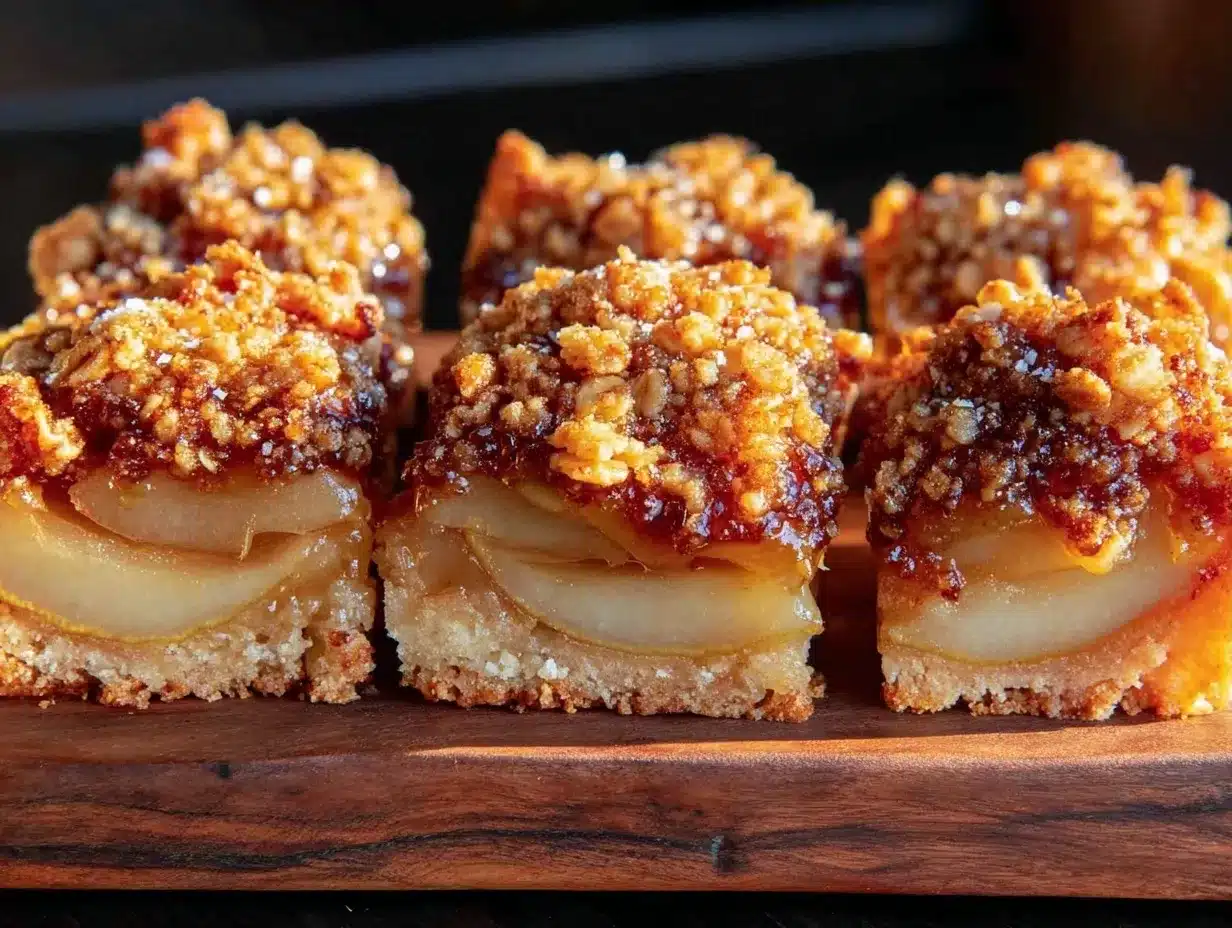
They Look Way More Fancy Than They Are — Seriously, people think you spent hours on this. The golden-brown crumble topping and the visible chunks of pear look like something you’d buy at a high-end bakery. But it’s actually a one-bowl bar recipe. No fancy equipment, no tempering chocolate, no intricate piping. Just dump, mix, and bake.
The Flavor Profile is Perfectly Balanced — Pears can be mild, sometimes even a little boring if you don’t treat them right. The secret here is the ginger. That sharp, spicy kick wakes up the whole dessert. Combined with warm cinnamon and nutmeg, it tastes like autumn in a bite. It’s not just sweet; it has depth. It’s complex enough to keep your foodie friends talking about it all night.
They Are Made to be Shared — Unlike a slice of cake that can get messy or a tart that’s hard to portion, bars are perfect for a crowd. You cut them into neat squares, put them on a platter, and everyone can grab one without worrying about dropping a slice. They hold their shape well, even if they sit out for an hour or two (which, let’s be honest, they usually do).
Great for Using Up Seasonal Fruit — Pears are everywhere in the fall, and they are often on sale. This recipe uses about three cups of chopped pear, which is perfect for using up those bruised ones you bought for a snack. Plus, the crumble topping means you don’t need the pears to be perfect. A little brown on the skin? Totally fine.
Make-Ahead Friendly — This is the biggest reason I love them for parties. You can bake them two days in advance. In fact, I think they taste even better the next day, as the flavors have had time to meld together. You just cover them with foil and let them sit at room temperature until your guests arrive.
Ingredients You’ll Need
Here’s the best part: you probably have most of the spices and pantry staples already. This recipe relies on simple, high-quality ingredients that let the fruit shine. I’m particular about three things here: the butter, the ginger, and the flour blend.
For the Crumble Topping & Crust:
Unsalted Butter (1 cup / 225g, cold and cubed) — This is non-negotiable. Cold butter creates those flaky, crunchy crumbs. If you use melted butter, you’ll get a dense, cake-like texture instead of a true crumble. I keep a stick or two in the freezer just for this purpose.
All-Purpose Flour (2 cups / 250g) — Standard flour works perfectly here. It gives structure without being too heavy. If you’re looking for a gluten-free option, a 1-to-1 gluten-free baking flour blend works, though the texture might be slightly more tender.
Brown Sugar (1 cup / 200g) — I use light brown sugar for a softer, molasses-rich crumble. Dark brown sugar works too if you want a deeper, more caramel-like flavor.
Granulated Sugar (½ cup / 100g) — Balances the sweetness and helps the topping crisp up.
Ground Cinnamon (2 teaspoons) — Don’t skip this. It’s the backbone of the “fall” flavor. If your cinnamon is old and dusty, throw it out and buy fresh. It makes a huge difference.
Ground Ginger (1 teaspoon) — This adds that warm, spicy backbone. It pairs beautifully with the pears.
Salt (½ teaspoon) — Essential for bringing out the sweetness. Never skip the salt in baking.
For the Pear Filling:
Firm Pears (about 3 medium / 600g, peeled and diced) — I recommend using Bosc or Anjou pears. They hold their shape well during baking and don’t turn into mush. Avoid red pears like Red Anjou if you can help it; they tend to get mealy. Look for pears that are firm but give slightly when you press them.
Fresh Ginger (1 tablespoon, finely grated) — Fresh is so much better than dried here. The juice and zest from fresh ginger add a brightness that dried powder just can’t match. Peel it and grate it on the small holes of a box grater.
Lemon Juice (1 tablespoon) — Prevents the pears from browning and adds a little acidity to balance the sugar. It also brightens up the heavy spices.
Cornstarch (2 tablespoons) — This thickens the pear juices so you don’t end up with a soupy bar. If you don’t have cornstarch, arrowroot powder works too.
Vanilla Extract (1 teaspoon) — Just a touch to round out the flavors.
Optional Topping:
Coarse Sea Salt — A tiny sprinkle on top right after baking elevates the sweetness and adds a professional touch.
Equipment Needed
You don’t need a fancy kitchen for this. Here’s what I actually use.
9×13 Inch Baking Pan — I use a metal pan for even browning. Glass pans work but might need a few extra minutes in the oven. Line it with parchment paper for easy removal.
Box Grater — For the fresh ginger. It’s the fastest way to get that fine, juicy mince.
Pastry Cutter or Fork — To cut the cold butter into the flour mixture. I use my fingers for the first bit to get it incorporated, then a fork to break up the clumps.
Mixing Bowls — Two medium bowls. One for the dry topping mix, one for the fruit filling.
Measuring Cups and Spoons — Standard stuff. Level off your dry ingredients for accuracy.
Sharp Knife and Cutting Board — For dicing the pears. Uniform pieces cook evenly.
How to Make It: Step-by-Step
Alright, let’s make these bars! I’m walking you through exactly how I do it, including the little tricks I’ve picked up over the years.
Step 1: Prep Your Oven and Pan (5 minutes)
Preheat your oven to 350°F (175°C). Line your 9×13 inch baking pan with parchment paper, leaving an overhang on the long sides. This is crucial for lifting the bars out later without breaking them. Grease the parchment lightly with butter or cooking spray.
Step 2: Make the Crumble Topping (10 minutes)
In a large bowl, whisk together the flour, brown sugar, granulated sugar, cinnamon, ground ginger, and salt. Add the cold, cubed butter. Using your fingers, a pastry cutter, or a fork, work the butter into the flour mixture. You’re looking for a texture that resembles coarse sand with some pea-sized clumps of butter remaining. Don’t overmix it into a paste. Set aside about ½ cup of this mixture for the topping; the rest will be your crust.
Step 3: Press the Crust
Take the larger portion of the crumble mixture (the part you didn’t set aside) and press it firmly into the bottom of your prepared pan. Use the bottom of a measuring cup or your fingers to create an even layer. This is your base, so make it compact.
Step 4: Prepare the Pear Filling
In a separate bowl, combine the diced pears, grated fresh ginger, lemon juice, vanilla extract, and cornstarch. Toss gently until the pears are evenly coated. The cornstarch will turn cloudy as it mixes with the juices—that’s exactly what you want.
Step 5: Assemble and Bake
Spread the pear mixture evenly over the pressed crust. Take the reserved ½ cup of crumble topping and sprinkle it generously over the pears. Don’t worry about covering every single inch; the rustic look is part of the charm. Bake for 45-50 minutes. You’ll know they’re done when the topping is deep golden brown and the filling is bubbling up around the edges. If the top starts browning too quickly, tent it loosely with foil after 30 minutes.
Step 6: Cool Completely
This is the hardest part. Let the bars cool in the pan on a wire rack for at least 45 minutes, or until completely cool. If you cut them while they’re hot, the filling will be runny and the bars will fall apart. Patience pays off here. Once cool, lift them out using the parchment paper and cut into squares.
Expert Tips & Tricks
Here’s everything I’ve learned from making these dozens of times. These tips will save you from my mistakes.
Keep the Butter Cold
I can’t stress this enough. If your butter gets warm while you’re prepping, your crumble will melt into the flour instead of staying in little crunchy bits. If your kitchen is hot, put your butter in the freezer for 10 minutes before starting. Cold butter = crunchy topping. Warm butter = cakey crust.
Don’t Skip the Fresh Ginger
I’ve tried this with dried ginger before, and it just tastes flat and dusty. Fresh ginger has a volatile oil that gives it that spicy kick. It’s worth the extra minute to peel and grate it. If you’re really short on time, you can use 1 teaspoon of ground ginger, but add an extra ½ teaspoon of cinnamon to compensate for the lost brightness.
Choose the Right Pears
Use firm pears. If you use overripe, soft pears, they will disintegrate into a jammy mess. Bosc pears are my favorite because they are dense and hold their shape beautifully. Anjou pears are a good second choice. Avoid Bartlett pears unless they are very firm, as they tend to break down quickly.
Let Them Cool
I know the smell is intoxicating. I know you want to cut one right now. But trust me. Let them cool completely. The filling needs time to set. If you cut them hot, you’ll get a mushy bar. If you wait, you get perfect, distinct squares.
Add a Pinch of Salt on Top
Right after they come out of the oven, sprinkle a tiny pinch of flaky sea salt over the warm crumble. It enhances the sweetness and adds a sophisticated finish. It’s a small detail that makes a big impression.
Variations & Substitutions
Once you’ve nailed the basic version, here’s how you can mix it up. I’ve tried all of these.
Apple Ginger Crumble Bars
Swap the pears for apples. Granny Smith apples work best because they are tart and firm. You might need to add an extra tablespoon of cornstarch since apples release more juice. This is a classic combination that feels very cozy.
Nutty Variation
Add ½ cup of chopped pecans or walnuts to the crumble topping. Toast them in the oven for 5 minutes before adding them for extra flavor. The nuts add a wonderful crunch and richness.
Cardamom Pear Bars
Swap the cinnamon for ground cardamom. Cardamom and pear are a classic pairing in Scandinavian baking. It tastes exotic and aromatic. Use 1 teaspoon of cardamom instead of cinnamon.
Gluten-Free Option
Use a 1-to-1 gluten-free flour blend in the crumble. The texture might be slightly more tender, but it still works well. Make sure your cornstarch is certified gluten-free if you have celiac disease.
Dairy-Free Option
Use a high-quality vegan butter stick instead of dairy butter. Coconut oil can work, but it will change the flavor slightly. Vegan butter is the closest match for texture and taste.
Serving & Storage
How to Serve:
I usually serve these bars at room temperature. They are perfect for a fall dinner party, a holiday brunch, or just a cozy night in. I love serving them with a scoop of vanilla bean ice cream or a dollop of whipped cream. The cold cream contrasts beautifully with the warm spices. They also pair wonderfully with a cup of hot tea or coffee. Speaking of fall drinks, these bars would be amazing alongside a spiced apple cider mule for a complete autumn experience.
Storage Instructions:
Room Temperature: Store in an airtight container for up to 3 days. They actually taste better on day two as the flavors meld.
Refrigerator: If your kitchen is very hot, store them in the fridge. They will last up to 5 days. Let them come to room temperature before serving for the best texture.
Freezing: You can freeze these bars! Wrap the whole pan tightly in plastic wrap and then foil. They will last for up to 3 months. Thaw them overnight in the fridge before serving. You can also freeze individual squares for lunchbox treats.
Nutrition Information
I’m not a nutritionist, but here’s the breakdown if you’re tracking. This is a rich dessert, so portion control is key.
Per Serving (based on 12 bars):
- Calories: 280
- Protein: 3g
- Carbs: 42g
- Fiber: 2g
- Sugar: 28g
- Fat: 12g
- Saturated Fat: 7g
- Cholesterol: 30mg
- Sodium: 150mg
Look, this is dessert. It’s sweet and buttery. But it’s also made with real fruit, which adds some fiber and vitamins. If you want to make it lighter, you can reduce the sugar in the topping by 25%, though the texture will be slightly less crunchy. I usually just enjoy a small square and appreciate the moment.
Final Thoughts
So that’s my go-to Fall Spiced Pear Ginger Crumble Bars! I’ve probably talked your ear off at this point, but when you make a recipe this often, you have a lot to say about it. These bars have saved my dessert game more times than I can count. They are my answer to “what’s for dessert?” when I want to impress but don’t have hours to spare.
They are warm, spiced, and deeply comforting. They smell like home. And they taste like autumn. Make them soon, and I hope your kitchen smells half as good as mine does right now. If you make these, drop a comment and let me know what you think! I love hearing how recipes turn out in your kitchen.
Frequently Asked Questions
Can I use frozen pears?
You can, but thaw them first and drain off any excess liquid. Frozen pears release a lot of water, which can make the filling too runny. If you use frozen, increase the cornstarch to 3 tablespoons and pat the pears dry with a paper towel before mixing.
Why did my crumble topping melt together?
This usually happens if the butter was too warm or if you overmixed the dough. Make sure your butter is cold and cubed, and only mix until the mixture looks like coarse crumbs. Don’t pack it down; keep it loose and crumbly.
Can I make this in a different pan?
Yes! You can use an 8×8 inch pan for thicker bars (bake for 50-55 minutes) or a 9×9 inch square pan. Adjust the baking time accordingly. Keep an eye on the browning.
How do I reheat leftovers?
If you want them warm, microwave a single bar for 15-20 seconds. Or, bake a few squares in a 350°F oven for 5-10 minutes. They taste amazing warm with ice cream.
Can I add nuts to the filling?
Absolutely. Toasted pecans or walnuts add a great crunch. Toss them with the pears before spreading them over the crust. Just be mindful of any nut allergies if you’re serving guests.
Why are my bars soggy?
This can happen if the bars weren’t baked long enough or if the pears released too much juice. Make sure to bake until the edges are bubbling and the topping is golden. Also, ensure you’ve cooled the bars completely before cutting them.
Pin This Recipe!
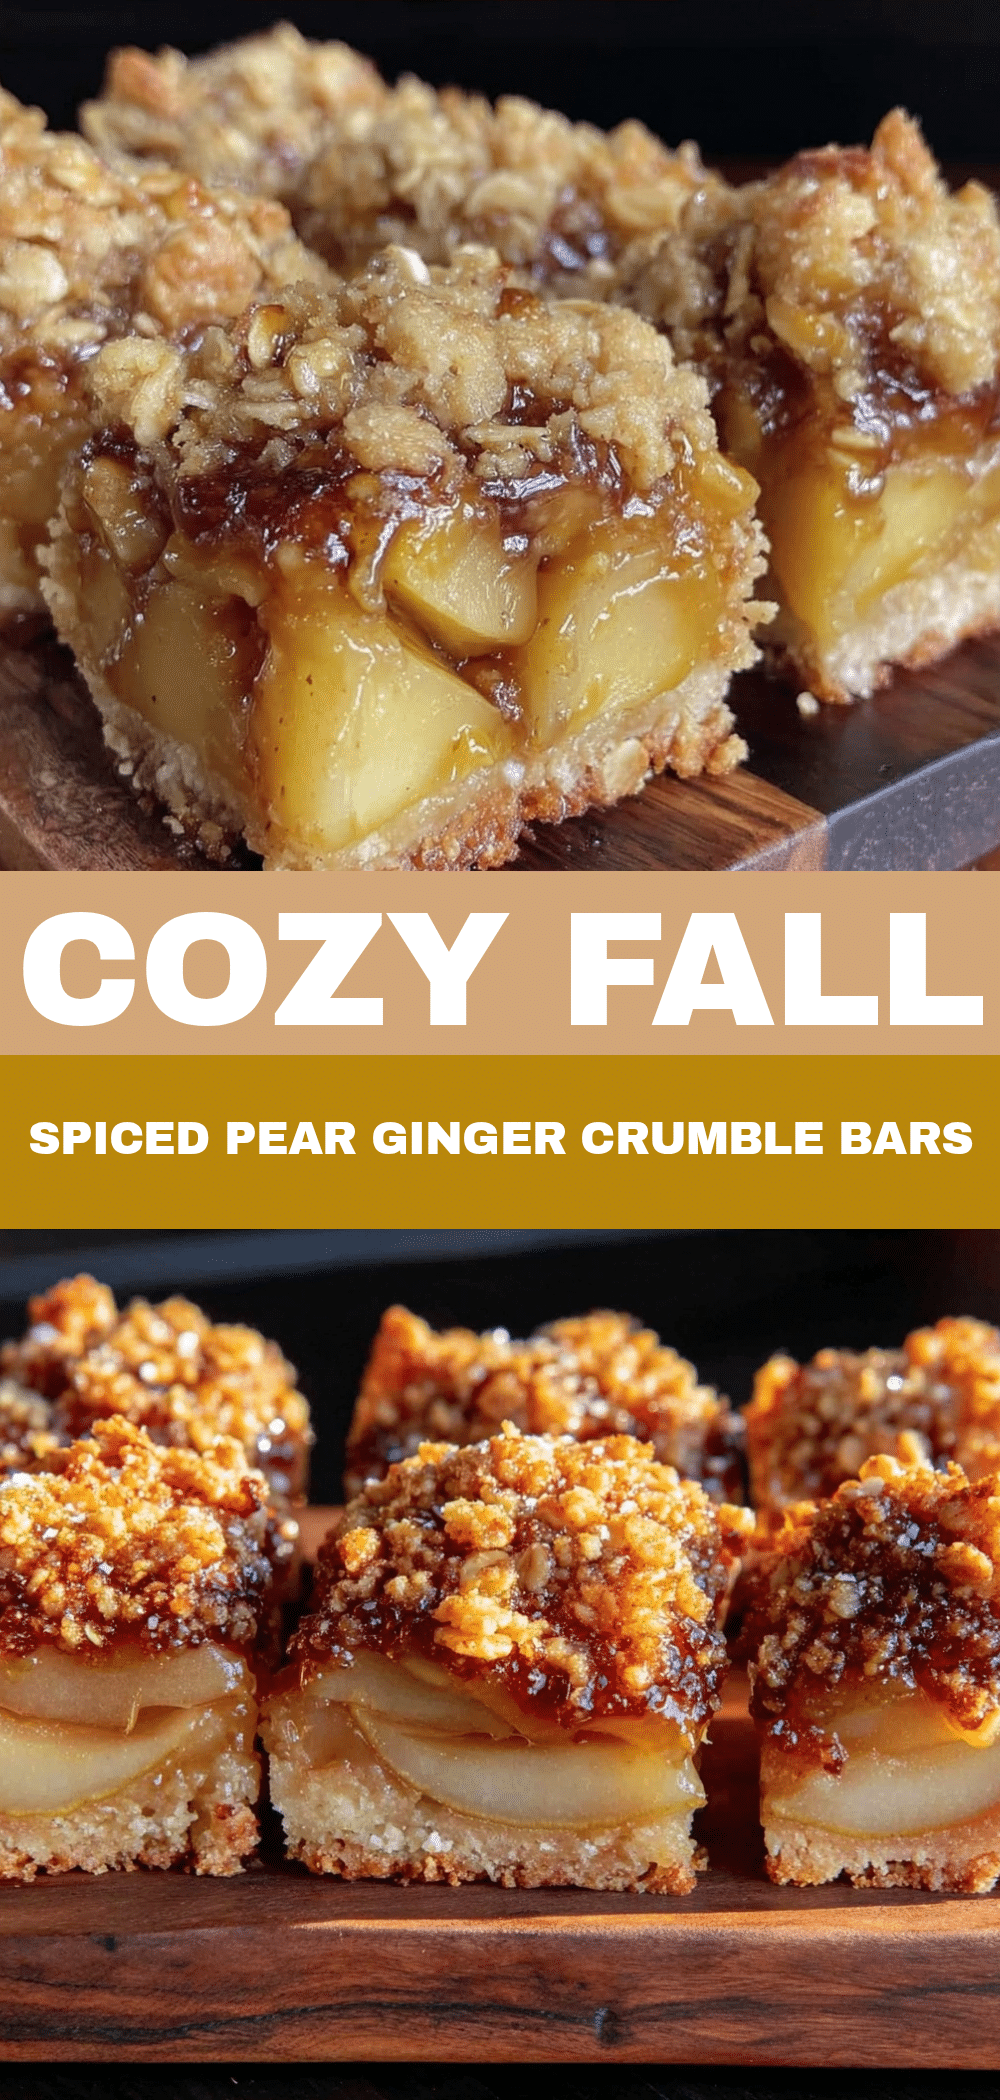
Fall Spiced Pear Ginger Crumble Bars
- Total Time: 1 hour 5 minutes
- Yield: 12 servings 1x
Description
These easy, make-ahead dessert bars feature a buttery crumble crust and topping filled with spiced pears and fresh ginger. They are perfect for impressing guests or enjoying a cozy autumn treat.
Ingredients
- 1 cup (225g) unsalted butter, cold and cubed
- 2 cups (250g) all-purpose flour
- 1 cup (200g) light brown sugar
- 1/2 cup (100g) granulated sugar
- 2 teaspoons ground cinnamon
- 1 teaspoon ground ginger
- 1/2 teaspoon salt
- 3 medium firm pears (Bosc or Anjou), peeled and diced (about 3 cups)
- 1 tablespoon fresh ginger, finely grated
- 1 tablespoon lemon juice
- 2 tablespoons cornstarch
- 1 teaspoon vanilla extract
- Coarse sea salt, for optional topping
Instructions
- Preheat oven to 350°F (175°C). Line a 9×13 inch baking pan with parchment paper, leaving an overhang on the long sides, and grease lightly.
- In a large bowl, whisk together flour, brown sugar, granulated sugar, cinnamon, ground ginger, and salt.
- Add the cold, cubed butter to the dry ingredients. Work the butter into the mixture using your fingers, a pastry cutter, or a fork until it resembles coarse sand with pea-sized clumps.
- Set aside 1/2 cup of the crumble mixture for the topping. Press the remaining mixture firmly into the bottom of the prepared pan to form the crust.
- In a separate bowl, toss the diced pears with grated fresh ginger, lemon juice, vanilla extract, and cornstarch until evenly coated.
- Spread the pear mixture evenly over the pressed crust.
- Sprinkle the reserved 1/2 cup of crumble topping generously over the pears.
- Bake for 45-50 minutes, or until the topping is deep golden brown and the filling is bubbling. Tent with foil if browning too quickly after 30 minutes.
- Let the bars cool completely in the pan on a wire rack for at least 45 minutes before cutting into squares.
- Optional: Sprinkle with coarse sea salt immediately after baking.
Notes
Keep butter cold for a crunchy topping. Use firm pears like Bosc or Anjou to prevent mushiness. Bars must cool completely before cutting to set properly. Can be made gluten-free using a 1-to-1 gluten-free flour blend. Can be made dairy-free using vegan butter.
- Prep Time: 15 minutes
- Cook Time: 50 minutes
- Category: Dessert
- Cuisine: American
Nutrition
- Serving Size: 1 bar
- Calories: 280
- Sugar: 28
- Sodium: 150
- Fat: 12
- Saturated Fat: 7
- Carbohydrates: 42
- Fiber: 2
- Protein: 3
Keywords: fall dessert, pear crumble, ginger bars, easy dessert, make-ahead dessert, autumn baking, guest recipe