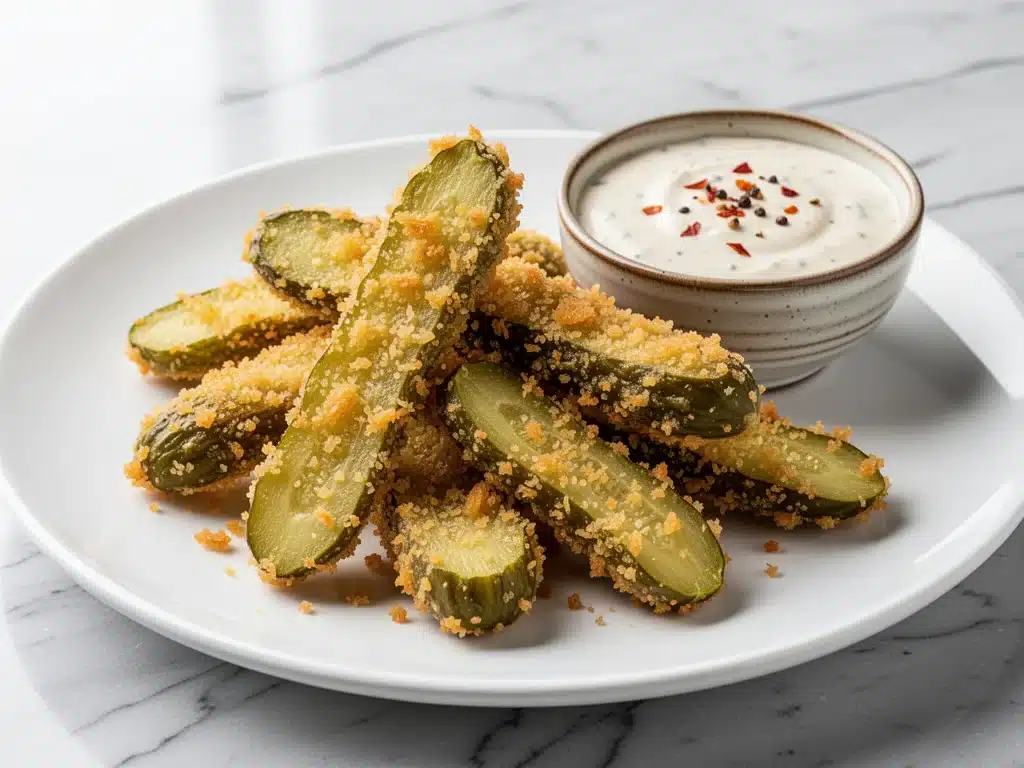
It was the third quarter of the Super Bowl, and the energy in my living room had shifted from “friendly competition” to “aggressive snacking.” You know the vibe. Empty chip bags everywhere, napkins stained with grease, and a desperate search for something that isn’t just another bowl of salted nuts. That’s when I pulled out the plate of crispy fried pickles. And let me tell you, the reaction was instant.
My usually stoic brother-in-law, who claims he doesn’t have a sweet tooth or a craving for anything “fancy,” took one bite, closed his eyes, and made a noise that sounded like a purr. My niece, who only eats chicken nuggets and plain pasta, asked if we could make them every weekend. Even the guy who brought the potato chips admitted, with zero shame, that he’d be buying dill pickles from the grocery store tomorrow.
This isn’t just a recipe; it’s a party lifeline. Crispy fried pickles with spicy ranch dip are the ultimate game day snack because they hit every single craving button: salty, crunchy, tangy, and creamy. And the best part? They’re ready in 30 minutes. That’s faster than ordering takeout, and they taste infinitely better. I’ve tested this method at least a dozen times, tweaking the breading and the dip ratios, and I’ve finally landed on the version that makes people forget the score of the game entirely.
There’s something magical about the contrast between the cool, briny pickle spear and the hot, shatteringly crisp coating. It’s texture heaven. Plus, the spicy ranch dip ties it all together, adding a kick that keeps you coming back for “just one more” (spoiler: it’s never just one more). If you’re looking for other crowd-pleasers to round out your spread, you might also enjoy checking out our air fryer eggplant parmesan chips for a lighter, equally crispy option.
Why You’ll Love This Recipe
I’ve been making these fried pickles for years, and they have officially dethroned wings and onion rings as my go-to game day snack. Here’s why they deserve a permanent spot in your rotation:
Lightning Fast Prep — Seriously, if you can chop an onion, you can make this. The whole process, from fridge to plate, takes about 30 minutes. I make these on nights when I’m exhausted but still want to feed a crowd. No complicated techniques, no hours of marinating.
Texture Overload — The secret is the double-dip breading method. It creates a thick, crunchy crust that stays crisp even when you dip it in the ranch. I’ve tried single-dip versions, and they get soggy too fast. This version? It holds up. I’ve watched them sit on a plate for 20 minutes and still crunch.
The Dip Factor — The spicy ranch isn’t an afterthought. It’s the star. I use a mix of mayonnaise, sour cream, and buttermilk for the perfect tang, plus a kick of cayenne and hot sauce. It’s creamy, spicy, and perfectly balances the saltiness of the pickles. My husband says it’s the best dip he’s ever had, and he’s a man who usually just eats ketchup.
Pantry-Friendly Ingredients — You probably have most of this already. Pickles, flour, eggs, breadcrumbs, mayo, sour cream, spices. No weird ingredients you have to hunt down. This is real food, made from things you already trust.
Budget-Smart — A bag of dill pickle spears costs about $3. The rest of the ingredients are staples. You’re feeding 4-6 people for under $10. That’s cheaper than a single order of appetizers at a sports bar, and way better quality.
This is my answer to “what do we eat while watching the game?” when I want something that feels indulgent but comes together without stress. It’s reliable, delicious, and universally loved.
Ingredients You’ll Need
Here’s the best part: you probably have most of this already in your pantry and fridge. I’m particular about a few things here, so pay attention to the details.
For the Fried Pickles
Dill pickle spears (1 large jar, about 24-30 spears) — You want full-sized spears, not chips. Look for brands like Vlasic or homemade if you’re feeling fancy. They need to be firm, not mushy. Drain them well!
All-purpose flour (1 cup / 125g) — This is the base of the breading. It helps the egg wash stick. Don’t skip it.
Eggs (2 large) — Beaten with a pinch of salt. I use large eggs every time. They give the best coating.
Panko breadcrumbs (2 cups / 180g) — This is non-negotiable. Panko creates that shatteringly crisp texture. Regular breadcrumbs are too dense and get soggy. I always buy the Japanese-style Panko.
Garlic powder (1 teaspoon) — Adds depth to the crust. Don’t use fresh garlic here; it’ll burn.
Onion powder (1 teaspoon) — Complements the garlic. Again, powder only.
Cayenne pepper (½ teaspoon) — Adds a little heat to the crust. Adjust if you like it spicier.
Vegetable oil (for frying, about 2-3 cups) — I use vegetable or canola oil. It has a high smoke point and neutral flavor. Do not use olive oil; it smokes too much and tastes too strong.
For the Spicy Ranch Dip
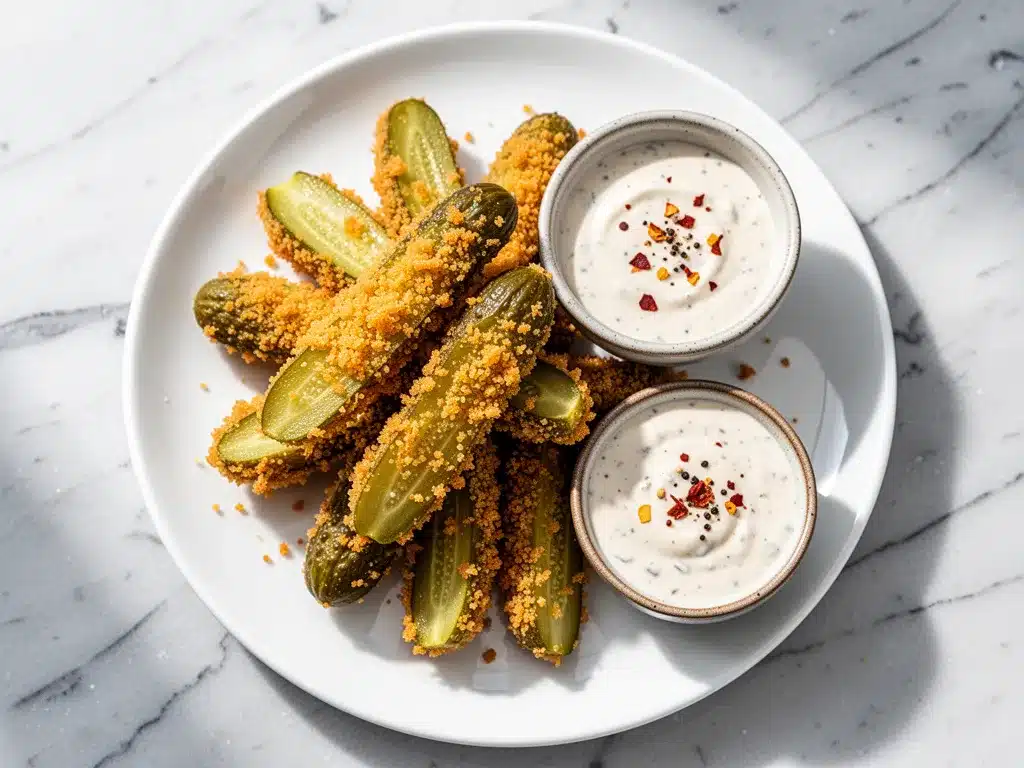
Mayonnaise (½ cup / 120g) — I use Hellmann’s or Duke’s. Don’t use light mayo; the fat is what makes it creamy.
Sour cream (¼ cup / 60g) — Adds tang and thickness. Full-fat only.
Buttermilk (2 tablespoons) — Thin it out slightly and add that classic ranch tang. If you don’t have buttermilk, mix 2 tbsp milk with 1 tsp vinegar and let it sit for 5 minutes.
Dried dill weed (1 teaspoon) — Essential for the “ranch” flavor. Fresh dill works but is less potent.
Dried parsley (1 teaspoon) — Adds color and a mild herbal note.
Garlic powder (1 teaspoon) — Yes, more garlic. It’s a garlic-heavy dip.
Onion powder (1 teaspoon) — Same as above.
Cayenne pepper (¼ to ½ teaspoon) — Start with ¼ for mild heat, go to ½ for spicy. Adjust to your taste.
Hot sauce (1 teaspoon, optional) — I use Frank’s RedHot or Tabasco. Adds a vinegar kick.
Salt and black pepper (to taste) — Always taste and adjust at the end.
Quick tip: I keep a jar of pre-mixed dried herbs for ranch dips. It saves time during game day prep.
Equipment Needed
You don’t need fancy equipment for this. Here’s what I actually use:
Large skillet or Dutch oven — I use a 12-inch cast iron skillet. It holds heat well and fits the pickles comfortably. A Dutch oven works too if you’re frying in batches.
Three shallow bowls — For the dredging station: flour, egg wash, and breadcrumbs. I use pie plates or shallow casserole dishes.
Wire rack and baking sheet — To drain the fried pickles. This keeps them crisp. Paper towels work, but they can get soggy if the pickles sit too long.
Candy thermometer — Optional but helpful. I like to keep the oil at 350°F (175°C). If you don’t have one, drop a breadcrumb in; if it sizzles and turns golden in 60 seconds, you’re good.
Tongs — For turning the pickles. My tongs are long so I don’t burn my arms.
Whisk — For mixing the egg wash and the ranch dip.
Measuring cups and spoons — Standard stuff. Dollar store versions work fine.
Optional but nice: A splatter screen! Fried food splatters, and I learned this the hard way when my stove top looked like a crime scene. It’s cheap and saves your sanity.
How to Make It: Step-by-Step
Alright, let’s make this! I’m walking you through exactly how I do it, including the little tricks I’ve picked up over the years.
Step 1: Prep Your Station (10 minutes)
Before you start frying, set up your dredging station. Line three shallow bowls side by side. In the first, put the flour. In the second, beat the eggs with a pinch of salt. In the third, mix the Panko breadcrumbs with garlic powder, onion powder, and cayenne pepper. Set a wire rack over a baking sheet nearby for the finished pickles.
Drain your pickle spears on paper towels and pat them dry. This is crucial. Wet pickles = slippery breading = mess. I spend an extra minute drying them, and it makes a huge difference.
Step 2: Bread the Pickles (5 minutes)
Take a pickle spear and dredge it in the flour, shaking off any excess. Dip it into the egg wash, letting the excess drip off. Then, press it firmly into the Panko mixture, making sure it’s fully coated. Place it on the baking sheet. Repeat with all pickles. I usually do this in batches of 10.
Pro tip: Press the breadcrumbs on firmly. If they’re loose, they’ll fall off in the oil. I give them a little pat to ensure they stick.
Step 3: Heat the Oil (10 minutes)
Pour about 2 inches of vegetable oil into your skillet or Dutch oven. Heat it over medium-high heat until it reaches 350°F (175°C). If you don’t have a thermometer, wait until the oil shimmers and a wooden chopstick inserted into the oil bubbles vigorously around it.
Warning: Don’t let the oil get too hot. If it smokes, it’s too hot. Lower the heat. Burnt oil tastes bitter and ruins the pickles.
Step 4: Fry the Pickles (8-10 minutes)
Carefully place 5-6 pickles into the hot oil, using tongs. Don’t overcrowd the pan; fry in batches. Cook for 2-3 minutes per side, until golden brown and crispy. Turn them once halfway through.
The pickles are done when the coating is a deep golden color and feels crisp to the touch. I usually pull them out when they’re slightly underdone, because they’ll continue to cook a bit on the rack.
Step 5: Drain and Season (2 minutes)
Remove the pickles from the oil and place them on the wire rack. Let them drain for 1-2 minutes. While they’re still hot, sprinkle lightly with salt. The heat helps the salt stick.
Visual cue: The pickles should look glossy and golden, not dark brown or greasy. If they’re dark, your oil was too hot.
Step 6: Make the Spicy Ranch Dip (5 minutes)
While the pickles fry, mix the mayo, sour cream, buttermilk, dried dill, parsley, garlic powder, onion powder, cayenne, and hot sauce in a bowl. Whisk until smooth. Taste and adjust salt, pepper, or spice level. The dip should be creamy, tangy, and slightly spicy.
Tip: Let the dip sit for 10 minutes before serving. The flavors meld together and taste better. I usually start the dip while the oil heats up.
Step 7: Serve
Arrange the hot pickles on a platter. Serve immediately with the spicy ranch dip on the side. I like to garnish with a sprig of fresh dill or a sprinkle of paprika for color.
Total Time: About 30 minutes (10 minutes prep, 20 minutes cooking).
Troubleshooting:
- Breading falling off: Pickles were too wet. Pat them drier next time.
- Oil splattering: Oil wasn’t hot enough when you added pickles. Wait for 350°F.
- Dip too thick: Add more buttermilk, 1 teaspoon at a time.
- Pickles too oily: Oil was too hot. Lower heat next time.
Expert Tips & Tricks
Here’s everything I’ve learned from making these dozens of times. These tips will save you from my mistakes.
Use Panko, Not Regular Breadcrumbs
This is the #1 tip. Panko creates those big, crunchy flakes that make fried pickles addictive. Regular breadcrumbs are too fine and get soggy. I’ve tried both, and Panko wins every time. My friends can taste the difference.
Don’t Skip the Drying Step
I know it’s tedious, but drying the pickles is critical. Wet pickles slide off the breading. I use paper towels and press firmly. It takes 2 minutes, but it makes the difference between a mess and a masterpiece.
Keep the Oil at 350°F
If the oil is too cool, the pickles absorb grease. If it’s too hot, the breading burns before the pickle is hot. Use a thermometer if you can. If not, trust the shimmer and the bubble test.
Fry in Small Batches
Don’t crowd the pan. Adding too many pickles drops the oil temperature, leading to greasy results. I fry 5-6 at a time. It’s faster to cook in batches than to deal with soggy pickles.
Season Immediately
Salt the pickles while they’re still hot and oily. The salt sticks better. If you wait until they’re cool, the salt just falls off.
Make the Dip Ahead
The spicy ranch tastes better after sitting for an hour. I make it the night before. It saves stress on game day. Just stir it up before serving.
Common Mistakes:
- Mistake: Breading slides off. Fix: Dry pickles thoroughly and press breadcrumbs firmly.
- Mistake: Pickles are greasy. Fix: Oil temperature too low. Wait for 350°F.
- Mistake: Dip is too thin. Fix: Add more sour cream or mayo.
Variations & Substitutions
Once you’ve nailed the basic version, here’s how you can mix it up. I’ve tried all of these.
Spicy Jalapeño Pickles
Use bread-and-butter jalapeño slices instead of dill spears. They’re sweeter and spicier. Great for heat lovers.
Buffalo Style
Toss the fried pickles in buffalo sauce after frying. Serve with blue cheese dip instead of ranch. A classic combo.
Garlic Parmesan
Add grated Parmesan to the Panko mixture. Sprinkle with garlic powder after frying. Richer and more savory.
Gluten-Free
Use gluten-free Panko breadcrumbs. Everything else is naturally gluten-free. I’ve used Bob’s Red Mill GF Panko, and it works great.
Vegan
Use vegan pickles (check for honey or dairy, though most are vegan). Use aquafaba (chickpea water) instead of egg wash. Use vegan mayo and sour cream for the dip. It’s surprisingly good.
Baked Option
Brush fried pickles with oil and bake at 400°F for 15 minutes, flipping halfway. Less crispy, but healthier. I prefer frying, but it works in a pinch.
Serving & Storage
How to Serve:
I serve these straight from the platter at the game. They look rustic and inviting. But here are other ways I’ve enjoyed them:
Side Dishes:
– Potato chips (for those who want extra crunch)
– Coleslaw (to balance the heaviness)
– Corn on the cob (if it’s summer)
Wine Pairing:
Not a wine expert, but my wine-snob friend says a crisp Pinot Grigio or a cold lager beer works great with this.
Storage Instructions:
Refrigerator:
Store leftovers in an airtight container for up to 2 days. The pickles will lose some crispness, but they’re still good.
Reheating:
Best method: Oven or air fryer at 375°F for 5-7 minutes. This restores crispness.
Microwave method: Works, but they’ll be soggy. If you must, heat in 30-second bursts.
Never works: Just eating them cold. They’re best hot.
Freezing:
You can freeze unbreaded pickles, but not fried ones. The breading gets mushy when thawed. I freeze raw pickles, then bread and fry them fresh when needed.
Meal Prep:
Make the dip ahead. Prep the breading station, but don’t fry until game time. This saves the most time.
Nutrition Information
I’m not a nutritionist, but here’s the breakdown if you’re tracking. Keep in mind, this is a treat food, so enjoy in moderation.
Per Serving (based on 6 servings, 5 pickles each):
| Nutrient | Amount |
|---|---|
| Calories | 320 |
| Protein | 6g |
| Carbs | 28g |
| Fiber | 1g |
| Sugar | 2g |
| Fat | 20g |
| Saturated Fat | 3g |
| Cholesterol | 35mg |
| Sodium | 850mg |
What’s Good:
– Protein from the egg and cheese (if using)
– Can be made gluten-free or vegan
– Lower sugar than many snacks
What to Know:
– Higher in fat from frying and mayo
– Contains gluten (unless modified)
– Moderate sodium (use low-sodium pickles to reduce)
My Take:
Look, this is fried food with mayo dip. It’s not a diet recipe. It’s a party snack. But it’s way better than store-bought, costs less, and I know exactly what’s in it. When I want to make it lighter, I use the baked version and light mayo. But usually? I just eat a reasonable portion and enjoy it.
Final Thoughts
So that’s my go-to crispy fried pickles with spicy ranch dip! I’ve probably talked your ear off at this point, but when you make a recipe this often, you have a lot to say about it.
This has saved game days more times than I can count. It’s my answer to “what do we eat?” when I’m tired, don’t want takeout, and still want something that tastes really good. My kids are happy, my husband’s happy, and I’m happy because I’m not stressed about cooking.
Make it yours! Try different pickles, swap in your favorite spices, adjust the heat. The best recipes are the ones you adapt to your family’s tastes.
If you make this, drop a comment and let me know what you think! I love hearing how recipes turn out in your kitchen. And if something doesn’t work, tell me that too—I’m here to help troubleshoot.
Happy cooking! And I hope your kitchen smells half as good as mine does right now.
Frequently Asked Questions
Can I use regular breadcrumbs instead of Panko?
You can, but the texture won’t be as crunchy. Panko creates those big, airy flakes that make fried pickles addictive. Regular breadcrumbs are denser and can get soggy faster. I highly recommend sticking with Panko for the best result.
My breading keeps falling off—what did I do wrong?
Usually, this means the pickles were too wet. Make sure you pat them dry with paper towels before dredging. Also, press the breadcrumbs firmly onto the pickles. If the breading is loose, it’ll slide off in the oil. A dry surface helps the flour stick better.
Can I make the spicy ranch dip ahead of time?
Yes! In fact, it tastes better if you let it sit for an hour or two. The flavors meld together. I usually make it the night before and store it in the fridge. Just stir it up before serving.
Why did my pickles get soggy?
Oil temperature was probably too low. If the oil isn’t hot enough (350°F), the pickles absorb grease instead of crisping up. Also, don’t overcrowd the pan. Frying in small batches keeps the oil temp stable.
Can I bake these instead of frying?
You can, but they won’t be as crispy. To bake, brush the breaded pickles with oil and bake at 400°F for 15-20 minutes, flipping halfway. They’ll be lighter, but still tasty. I prefer frying for that authentic crunch.
How long do leftover pickles last?
Store them in an airtight container in the fridge for up to 2 days. They’ll lose some crispness, but they’re still good. Reheat in the oven or air fryer to restore crunch. Don’t microwave them if you can avoid it.
Can I use sweet pickles instead of dill?
Yes! Bread-and-butter or sweet pickles work great. They’re sweeter and less tangy, which pairs nicely with the spicy ranch. I’ve made them both ways, and both are delicious.
Pin This Recipe!
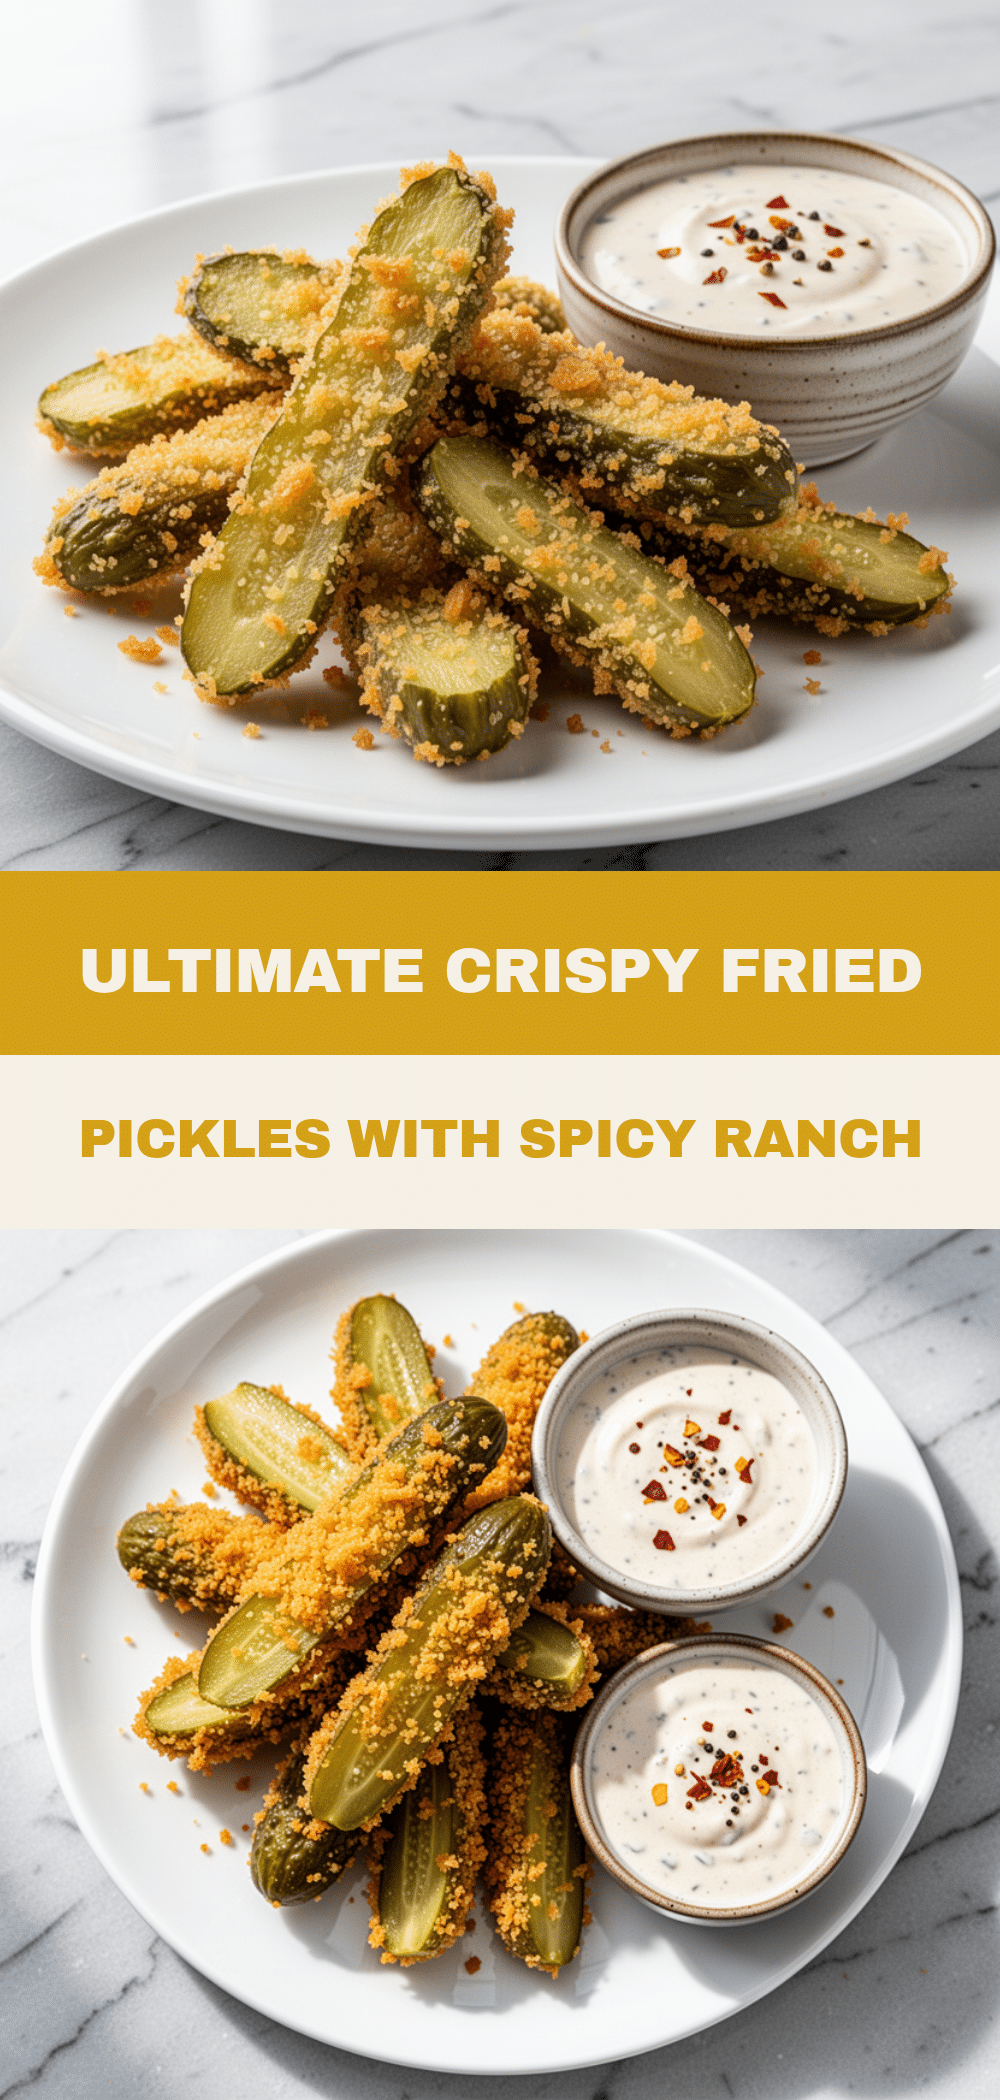
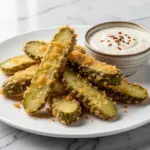
Crispy Fried Pickles: Best 30-Minute Game Day Snack
- Total Time: 30 minutes
- Yield: 4-6 servings 1x
Description
These crispy fried pickles with spicy ranch dip are the ultimate game day snack, offering a perfect balance of salty, crunchy, tangy, and creamy flavors in just 30 minutes.
Ingredients
- 1 large jar dill pickle spears (about 24–30 spears)
- 1 cup all-purpose flour
- 2 large eggs, beaten with a pinch of salt
- 2 cups Panko breadcrumbs
- 1 teaspoon garlic powder
- 1 teaspoon onion powder
- ½ teaspoon cayenne pepper
- Vegetable oil (for frying, about 2-3 cups)
- ½ cup mayonnaise
- ¼ cup sour cream
- 2 tablespoons buttermilk
- 1 teaspoon dried dill weed
- 1 teaspoon dried parsley
- 1 teaspoon garlic powder
- 1 teaspoon onion powder
- ¼ to ½ teaspoon cayenne pepper
- 1 teaspoon hot sauce (optional)
- Salt and black pepper to taste
Instructions
- Set up a dredging station with three shallow bowls containing flour, beaten eggs, and a mixture of Panko breadcrumbs, garlic powder, onion powder, and cayenne.
- Drain pickle spears and pat them thoroughly dry with paper towels to ensure breading adheres.
- Dredge each pickle spear in flour, dip in egg wash, and press firmly into the Panko mixture to coat completely.
- Heat vegetable oil in a large skillet or Dutch oven to 350°F (175°C).
- Fry pickles in small batches (5-6 at a time) for 2-3 minutes per side until golden brown and crispy.
- Remove pickles from oil and place on a wire rack to drain; sprinkle lightly with salt while hot.
- Whisk together mayonnaise, sour cream, buttermilk, dried dill, parsley, garlic powder, onion powder, cayenne, and hot sauce to make the spicy ranch dip.
- Let the dip sit for 10 minutes to allow flavors to meld, then serve pickles immediately with the dip.
Notes
Ensure pickles are completely dry before breading to prevent slipping. Use Panko breadcrumbs for maximum crispiness. Keep oil temperature at 350°F to avoid greasy results. The spicy ranch dip tastes better if made ahead and allowed to sit for an hour.
- Prep Time: 10 minutes
- Cook Time: 20 minutes
- Category: Appetizer
- Cuisine: American
Nutrition
- Serving Size: 5 pickles per servin
- Calories: 320
- Sugar: 2
- Sodium: 850
- Fat: 20
- Saturated Fat: 3
- Carbohydrates: 28
- Fiber: 1
- Protein: 6
Keywords: fried pickles, game day snack, spicy ranch dip, party food, crispy snacks, dill pickles, panko breadcrumbs, easy appetizer