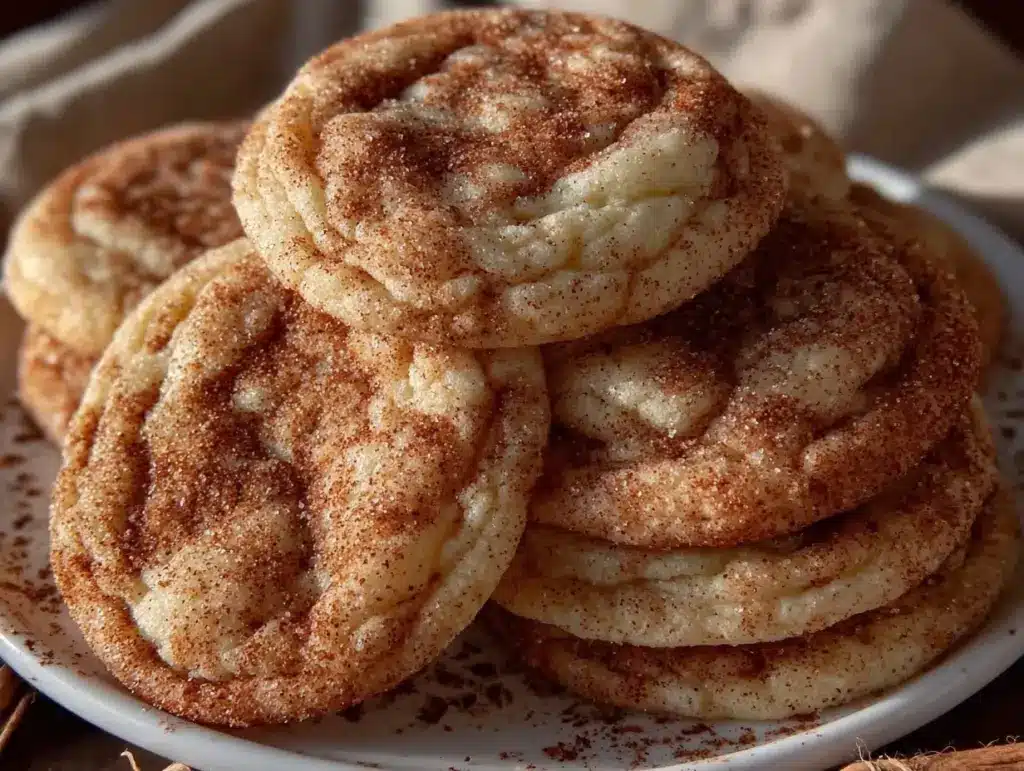
There is a specific kind of magic that happens when you pull a tray of snickerdoodle cookies out of the oven. It’s not just the smell—though that warm, buttery cinnamon scent that fills the house is enough to make anyone stop what they’re doing and take a deep breath—it’s the texture. I’m talking about that impossible, dreamy contrast between a crisp, sugary exterior and a center so soft it yields like a cloud.
Last weekend, I was hosting a small dinner for some friends. I had plans for a fancy dessert, something with ganache and tempered chocolate. But then, about an hour before guests arrived, I realized I’d forgotten to defrost the ice cream. Panic set in. I needed something fast, something impressive, but most importantly, something that tasted like home. That’s when I turned to the soft batch snickerdoodle cookies with cinnamon sugar you’ll make on repeat.
What started as a last-minute rescue mission became the highlight of the evening. My guests didn’t even notice the “emergency” nature of the dessert. They were too busy fighting over the last cookie, claiming it was “better than bakery style.” That’s when I knew I had cracked the code. These aren’t just your average, dry, crumbly snickerdoodles from a box mix. These are thick, pillowy, cinnamon-sugar-coated masterpieces that stay soft for days.
I’ve tested this recipe at least a dozen times, tweaking the butter temperature, the amount of cream of tartar, and the chilling time. The result? A cookie that is foolproof. You don’t need fancy equipment or hours of patience. You just need a few pantry staples and a willingness to be generous with the cinnamon sugar. Whether you’re baking for a Labor Day party or just need a 10-minute fix of comfort, these soft batch snickerdoodles are the answer. Trust me, once you try this version, you’ll never go back to the thin, crispy kind again.
Why You’ll Love This Recipe
I’ve made cookies for every occasion imaginable, from birthday parties to bake sales, and these snickerdoodles consistently win the “ask for the recipe” award. Here’s why they’ve earned a permanent spot in my rotation.
- Incredible Texture Contrast — Seriously, the outside is crackly and sweet, while the inside is chewy and soft. It’s the best of both worlds. I’ve had friends close their eyes after one bite and just sigh. It’s that good.
- Stays Soft for Days — Most soft-batch cookies go hard by day two. Not these. I keep them in an airtight container with a slice of bread (a classic trick), and they stay pillowy soft for up to four days. Perfect for meal prep or gift-giving.
- Simple Ingredients — You probably have everything you need right now. Butter, sugar, flour, eggs, cream of tartar (the secret weapon), and cinnamon. No weird extracts or expensive nuts. Just pure, simple flavor.
- Impressive but Effortless — These look like they came from a high-end bakery, but they take minutes to prep. I rolled these out while my guests were eating appetizers. It’s the ultimate stress-free dessert.
- Perfect for Sharing — They’re small enough to be elegant but rich enough to satisfy a sweet tooth. I love serving them on a platter with a glass of cold milk. It’s a classic pairing for a reason.
Real talk? These cookies are my go-to when I want to feel like a pro baker without the headache. They’re comforting, familiar, but elevated. And honestly, the smell alone is worth the effort.
Ingredients You’ll Need
Here’s the thing about snickerdoodles: simplicity is key. You don’t need twenty ingredients. You need the *right* ingredients, and you need to handle them correctly. I’m particular about a few things here, and I’ll tell you exactly why.
For the Dough
Unsalted Butter (1 cup / 226g, softened) — This is non-negotiable. Use real butter, not margarine. It should be soft enough to leave a fingerprint but not melted. If it’s too warm, the cookies will spread too much. I usually take mine out of the fridge about 45 minutes before starting.
Granulated Sugar (1 cup / 200g) — For the dough itself. White sugar gives that classic snickerdoodle tang and crispness. Don’t swap this for brown sugar unless you want a completely different flavor profile (though, hey, it’s your kitchen).
Light Brown Sugar (½ cup / 100g, packed) — Adds moisture and a hint of molasses flavor. It helps keep the center soft. I use light brown sugar because I don’t want the flavor to overpower the cinnamon.
Eggs (2 large, room temperature) — Room temperature eggs incorporate into the butter better, creating a smoother dough. If you’re rushing, just crack them into a bowl of warm water for 5 minutes. Don’t skip this; it matters for texture.
Vanilla Extract (2 teaspoons) — Use pure vanilla, not imitation. It adds that warm, comforting background note. I love using a good-quality bourbon vanilla if I have it.
All-Purpose Flour (2 ¾ cups / 340g) — Don’t over-measure! Spoon the flour into your measuring cup and level it off. If you scoop directly from the bag, you’ll pack too much flour in, and your cookies will be dry. I use King Arthur Flour because it’s consistent, but any good AP flour works.
Cream of Tartar (2 teaspoons) — This is the secret ingredient that defines a snickerdoodle. It gives them that slightly tangy flavor and helps them stay soft. Don’t substitute with baking powder or baking soda alone; it changes the chemistry. If you don’t have cream of tartar, you can use 1 teaspoon of baking powder and ½ teaspoon of baking soda, but the flavor won’t be quite the same.
Baking Soda (½ teaspoon) — Helps the cookies rise slightly.
Salt (½ teaspoon) — Balances the sweetness. Don’t skip it.
For the Cinnamon Sugar Coating
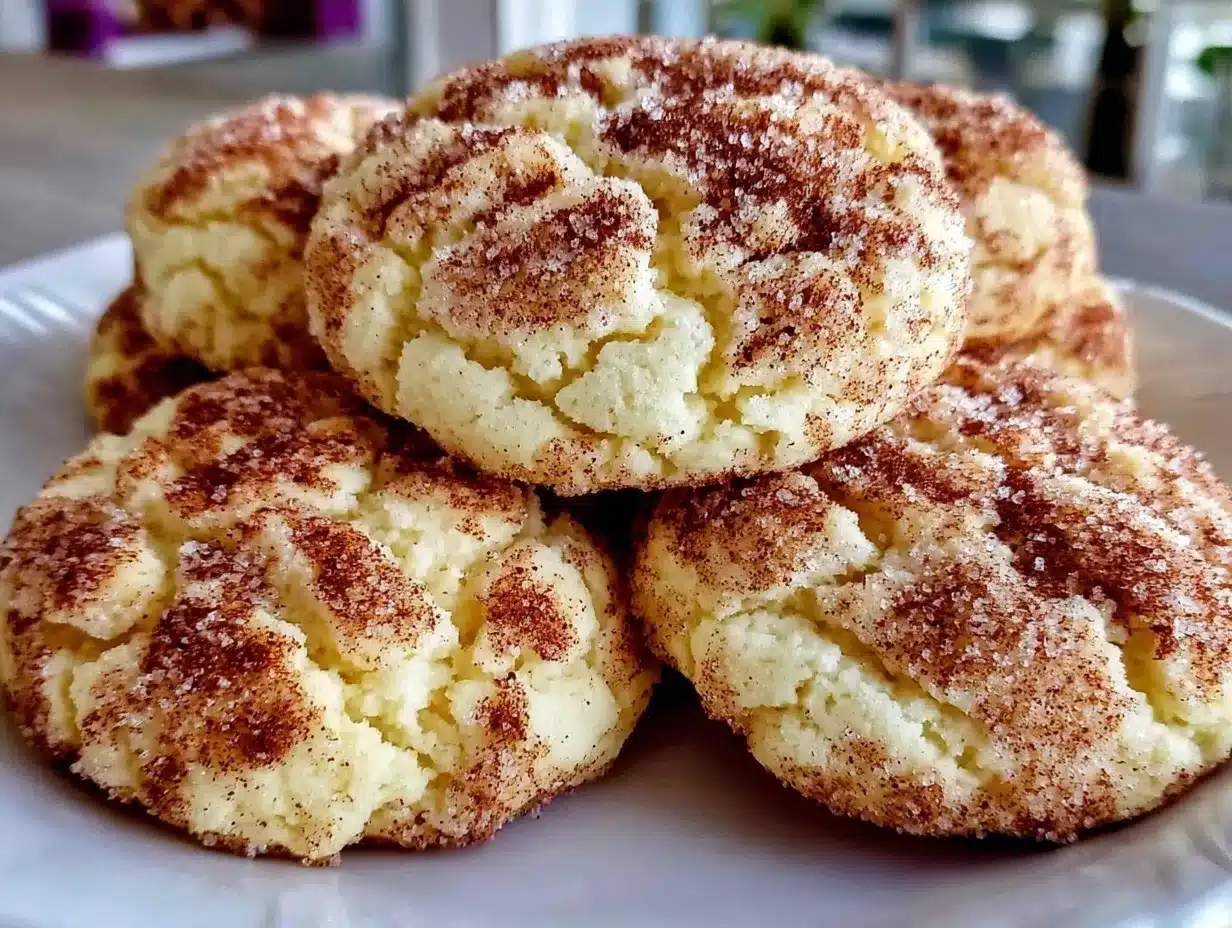
Granulated Sugar (½ cup / 100g) — For rolling.
Ground Cinnamon (1 tablespoon) — Use fresh cinnamon. If your jar has been sitting since last Christmas, buy a new one. The flavor makes a huge difference. I prefer a warm, sweet cinnamon like Ceylon if I can find it, but regular Cassia works fine too.
Optional: Extra Pinch of Salt — A tiny pinch in the cinnamon sugar adds depth. It’s a pro tip that makes the sweetness pop.
Equipment Needed
You don’t need fancy gadgets for this. Here’s what I actually use.
Large Mixing Bowl — I use a 5-quart bowl. It needs to be big enough to mix the dough without it flying everywhere.
Electric Mixer or Hand Mixer — Creaming the butter and sugar by hand is doable, but it takes effort. A hand mixer makes it easy and ensures the mixture is light and fluffy. If you’re doing it by hand, be prepared to flex.
Rubber Spatula — For scraping down the sides of the bowl and folding in the flour. I love my silicone spatulas; they get every bit of dough.
Baking Sheets — I use half-sheet pans (18×13 inches). Dark metal pans work well, but if you have them, lighter-colored aluminum pans prevent the bottoms from burning. Line them with parchment paper or silicone baking mats. I prefer parchment for easy cleanup.
Cooling Rack — Essential for stopping the cooking process. You can’t leave them on the hot pan, or they’ll keep baking and get tough.
Small Bowl — For mixing the cinnamon sugar coating.
Cookie Scoop — I use a 2-tablespoon scoop. It ensures uniform size, which means even baking. If you don’t have one, a tablespoon works, just be consistent.
How to Make It: Step-by-Step
Alright, let’s make these cookies! I’m walking you through exactly how I do it, including the little tricks I’ve picked up over the years.
Step 1: Prep Your Station (5 minutes)
Preheat your oven to 350°F (175°C). Line two baking sheets with parchment paper. In a small bowl, mix the ½ cup of sugar with the 1 tablespoon of cinnamon. Set aside. Having your coating ready before you start rolling saves time and prevents mess.
Step 2: Cream the Butter and Sugars (3 minutes)
In your large mixing bowl, beat the softened butter, granulated sugar, and brown sugar together on medium-high speed. This is crucial. You want the mixture to be light, fluffy, and pale in color. It should look like wet sand. If you rush this step, your cookies won’t have the right texture. I usually beat for about 2-3 minutes.
Step 3: Add Wet Ingredients (1 minute)
Add the eggs one at a time, beating well after each addition. Then add the vanilla extract. Scrape down the sides of the bowl with your spatula to make sure everything is incorporated. The mixture should look smooth and creamy.
Step 4: Mix Dry Ingredients (2 minutes)
In a separate bowl (or just sift directly into the wet mixture), whisk together the flour, cream of tartar, baking soda, and salt. Add the dry ingredients to the wet mixture on low speed. Mix just until the flour disappears. Do not overmix! Overmixing develops gluten, which makes cookies tough. As soon as you see streaks of flour, stop. The dough will look a bit thick.
Step 5: Chill the Dough (Optional but Recommended)
If you have time, chill the dough in the fridge for 30 minutes. This helps the flavors meld and prevents the cookies from spreading too thin. I know it’s tempting to bake right away, but 30 minutes makes a difference. If you’re in a hurry, you can skip this, but just keep an eye on them.
Step 6: Roll and Coat (10 minutes)
Take a tablespoon of dough and roll it into a ball between your palms. Then, roll the ball in the cinnamon sugar mixture until it’s fully coated. Place it on the prepared baking sheet, leaving about 2 inches between cookies. They will spread. I usually fit 10-12 cookies per sheet.
Step 7: Bake (10-11 minutes)
Bake at 350°F (175°C) for 10-11 minutes. The edges should be set and lightly golden, but the centers should still look soft and slightly underdone. This is the key to soft cookies. They will continue to cook on the hot pan after you take them out. If you bake them until they look firm in the oven, they’ll be hard when they cool.
Step 8: Cool (5 minutes)
Let the cookies sit on the baking sheet for 5 minutes. This allows them to set. Then, transfer them to a cooling rack to cool completely. They’ll firm up as they cool, but they should remain soft inside.
Total Time: About 30-35 minutes (including prep and cooling)
Expert Tips & Tricks
Here’s everything I’ve learned from making these dozens of times. These tips will save you from my mistakes.
- Don’t Overbake — I can’t stress this enough. Pull them out when they look slightly underdone. The residual heat will finish them. Overbaked snickerdoodles are sad, dry cookies. Underbaked ones are soft and chewy.
- Room Temperature Ingredients — Cold butter and eggs won’t cream properly. Make sure everything is at room temperature for a smooth, uniform dough.
- Measure Flour Correctly — If your cookies are cakey or dry, you probably used too much flour. Spoon and level, don’t scoop.
- Use a Cookie Scoop — Uniform size means even baking. No more burnt edges on small cookies and raw centers on big ones.
- The Bread Trick — To keep cookies soft for days, store them in an airtight container with a slice of bread. The cookies absorb moisture from the bread, staying soft. It’s magic.
Common Mistakes (and how to avoid them)
Mistake: Cookies spread too thin. Fix: Your butter was too warm, or you didn’t chill the dough. Use cooler butter and chill for 30 minutes.
Mistake: Cookies are dry. Fix: You overbaked them or used too much flour. Check your oven temperature with a thermometer; ovens can be inaccurate.
Mistake: Cinnamon sugar falls off. Fix: Make sure the dough balls are slightly tacky when you roll them. If the dough is too dry, the sugar won’t stick. You can lightly moisten your hands with water before rolling.
Variations & Substitutions
Once you’ve nailed the basic version, here’s how you can mix it up. I’ve tried all of these.
- Double Chocolate Snickerdoodles — Add ¼ cup cocoa powder to the dry ingredients. Drizzle with white chocolate after baking. Rich and decadent.
- Maple Glazed — Skip the cinnamon sugar coating and drizzle with a maple glaze (powdered sugar + maple syrup + milk). Great for fall.
- Mini Cookies — Roll dough into 1-inch balls for bite-sized treats. Bake for 8-9 minutes. Perfect for gift boxes or party platters.
- Gluten-Free — Use a 1:1 gluten-free flour blend. The texture might be slightly crumblier, but they still taste amazing. I’ve used Bob’s Red Mill and it works well.
- Vegan — Use vegan butter and flax eggs (1 tbsp ground flax + 3 tbsp water per egg). They won’t be quite as soft, but they’re still delicious.
Dietary Modifications
Dairy-Free: Use dairy-free butter and ensure your sugar is vegan (some white sugar is processed with bone char). The rest is naturally dairy-free.
Lower Sugar: Reduce the sugar in the dough by ¼ cup, but keep the coating. They’ll be less sweet but still flavorful.
Serving & Storage
How to Serve: I love serving these warm, right out of the oven, with a tall glass of cold milk. It’s a classic combo for a reason. They’re also great for potlucks because they’re easy to grab and eat. I often serve them alongside other desserts like my small-batch chocolate chip skillet cookie for a variety of textures.
Side Dishes: These cookies are a dessert, but they pair well with coffee or tea. For a full spread, I might serve them with a fruit platter to balance the sweetness.
Storage Instructions:
- Room Temperature: Store in an airtight container for up to 5 days. Add a slice of bread to keep them soft.
- Freezing: You can freeze the dough balls! Roll them, coat them in cinnamon sugar, and freeze on a baking sheet. Once solid, transfer to a bag. Bake from frozen, adding 1-2 minutes to the bake time. Or, freeze baked cookies for up to 3 months.
- Reheating: Warm in the microwave for 10-15 seconds to restore that soft, fresh-baked texture.
Pro Tip: If you’re making these for a party, bake them the day before. They actually taste better after sitting overnight as the flavors meld.
Nutrition Information
I’m not a nutritionist, but here’s the breakdown if you’re tracking. Keep in mind, these are estimates based on 24 cookies.
Per Cookie (approx. 30g):
Calories: 110
Total Fat: 5g
Saturated Fat: 3g
Cholesterol: 15mg
Sodium: 65mg
Total Carbs: 16g
Fiber: 0g
Sugars: 11g
Protein: 1g
What’s Good: Low in protein, but quick energy from carbs. What to Know: Higher in sugar and saturated fat. It’s a treat, so enjoy in moderation. If you’re watching your sugar, consider reducing the coating sugar or making mini cookies.
Final Thoughts
So that’s my go-to soft batch snickerdoodle recipe! I’ve probably talked your ear off at this point, but when you make a recipe this often, you have a lot to say about it. These cookies have saved me more times than I can count. They’re my answer to “what dessert should I bring?” or “I need a hug in cookie form.” My family is obsessed, and I’m obsessed with how easy they are to make.
Make it yours! Try adding a pinch of nutmeg to the cinnamon sugar, or dip half the cookie in white chocolate. The best recipes are the ones you adapt to your tastes. If you make these, drop a comment and let me know what you think! I love hearing how recipes turn out in your kitchen. And if something doesn’t work, tell me that too—I’m here to help troubleshoot.
Happy baking! And I hope your kitchen smells half as good as mine does right now.
Frequently Asked Questions
Why did my cookies spread too much?
This usually happens if the butter was too warm or if you didn’t chill the dough. Butter that’s too soft creates a runny dough that spreads before it sets. Make sure your butter is soft but not greasy. Also, chilling the dough for 30 minutes helps the flour hydrate and the fat solidify, leading to thicker cookies.
Can I use brown sugar instead of white sugar?
You can, but it will change the texture and flavor. Brown sugar has more moisture and molasses, which makes cookies chewier and darker. For classic snickerdoodles, the mix of white and brown sugar gives the best balance of crisp edges and soft centers. If you use all brown sugar, they’ll be more like chewy cinnamon cookies.
Why do I need cream of tartar?
Cream of tartar is what makes a snickerdoodle a snickerdoodle. It adds that signature tangy flavor and helps the cookies stay soft. It also acts as a leavening agent when combined with baking soda. Without it, you’re essentially making a sugar cookie with cinnamon. If you absolutely don’t have it, you can use 1 tsp baking powder and ½ tsp baking soda, but the flavor won’t be authentic.
How do I keep them soft?
Don’t overbake! Pull them out when they look slightly underdone. Store them in an airtight container with a slice of bread. The bread releases moisture that keeps the cookies soft. Also, make sure you’re using the right amount of flour—too much flour dries them out.
Can I make the dough ahead of time?
Yes! You can chill the dough in the fridge for up to 3 days, or freeze it for up to 3 months. If freezing, thaw in the fridge overnight before rolling and baking. This is great for meal prep.
Can I use a stand mixer?
Absolutely. Use the paddle attachment on medium speed. The process is the same: cream butter and sugar, add eggs, then add dry ingredients. Just be careful not to overmix when adding the flour.
Pin This Recipe!
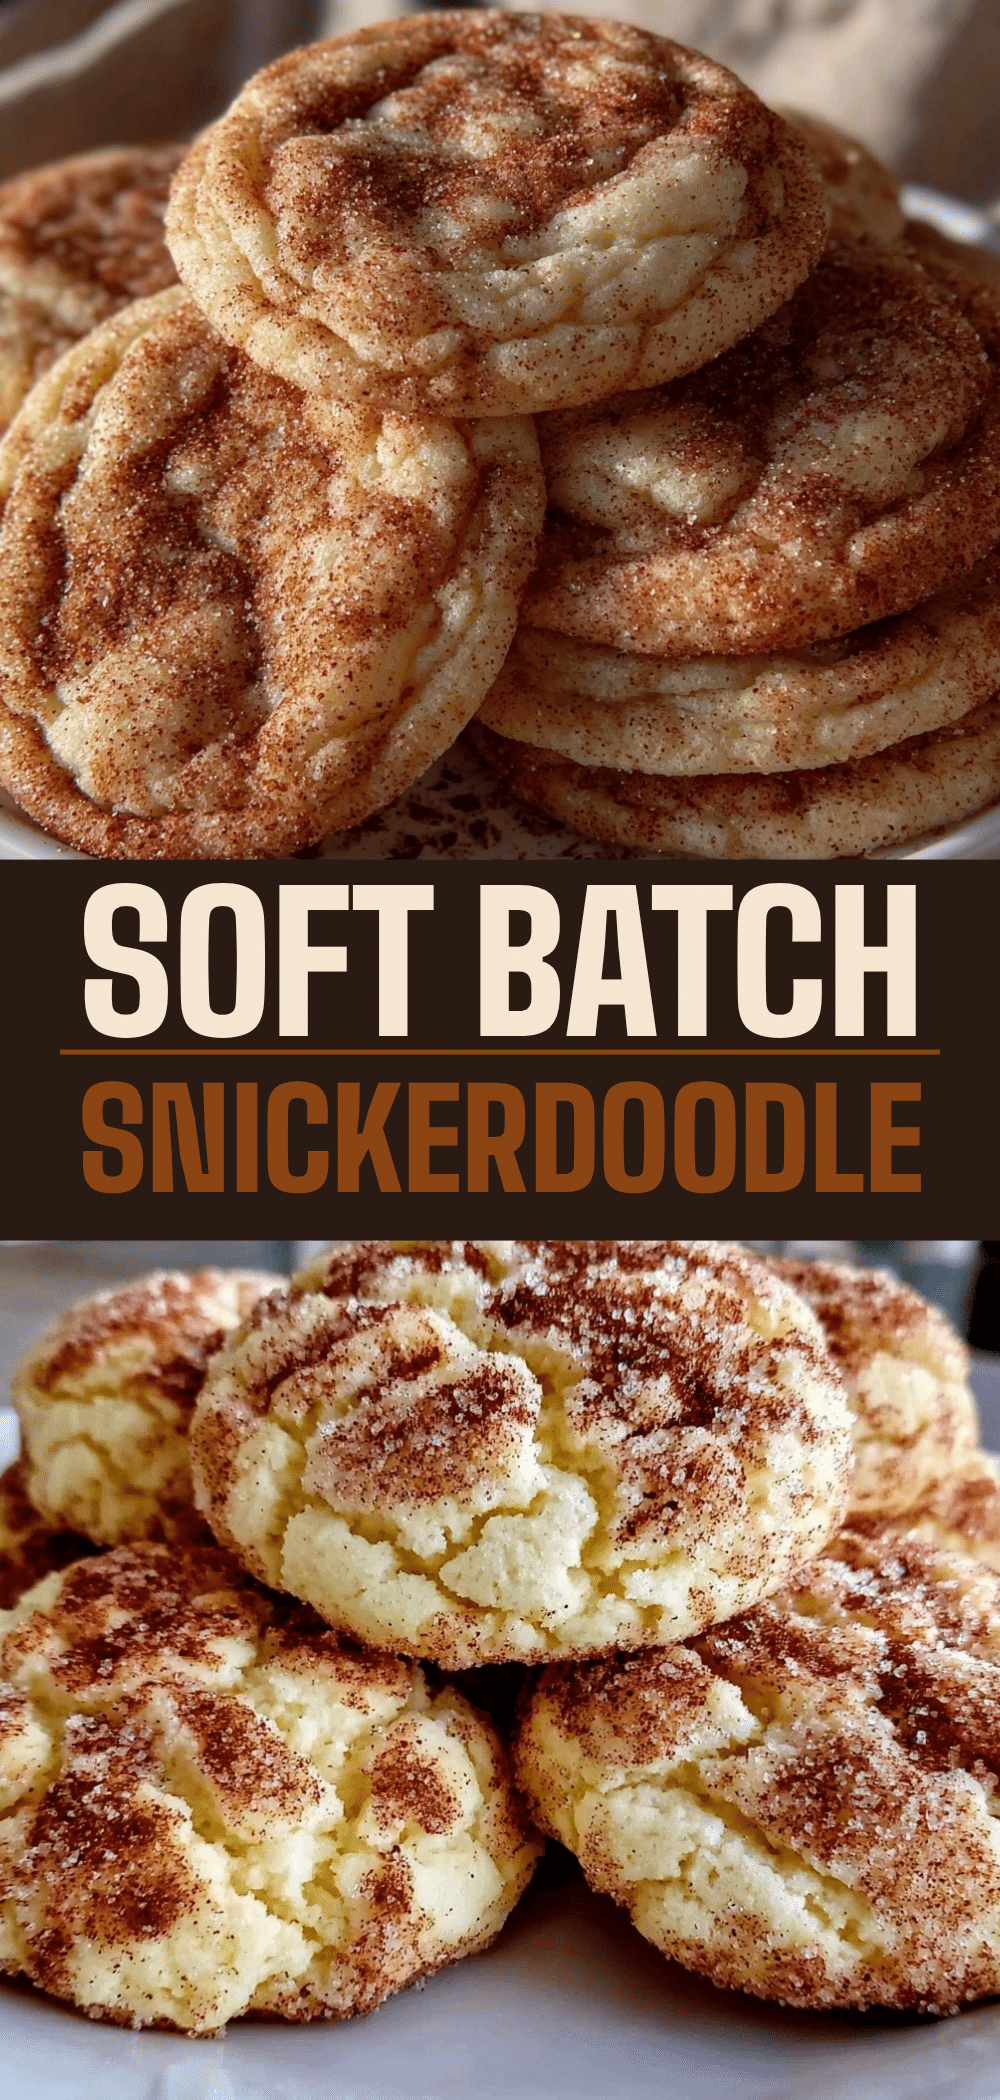

Soft Batch Snickerdoodle Cookies: 10-Minute Cinnamon Sugar Perfection
- Total Time: 30 minutes
- Yield: 24 cookies 1x
Description
These soft batch snickerdoodle cookies feature a crisp, sugary exterior and a pillowy, soft center. They are easy to make with simple pantry staples and stay soft for days.
Ingredients
- 1 cup (226g) unsalted butter, softened
- 1 cup (200g) granulated sugar
- 1/2 cup (100g) light brown sugar, packed
- 2 large eggs, room temperature
- 2 teaspoons vanilla extract
- 2 3/4 cups (340g) all-purpose flour
- 2 teaspoons cream of tartar
- 1/2 teaspoon baking soda
- 1/2 teaspoon salt
- 1/2 cup (100g) granulated sugar (for coating)
- 1 tablespoon ground cinnamon (for coating)
Instructions
- Preheat oven to 350°F (175°C). Line two baking sheets with parchment paper.
- In a small bowl, mix 1/2 cup granulated sugar with 1 tablespoon cinnamon. Set aside.
- In a large mixing bowl, beat softened butter, 1 cup granulated sugar, and 1/2 cup brown sugar on medium-high speed until light, fluffy, and pale (about 2-3 minutes).
- Add eggs one at a time, beating well after each addition. Add vanilla extract and scrape down sides of the bowl.
- In a separate bowl, whisk together flour, cream of tartar, baking soda, and salt.
- Add dry ingredients to the wet mixture on low speed. Mix just until flour disappears; do not overmix.
- Optional: Chill dough in the fridge for 30 minutes.
- Roll tablespoon-sized dough balls between palms and coat thoroughly in the cinnamon sugar mixture.
- Place cookies on prepared baking sheets, leaving 2 inches between them.
- Bake for 10-11 minutes until edges are set and lightly golden, but centers still look soft.
- Let cookies sit on the baking sheet for 5 minutes to set, then transfer to a cooling rack to cool completely.
Notes
For best results, ensure butter and eggs are at room temperature. Do not overbake; cookies will continue to cook on the hot pan. To keep cookies soft for days, store in an airtight container with a slice of bread.
- Prep Time: 15 minutes
- Cook Time: 10 minutes
- Category: Dessert
- Cuisine: American
Nutrition
- Serving Size: 1 cookie
- Calories: 110
- Sugar: 11
- Sodium: 65
- Fat: 5
- Saturated Fat: 3
- Carbohydrates: 16
- Protein: 1
Keywords: snickerdoodle cookies, soft batch cookies, cinnamon sugar cookies, easy dessert, homemade cookies


