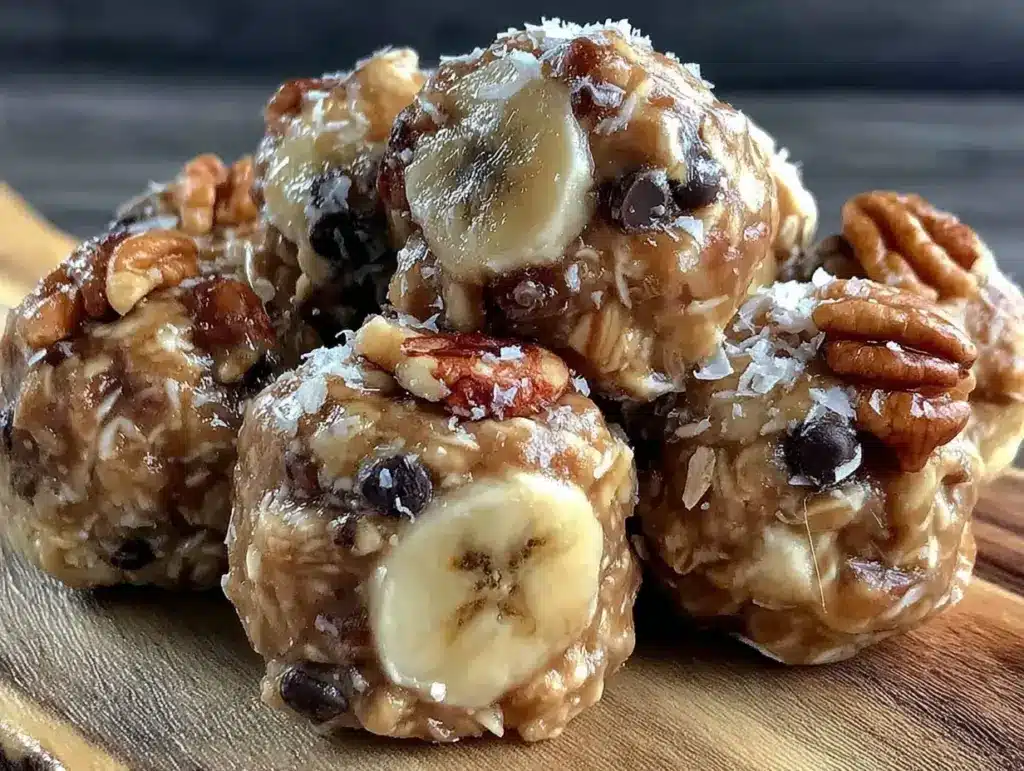
There is a specific kind of chaos that hits at 6:45 AM on a Tuesday in September. The backpacks are by the door. The lunches are packed (or at least attempted). And suddenly, you realize your kids are going to be ravenous by 10:00 AM, and the only thing in the pantry is stale crackers and regret. I learned this lesson the hard way last year when my son came home from school with his stomach growling so loud I could hear it from the car. We ended up stopping at the gas station, where he ate a bag of chips that cost $4.50 and tasted like cardboard.
That was the moment I decided to stop playing whack-a-mole with snack time. I needed something that was faster than driving to the store, healthier than the vending machine, and—crucially—something my kids wouldn’t look at like I’d handed them a brick.
Enter these Back to School Peanut Butter Banana Energy Bites. They are my secret weapon. They’re no-bake, which means no oven heat, no cleanup of a baking sheet, and no waiting. They come together in the bowl while I’m pouring juice. They’re sticky, sweet, and satisfying. They taste like dessert but fuel like a proper snack. I’ve made these for school bake sales (they vanish in minutes), for after-school snacks, and even for my own afternoon slump. If you’re looking for a way to simplify your mornings and keep your kids fueled without resorting to processed bars, this is it. It’s simple, it’s cheap, and it works.
Why You’ll Love This Recipe
I’ve been making these bites for three years now, and they have completely changed our family’s snack routine. Here’s why they’ve earned a permanent spot in our kitchen:
Zero Cooking Required — Seriously. If you can mash a banana, you can make these. No preheating, no timers, no standing over a stove. I make these on Sunday nights while watching TV, and they’re ready to grab by Monday morning.
Only 5 Ingredients — You don’t need a specialty grocery store run. You likely have everything right now. Peanut butter, bananas, oats, honey, and chocolate chips. That’s it. No weird powders or obscure flours.
Perfectly Portable — These don’t melt in your backpack. They don’t get squished into paste (well, not immediately). They hold their shape in a Tupperware or even a loose ziplock bag. I’ve dropped mine in my bag and they come out perfectly intact.
Customizable for Picky Eaters — My daughter hates chocolate chips? No problem. Swap them for dried cranberries or just leave them out. My son loves crunch? Add extra nuts. This recipe bends to your family’s whims without falling apart.
Actually Healthy — Yes, they have chocolate chips. But they’re also packed with fiber from the oats, protein from the peanut butter, and potassium from the banana. It’s a balanced snack that doesn’t leave you crashing an hour later. I feel good giving these to my kids.
Makes a Bunch — This recipe yields about 20-25 bites. That’s enough for a week of school snacks for two kids, plus a few for me. I meal-prep them once a week, and suddenly I’m not stressing about “what’s in the lunchbox?” anymore.
This is the recipe I grab when I’m tired, when I’m busy, and when I just want to do one thing right for my family’s health. It’s effortless, delicious, and reliable.
Ingredients You’ll Need
Here’s the best part: you probably have 90% of these ingredients already. This isn’t a recipe that requires a trip to a specialty store. Here is exactly what you need and why each part matters.
Rolled Oats (2 cups / 160g) — I use old-fashioned rolled oats. Quick oats work too, but they make the bites mushier. Steel-cut oats will not work here—they’re too hard and won’t soften in the fridge. If you need gluten-free, just make sure your oats are certified gluten-free. I buy the large canisters of Quaker oats; they’re cheap and reliable.
Peanut Butter (½ cup / 128g) — This is the binder. Use natural peanut butter if you can (just stir the oil in before measuring), but standard creamy peanut butter (like Jif or Skippy) works perfectly fine and is easier. Avoid “no-stir” varieties with excessive hydrogenated oils if you want the best texture, but honestly, anything smooth works. Do not use crunchy peanut butter unless you like chunks in your bites; it changes the texture significantly.
Ripe Bananas (2 medium / about 1 cup mashed) — The sweeter and browner the banana, the better. I wait until they have brown spots before using them. You need about 2 medium bananas, mashed until smooth. If they’re not mashed well, you’ll get banana chunks in your bites, which some kids hate. Use a fork or a potato masher.
Honey (¼ cup / 85g) — This adds stickiness and sweetness. Maple syrup works as a substitute, though the flavor will be slightly different (more earthy). Agave nectar is another option. I use regular honey because it’s what I always have. It helps hold everything together.
Mini Chocolate Chips (½ cup / 85g) — I use mini chips because they distribute evenly. Regular chips are fine, but you might get a huge chunk in one bite and none in another. Semi-sweet is my preference, but milk chocolate is sweeter and better for younger kids. Dark chocolate works too if you want less sugar.
Optional Add-ins:
- Chia Seeds (1 tablespoon) — For extra omega-3s and a little crunch. I add this when I’m feeling fancy.
- Flaxseed Meal (1 tablespoon) — Another healthy boost. Doesn’t change the taste much.
- Vanilla Extract (1 teaspoon) — Just a splash enhances the sweetness. Makes them taste more like a treat.
- Salt (a pinch) — Really brings out the peanut butter flavor. Don’t skip it.
Shopping Shortcut: I keep a jar of peanut butter and a bag of oats in my pantry at all times. Bananas go bad quickly, so I buy them when they’re green/yellow and let them ripen on the counter. This way, I’m always ready to make these.
Equipment Needed
You don’t need fancy gadgets for this. Here’s what I actually use:
Large Mixing Bowl — I use a 4-quart stainless steel bowl. It needs to be big enough to mix everything without making a mess. A glass bowl works too.
Fork or Potato Masher — For mashing the bananas. A fork is fine, but a masher makes it faster if you have two bananas.
Spoon or Spatula — For mixing the peanut butter, honey, and oats. A sturdy silicone spatula is best because it scrapes the sides of the bowl.
Baking Sheet or Tray — To line with parchment paper. Any sheet pan works. I use a half-sheet pan.
Parchment Paper — To line the tray. This prevents sticking and makes cleanup instant. You can use foil, but parchment is easier.
Airtight Container — For storing the bites. I use a large plastic Tupperware or a glass container with a tight lid.
Optional: Cookie Scoop — If you want uniform bites, a small ice cream scoop or cookie scoop is great. But my hands work fine, and it’s faster.
How to Make It: Step-by-Step
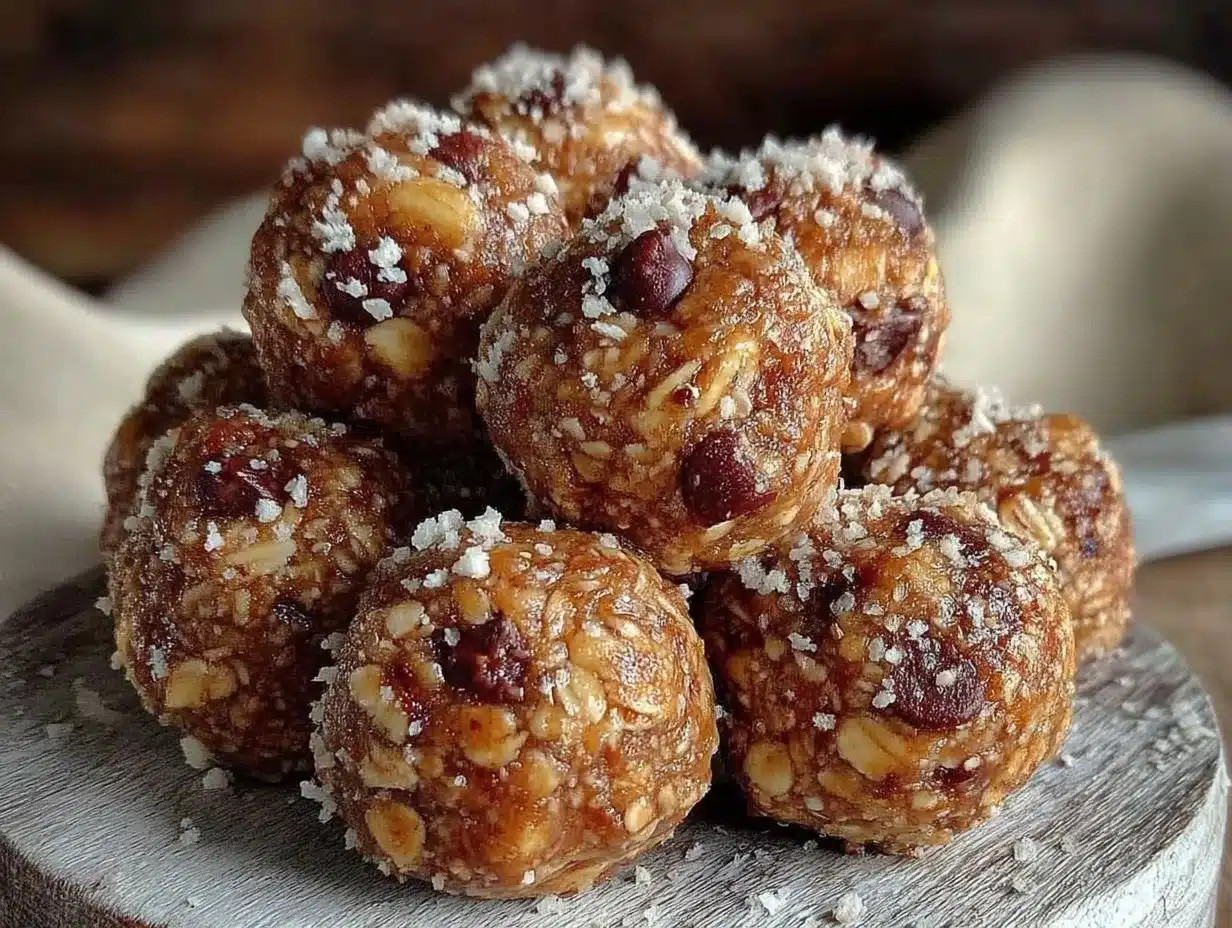
Alright, let’s make these! It takes about 15 minutes total, mostly hands-off. Here is exactly how I do it.
Step 1: Mash the Bananas (2 minutes)
Peel your bananas and put them in your large mixing bowl. Mash them with a fork until they are completely smooth. I mean *smooth*. No big chunks. If you leave chunks, the bites won’t bind together well. If the bananas are very ripe, they’ll mash easily. If they’re a bit green, it might take more effort.
Step 2: Add the Wet Ingredients (1 minute)
Add the peanut butter and honey to the mashed bananas. Stir vigorously with your spoon or spatula. The peanut butter is thick, so you might need to break it up a bit. Mix until it’s a smooth, uniform paste. If it’s too stiff, you can microwave it for 10 seconds to soften it up, but it’s not usually necessary.
Step 3: Mix in the Oats (2 minutes)
Pour in the rolled oats. Stir until everything is coated. The mixture will look dry and shaggy at first. That’s normal. Keep stirring until no dry patches of oats are visible. It should look like a thick, sticky dough.
Step 4: Fold in the Chocolate Chips (1 minute)
Add the mini chocolate chips. Fold them in gently. If you’re adding chia seeds or flax, add them now. Mix until evenly distributed.
Step 5: Chill the Mixture (30 minutes – 1 hour)
This is the most important step. Cover the bowl with plastic wrap and put it in the fridge for at least 30 minutes. Ideally, an hour. This firms up the peanut butter and oats, making them much easier to roll. If you skip this, the mixture will be too sticky to handle. Trust me on this.
Step 6: Roll into Bites (10 minutes)
Take the bowl out of the fridge. Using your hands, scoop out small amounts of mixture (about 1 tablespoon each) and roll them into balls. They should be about 1.5 inches in diameter. You don’t need to be perfect. If they stick to your hands, wet your hands slightly with water. Place them on the parchment-lined baking sheet.
Step 7: Final Chill (15 minutes)
Put the tray of balls back in the fridge for 15 minutes to set completely. This ensures they hold their shape when you pack them.
Total Time: About 45 minutes (15 minutes active, 30-45 minutes chilling).
Expert Tips & Tricks
Here’s everything I’ve learned from making these dozens of times. These tips will save you from my mistakes.
Don’t Skip the Chill — I know you’re excited to eat them. But if you don’t chill the mixture before rolling, it will stick to your fingers like glue. The cold firms up the fats. It’s non-negotiable for easy handling.
Use Ripe Bananas — The browner, the sweeter. If your bananas are yellow with no spots, they’re not sweet enough, and you’ll need more honey. Wait for the brown spots. It’s worth the wait.
Wet Hands for Rolling — If the mixture is still a bit sticky, dip your hands in cold water for a second before rolling. The water prevents sticking but evaporates quickly. Don’t use oil; it changes the texture.
Uniform Size — If you want them to look pretty, use a cookie scoop. If you’re feeding hungry kids, just eyeball it. They’ll taste the same.
Storage is Key — Keep them in an airtight container in the fridge. They last up to 2 weeks. If you want to keep them longer, freeze them. They thaw quickly at room temperature.
Common Mistake: Too Dry — If the mixture crumbles when you try to roll it, you need more binder. Add another tablespoon of peanut butter or honey. Mix it in and try again.
Common Mistake: Too Wet — If it’s too sticky to roll, add a little more oats, one tablespoon at a time. Don’t add too much at once, or they’ll be dry.
Pro Trick: Add Texture — For a crunchier bite, add chopped peanuts or almonds. It adds a nice contrast to the soft oats and banana.
Variations & Substitutions
Once you’ve nailed the basic version, here’s how you can mix it up. I’ve tried all of these.
Almond Butter Version — Swap peanut butter for almond butter. It’s slightly sweeter and nuttier. Great for kids with nut allergies (if you use sunflower seed butter instead).
Sunflower Seed Butter — Perfect for school-safe snacks. Sun butter tastes very similar to peanut butter and is nut-free. Works exactly the same way.
Trail Mix Bites — Swap chocolate chips for a mix of dried cranberries, raisins, and chopped nuts. A classic trail mix flavor.
Chocolate Peanut Butter — Add 2 tablespoons of cocoa powder to the dry ingredients. Makes them taste like a Reese’s cup.
Coconut Version — Add ½ cup of shredded coconut. It adds chewiness and a tropical flavor.
Protein Boost — Add a scoop of vanilla protein powder. Note: This will make the mixture drier, so you may need extra honey or peanut butter. Start with ¼ cup and adjust.
Gluten-Free — Use certified gluten-free oats. Everything else is naturally gluten-free.
Vegan — Use maple syrup instead of honey. Everything else is already vegan.
Serving & Storage
How to Serve: I usually serve these straight from the container. They’re perfect for lunchboxes, after-school snacks, or even a quick breakfast on the go. I pack them in a small container with a lid so they don’t get squished.
Side Dishes: These go great with a piece of fruit, a yogurt cup, or a glass of milk. I sometimes pair them with a hard-boiled egg for extra protein.
Storage Instructions:
- Refrigerator: Store in an airtight container for up to 2 weeks. They get firmer in the fridge, which is nice for texture.
- Freezer: Place them in a single layer on a baking sheet to freeze, then transfer to a freezer bag. They last up to 3 months. Thaw at room temperature for 10 minutes.
- Room Temperature: They can sit out for a day or two, but the heat will soften them. In summer, always keep them chilled.
Pro Tip: If you’re making these for a party, arrange them on a platter with a small bowl of extra chocolate chips for dipping. It’s a hit with adults too.
Nutrition Information
I’m not a nutritionist, but here’s the breakdown if you’re tracking. Each bite (makes about 20-25) is roughly:
| Nutrient | Amount per Bite |
|---|---|
| Calories | 75-85 |
| Protein | 2-3g |
| Carbs | 10-12g |
| Fiber | 1-2g |
| Sugar | 6-8g |
| Fat | 3-4g |
What’s Good: Decent protein from peanut butter, fiber from oats, natural sugars from banana. No refined sugars.
What to Know: Higher in calories than you’d think because of the peanut butter and oats. A few bites are enough. Contains nuts.
Final Thoughts
So that’s my go-to Back to School Peanut Butter Banana Energy Bites! I’ve probably talked your ear off at this point, but when you make a recipe this often, you have a lot to say about it.
This has saved our mornings more times than I can count. It’s my answer to “what’s for snack?” when I’m tired, don’t want to cook, and still want something that tastes good and keeps my kids going. My kids are happy, I’m happy because I’m not stressed, and we’re all happy because we’re not eating gas station chips.
Make it yours! Try different add-ins, swap in your favorite nut butter, adjust the sweetness. The best recipes are the ones you adapt to your family’s tastes.
If you make this, drop a comment and let me know what you think! I love hearing how recipes turn out in your kitchen. And if something doesn’t work, tell me that too—I’m here to help troubleshoot.
Happy cooking! And I hope your kitchen smells half as good as mine does right now.
Frequently Asked Questions
Can I use crunchy peanut butter?
You can, but the texture will be chunky. If your kids like crunch, go for it. If you want smooth bites, use creamy. The binding power is the same either way.
Why are my bites too sticky?
Usually means you didn’t chill the mixture long enough, or you used bananas that were too wet. Chill them longer, or add a tablespoon of oats. Wet hands also help when rolling.
Can I freeze these?
Yes! Freeze them on a tray first, then bag them. They last 3 months. Thaw at room temperature. They taste almost as good fresh.
Are these safe for school?
If your school is nut-free, swap peanut butter for sunflower seed butter or almond butter. The recipe works exactly the same. Check your school’s policy on nuts.
Can I make these ahead of time?
Absolutely. Make them on Sunday and store in the fridge. They’ll last all week. This is the best way to meal-prep.
What if I don’t have honey?
Use maple syrup or agave nectar. The flavor will be slightly different, but it still works. Honey is just the most common binder.
Can I add protein powder?
Yes, but it absorbs moisture. Start with ¼ cup and add more liquid (honey/peanut butter) if needed. It makes them denser and more filling.
Pin This Recipe!
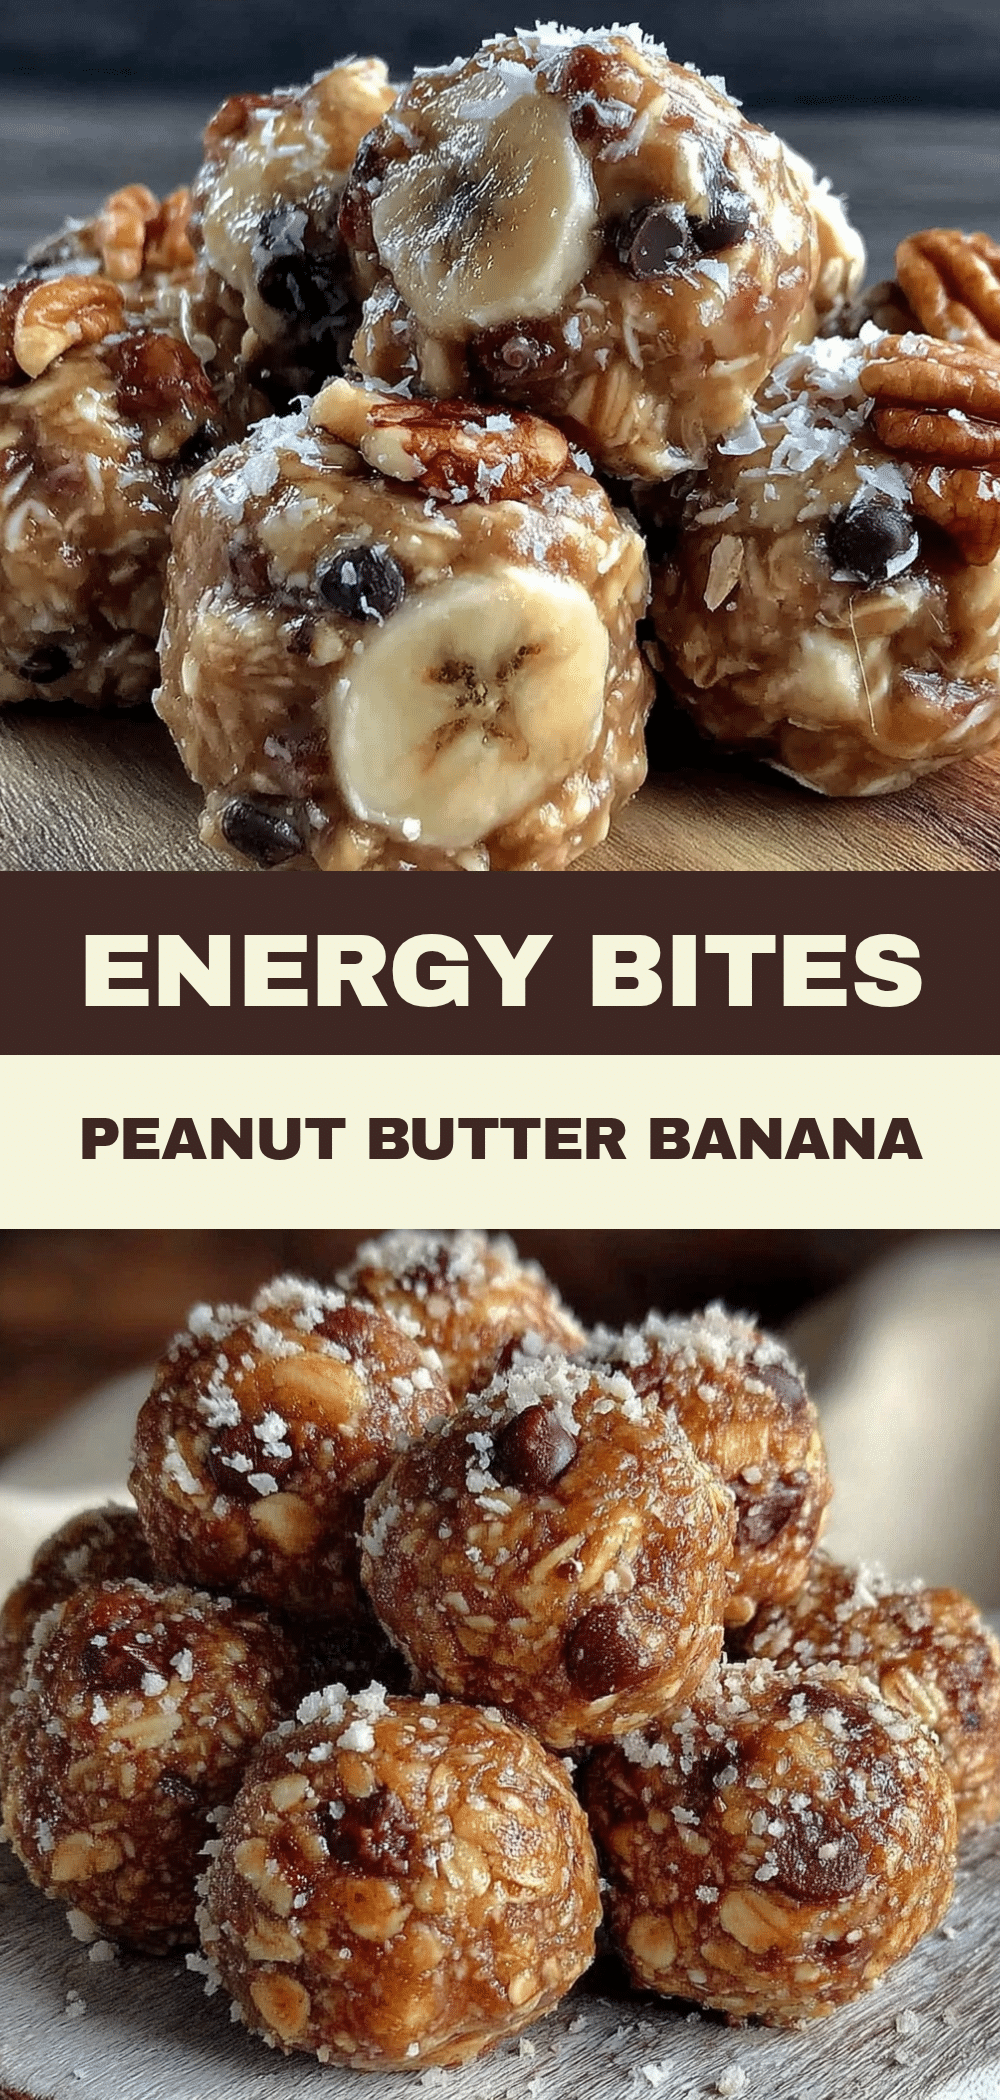
Back to School Peanut Butter Banana Energy Bites
- Total Time: 45 minutes
- Yield: 20-25 servings 1x
Description
A simple, no-bake 5-ingredient snack made with peanut butter, bananas, oats, honey, and chocolate chips. Perfect for school lunches and busy mornings.
Ingredients
- 2 cups rolled oats
- 1/2 cup peanut butter
- 2 medium ripe bananas (mashed)
- 1/4 cup honey
- 1/2 cup mini chocolate chips
- Pinch of salt (optional)
- 1 teaspoon vanilla extract (optional)
- 1 tablespoon chia seeds (optional)
- 1 tablespoon flaxseed meal (optional)
Instructions
- Mash the bananas in a large mixing bowl until completely smooth with no chunks.
- Add the peanut butter and honey to the mashed bananas and stir vigorously until smooth and uniform.
- Pour in the rolled oats and stir until all oats are coated and the mixture resembles a thick, sticky dough.
- Fold in the mini chocolate chips and any optional add-ins (chia seeds, flaxseed, vanilla, salt).
- Cover the bowl with plastic wrap and refrigerate for at least 30 minutes (up to 1 hour) to firm up the mixture.
- Remove from fridge and scoop out about 1 tablespoon of mixture at a time, rolling into balls between your hands. If sticky, wet hands slightly with water.
- Place the rolled bites on a parchment-lined baking sheet.
- Refrigerate the tray of bites for another 15 minutes to set completely before storing or packing.
Notes
Ensure bananas are very ripe for best sweetness and binding. Do not skip the chilling step as it prevents sticking. Store in the refrigerator for up to 2 weeks or freeze for up to 3 months. For nut-free schools, substitute peanut butter with sunflower seed butter.
- Prep Time: 15 minutes
- Cook Time: 0 minutes
- Category: Snack
- Cuisine: American
Nutrition
- Serving Size: 1 energy bite
- Calories: 80
- Sugar: 7
- Sodium: 15
- Fat: 3.5
- Saturated Fat: 0.5
- Carbohydrates: 11
- Fiber: 1.5
- Protein: 2.5
Keywords: energy bites, no-bake snacks, peanut butter banana, school snacks, healthy snacks for kids, gluten-free snacks, meal prep snacks


