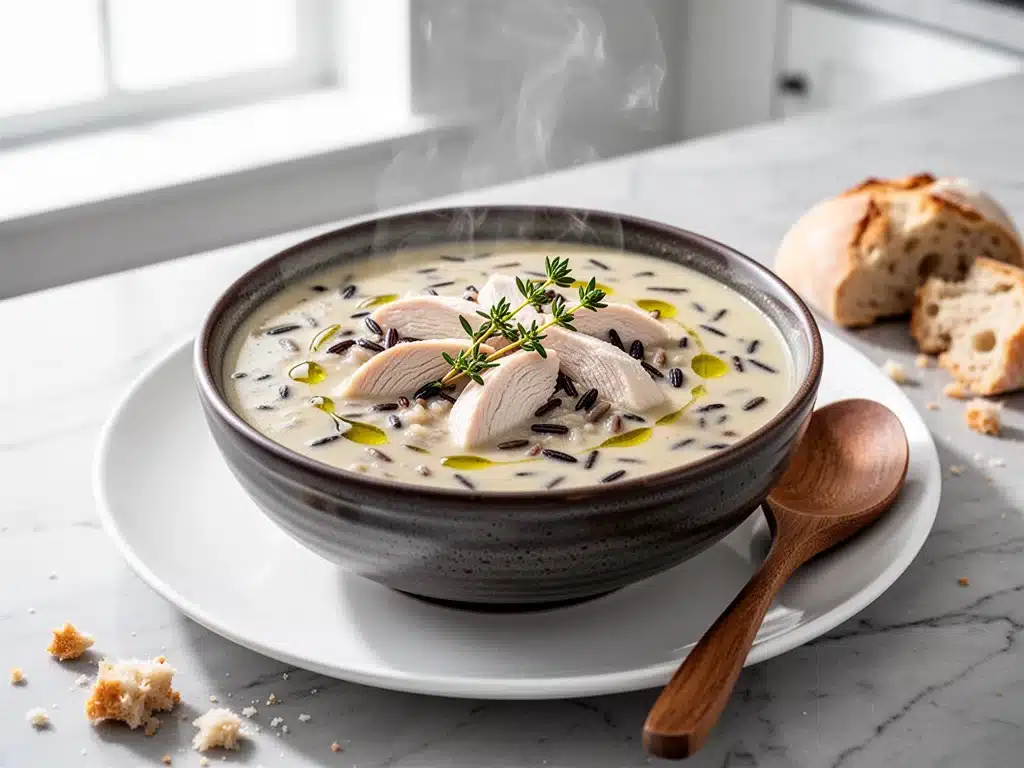
There is a specific kind of magic that happens on a Tuesday evening in November. You know the one. The light is fading early, the wind is rattling the windows, and you are standing in your kitchen, staring into the abyss of a half-empty fridge, wondering how you are going to feed three hungry people without ordering takeout or eating cereal for dinner. That was me last week. I was tired, my kids were hangry, and the last thing I wanted to do was scrub three different pots and pans.
Then I remembered the big stockpot in the back of my cupboard. I grabbed whatever chicken I had, a bag of wild rice, and a handful of fresh thyme from the garden (which, surprise, was actually still growing despite the frost warning). I threw it all into one pot. Thirty minutes later, the whole house smelled like comfort food heaven. My husband walked in, sighed with relief, and asked if I wanted to make this every week. I didn’t say yes, but I also didn’t say no. That’s how this One-Pot Chicken and Wild Rice Soup was born.
I’ve made this soup at least twelve times since that Tuesday. I’ve tweaked the ratio of rice to broth, swapped out vegetables, and experimented with different cuts of chicken. And I can honestly say: this is the best version. It’s creamy without being heavy, packed with protein, and uses ingredients that are probably already in your pantry. It’s healthy enough to feel good about eating, but rich and savory enough that my picky eater (who usually only eats bread and cheese) asks for seconds. If you’re looking for a comforting dinner that actually saves you time, you need to try this. It’s simple, it’s forgiving, and it tastes like a hug in a bowl.
Why You’ll Love This One-Pot Chicken and Wild Rice Soup
Okay, so why should you add this to your rotation? Here’s the thing: most soup recipes require you to brown meat in one pan, sauté veggies in another, and then combine them in a third. That’s a lot of dishes. This One-Pot Chicken and Wild Rice Soup changes the game. Here’s why it’s a total win:
- Minimal Cleanup — Seriously, just one pot. I’m talking about the pot you cook it in, serve from, and wash at the end. No extra colanders, no separate sauté pans. If you can boil water, you can clean this up. I’ve made this on nights when I was too exhausted to even look at a sponge.
- Meal Prep Friendly — This soup tastes even better the next day. The flavors meld together, and the rice absorbs all that delicious broth. I make a big batch on Sunday, and it’s my go-to lunch for three days straight. It reheats perfectly in the microwave or on the stove.
- Actually Healthy — This isn’t a cream-heavy, calorie-bomb soup. It’s light, fluffy, and packed with nutrients. The wild rice gives you fiber and protein, the chicken keeps you full, and the veggies add vitamins. It’s the kind of meal that leaves you feeling energized, not sluggish.
- Freezer Friendly — I love making double batches and freezing half. This soup freezes beautifully for up to three months. It’s my secret weapon for busy weeknights when I don’t want to think about dinner. Just thaw it overnight and heat it up.
- Customizable — Don’t like carrots? Skip them. Want to add celery? Go for it. This recipe is a canvas. I’ve made it with just chicken and rice, and I’ve made it loaded with mixed vegetables. It always works.
This soup has become my answer to “What’s for dinner?” when I’m tired, stressed, or just don’t feel like cooking. It’s reliable, delicious, and makes everyone at the table happy. Plus, the smell of fresh thyme and simmering chicken fills the house and makes everything feel a little bit better.
Ingredients You’ll Need for One-Pot Chicken and Wild Rice Soup
Here’s the best part: you probably have most of these ingredients already. I’m particular about a few things here, but mostly, this is a pantry-friendly recipe. Let’s break it down.
For the Base
Chicken (2 pounds / 900g) — I use boneless, skinless chicken thighs. They stay juicier than breasts when simmered for a long time. If you prefer chicken breast, that works too, but keep an eye on it so it doesn’t dry out. You can also use a rotisserie chicken to save time—just add it in the last 10 minutes.
Wild Rice Blend (1 cup / 180g) — Look for a blend that includes wild rice and brown rice. Pure wild rice takes longer to cook and can be chewy. A blend gives you the nutty flavor of wild rice with a more tender texture. I like the Tilda brand, but any store brand works.
Chicken Broth (6 cups / 1.5 liters) — I use low-sodium broth so I can control the saltiness. If you only have regular broth, reduce the added salt in the recipe. Vegetable broth works too if you want a lighter version.
Butter (2 tablespoons / 30g) — I use unsalted butter. It adds richness and helps sauté the veggies. Olive oil works too, but butter just tastes better here.
For the Veggies
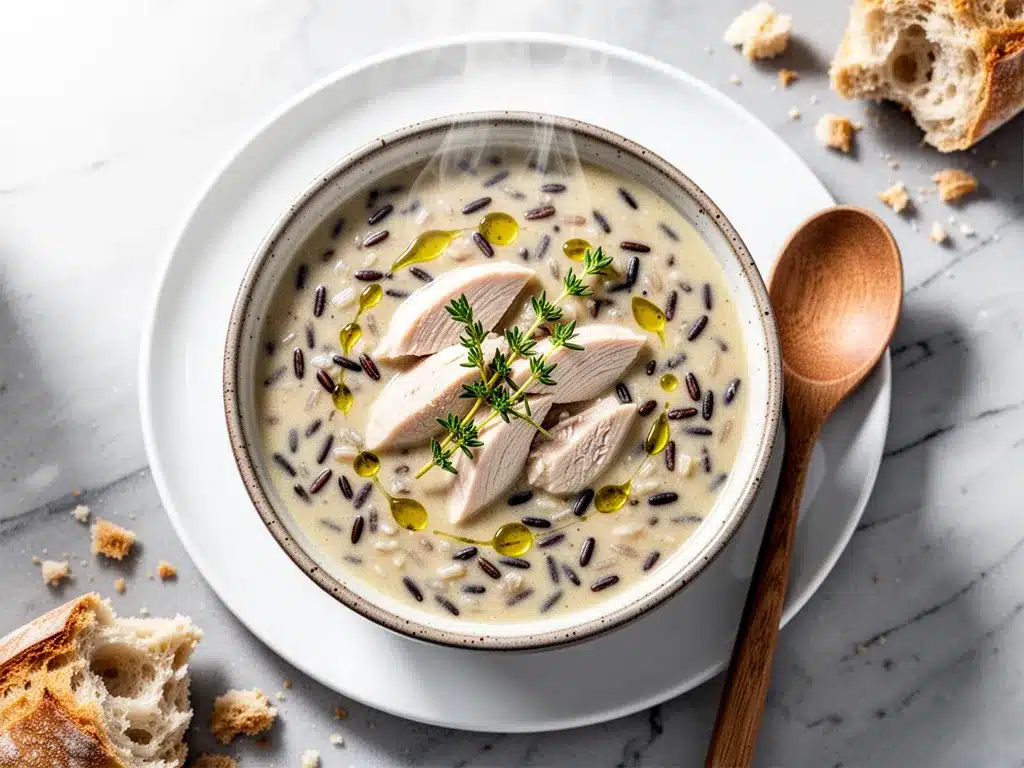
Onion (1 medium, diced / about 150g) — Yellow onion is standard, but white or red onion works too. Just make sure it’s diced small so it melts into the soup.
Carrots (2 large, diced / about 200g) — Dice them into small cubes. They add sweetness and color. If you don’t like carrots, you can skip them or replace them with bell peppers.
Celery (2 stalks, diced / about 100g) — The classic soup trio (onion, carrot, celery) is here for a reason. Celery adds a nice crunch and earthy flavor. Don’t skip it.
Garlic (4 cloves, minced / about 2 tablespoons) — Fresh garlic is a must. Jarred garlic has a weird metallic taste that doesn’t work well in a delicate soup like this. Mince it yourself—it takes 2 minutes.
For the Flavor
Fresh Thyme (2 tablespoons, chopped) — This is the star. Fresh thyme gives the soup an aromatic, earthy flavor that dried thyme can’t match. If you only have dried thyme, use 1 teaspoon, but fresh is worth the trip to the store.
Bay Leaf (1 leaf) — It sounds old-fashioned, but a bay leaf adds depth. Remove it before serving, or your family will complain about biting into it. (I learned this the hard way.)
Salt and Black Pepper — To taste. I usually start with 1 teaspoon salt and ½ teaspoon pepper, then adjust at the end.
Lemon Juice (1 tablespoon) — This is the secret ingredient. A splash of lemon juice at the end brightens everything up and cuts through the richness. It’s subtle, but you’ll miss it if it’s not there.
Heavy Cream or Coconut Milk (optional, ½ cup / 120ml) — For a creamier texture, stir in heavy cream or full-fat coconut milk at the end. It’s not traditional, but I love the richness. Skip it if you want it lighter.
Optional Add-ins
Green Beans (1 cup, chopped) — Add them in the last 10 minutes of cooking. They add color and crunch.
Peas (1 cup, frozen) — Stir them in at the very end. They just need to be heated through.
Mushrooms (1 cup, sliced) — Sauté them with the onions for an earthy, umami boost.
Equipment Needed
You don’t need fancy equipment for this. Here’s what I actually use:
Large Pot or Dutch Oven — I use a 6-quart Dutch oven. It needs to hold all the ingredients comfortably. My Le Creuset works great, but any heavy-bottomed pot will do. The heavy bottom helps prevent burning.
Wooden Spoon — For stirring. Silicone works too. Don’t use metal if you have a non-stick pot.
Sharp Knife — For chopping veggies. A dull knife makes you cry more—literally. Learn this the hard way.
Cutting Board — Any size works. I use plastic for easier cleanup.
Measuring Cups and Spoons — Standard stuff. Dollar store versions work fine.
Ladle — For serving. Or just use a big spoon. I’m not picky.
How to Make It: Step-by-Step
Alright, let’s make this! I’m walking you through exactly how I do it, including the little tricks I’ve picked up over the years.
Step 1: Prep Your Ingredients (5-8 minutes)
Before you start cooking, chop your onion, dice your carrots and celery, and mince your garlic. I know it seems fussy, but it makes the actual cooking way less stressful. Once you start cooking, things move fast. Measure out your broth and have your thyme ready. This is the time to also check your rice—rinse it if the package says to do so.
Step 2: Sauté the Veggies (5-7 minutes)
Melt the butter in your large pot over medium heat. Add the diced onion, carrots, and celery. Cook for 5-7 minutes, stirring occasionally, until the onions are translucent and the veggies start to soften. They shouldn’t be browned, just tender. Add the minced garlic and fresh thyme in the last minute. The garlic should smell amazing but not brown—browned garlic tastes bitter. This step builds the flavor base, so don’t rush it.
Step 3: Add the Rice and Broth (2 minutes)
Pour in the wild rice blend and stir to coat it in the butter and veggies. Let it toast for 1 minute—it brings out a nutty flavor. Then, pour in the chicken broth. Stir well, scraping up any bits from the bottom of the pot. Those bits are flavor gold. Add the bay leaf and season with salt and pepper.
Step 4: Simmer the Soup (25-30 minutes)
Bring the soup to a boil, then reduce the heat to low. Cover the pot and let it simmer for 25-30 minutes. The rice should be tender, and the soup should have thickened slightly. Stir occasionally to prevent sticking. If the soup looks too thick, add a splash of extra broth or water.
Step 5: Add the Chicken (10-15 minutes)
While the rice cooks, you can add the chicken now if using raw chicken. Cut the chicken into bite-sized pieces and add them to the pot. Stir well. Cover and simmer for another 10-15 minutes, or until the chicken is cooked through (internal temperature of 165°F / 74°C). If using rotisserie chicken, add it in the last 5 minutes just to heat it through.
Step 6: Finish and Serve (2 minutes)
Remove the pot from heat. Discard the bay leaf. Stir in the lemon juice and taste. Add more salt or pepper if needed. If you want it creamier, stir in the heavy cream or coconut milk now. Serve hot, topped with fresh parsley or extra thyme if you have it.
Total Time: About 45 minutes (15 minutes active, 30 minutes simmering)
Expert Tips & Tricks
Here’s everything I’ve learned from making this soup dozens of times. These tips will save you from my mistakes.
Don’t Overcook the Rice
Wild rice can get mushy if you overcook it. Keep an eye on it after 25 minutes. If the rice is tender but the soup is still thin, let it sit off heat with the lid on for 5 minutes. It’ll thicken up.
Use a Heavy-Bottomed Pot
This prevents the rice from sticking to the bottom. If you’re using a thin pot, stir more frequently. I learned this the hard way with a burnt bottom that ruined the whole batch.
Toast the Rice First
Toasting the rice in the butter before adding broth brings out a deeper, nuttier flavor. It’s a small step, but it makes a big difference.
Fresh Thyme is Key
Dried thyme works, but fresh thyme is so much better. If you can’t find fresh, buy a small bunch—it keeps for weeks in the fridge wrapped in a damp paper towel.
Save the Pasta Water
Wait, there’s no pasta here! But if you add noodles or dumplings later, save some of the starchy soup liquid to thin it out. It helps the sauce cling to the ingredients.
Common Mistakes (and how to avoid them):
- Mistake: Soup is too watery — Fix: Let it simmer longer, or add a slurry of cornstarch and water. Also, make sure you’re not adding too much broth at the start.
- Mistake: Chicken is dry — Fix: Don’t overcook it. If using chicken breast, remove it once it’s done and shred it, then add it back at the end. Thighs are more forgiving.
- Mistake: Everything is too salty — Fix: Use unsalted broth and unsalted butter so you can control the salt. You can always add more, can’t take it away.
Variations & Substitutions
Once you’ve nailed the basic version, here’s how you can mix it up. I’ve tried all of these.
Vegetarian Version
Swap chicken broth for vegetable broth and skip the chicken. Add extra veggies like mushrooms, peas, or green beans. I make this when I’m trying to eat less meat, and it’s just as satisfying.
Gluten-Free
This recipe is naturally gluten-free, but double-check your broth and rice blend. Some blends have hidden gluten. I use Tilda’s gluten-free blend, which works great.
Dairy-Free
Skip the butter and use olive oil. For the creaminess, use coconut milk instead of heavy cream. It adds a nice tropical twist that actually works.
Slow Cooker Version
Sauté the veggies first, then add everything to the slow cooker. Cook on low for 6-8 hours. Add the chicken in the last 2 hours. It’s perfect for busy days.
Instant Pot Version
Sauté the veggies, add rice and broth, and cook on high pressure for 20 minutes. Quick release the pressure, then add the chicken and cook for 5 more minutes. Faster, but still delicious.
Protein Swaps:
- Shredded turkey (great for leftovers)
- Chopped sausage (for a heartier version)
- White beans (vegetarian protein, add 1 can drained)
Serving & Storage
How to Serve:
I usually serve this straight from the pot at the dinner table—it looks rustic and stays warm. But here are other ways I’ve enjoyed it:
- Garlic Bread — Obviously. This soup begs for crusty bread.
- Simple Green Salad — A light salad with bals vinaigrette cuts through the richness.
- Cheese Crackers — My kids love dipping these in the soup.
Storage Instructions:
Refrigerator:
Store in an airtight container for up to 4 days. The rice will continue to absorb liquid, so the soup will thicken. Add a splash of broth when reheating.
Reheating:
Best method: Add to a pot with a splash of broth over low heat. Stir until heated through. Microwave method: Heat in 1-minute intervals, stirring between. Add a splash of broth if it’s too thick.
Freezing:
This soup freezes well for up to 3 months. Let it cool completely, then freeze in portions. Thaw overnight in the fridge before reheating. The texture might change slightly, but it’s still tasty.
Nutrition Information
I’m not a nutritionist, but here’s the breakdown if you’re tracking.
Per Serving (based on 6 servings):
- Calories: 320
- Protein: 28g
- Carbs: 35g
- Fiber: 4g
- Sugar: 4g
- Fat: 8g
- Saturated Fat: 3g
- Cholesterol: 65mg
- Sodium: 680mg
What’s Good:
High in protein, good source of fiber, packed with vitamins from the veggies. It’s a balanced meal.
What to Know:
Moderate sodium (use low-sodium broth to reduce). Contains gluten (unless using GF rice/broth). Not suitable for vegan without modifications.
Final Thoughts
So that’s my go-to One-Pot Chicken and Wild Rice Soup! I’ve probably talked your ear off at this point, but when you make a recipe this often, you have a lot to say about it.
This soup has saved weeknight dinners more times than I can count. It’s my answer to “what’s for dinner” when I’m tired, don’t want takeout, and still want something that tastes really good. My kids are happy, my husband’s happy, and I’m happy because I’m not stressed about cooking.
Make it yours! Try different add-ins, swap in your favorite vegetables, adjust the thyme (though more is always better in my opinion). The best recipes are the ones you adapt to your family’s tastes.
If you make this, drop a comment and let me know what you think! I love hearing how recipes turn out in your kitchen. And if something doesn’t work, tell me that too—I’m here to help troubleshoot.
Happy cooking! And I hope your kitchen smells half as good as mine does right now.
Frequently Asked Questions
Can I use brown rice instead of wild rice?
You can, but the texture and flavor will be different. Brown rice is chewier and milder. Wild rice has a nutty, earthy flavor that defines this soup. If you use brown rice, you may need to cook it a few minutes longer. I recommend sticking with wild rice for the best result.
Why did my soup turn out watery?
This usually happens if you didn’t simmer it long enough for the rice to absorb the liquid, or if you added too much broth. Let it simmer for a few more minutes, or let it sit off heat with the lid on for 10 minutes. The rice will soak up the excess liquid. You can also add a cornstarch slurry to thicken it.
Can I make this ahead for a dinner party?
Yes! This soup actually tastes better the next day. Make it up to 2 days ahead and store in the fridge. Reheat gently on the stove, adding a splash of broth if it’s too thick. It’s a great make-ahead option for busy hosts.
Can I freeze this soup?
Absolutely. This soup freezes beautifully for up to 3 months. Let it cool completely, then freeze in portions. Thaw overnight in the fridge before reheating. The texture might change slightly, but it’s still delicious.
Can I use rotisserie chicken?
Yes! This is a great shortcut. Add the shredded rotisserie chicken in the last 5 minutes of cooking just to heat it through. It saves time and adds great flavor.
How do I reheat leftovers without it getting dry?
Add a splash of broth or water to the pot, and reheat gently over low heat, stirring frequently. The extra liquid brings back the creamy texture. Microwave sort of works but tends to dry it out. If you do microwave, definitely add a splash of liquid first and heat in short bursts, stirring between.
Can I double this recipe?
Yes! Double everything and use your biggest pot. The cooking times stay the same. I do this when I’m meal-prepping or feeding a crowd. Just make sure your pot is big enough to hold all the ingredients without overflowing.
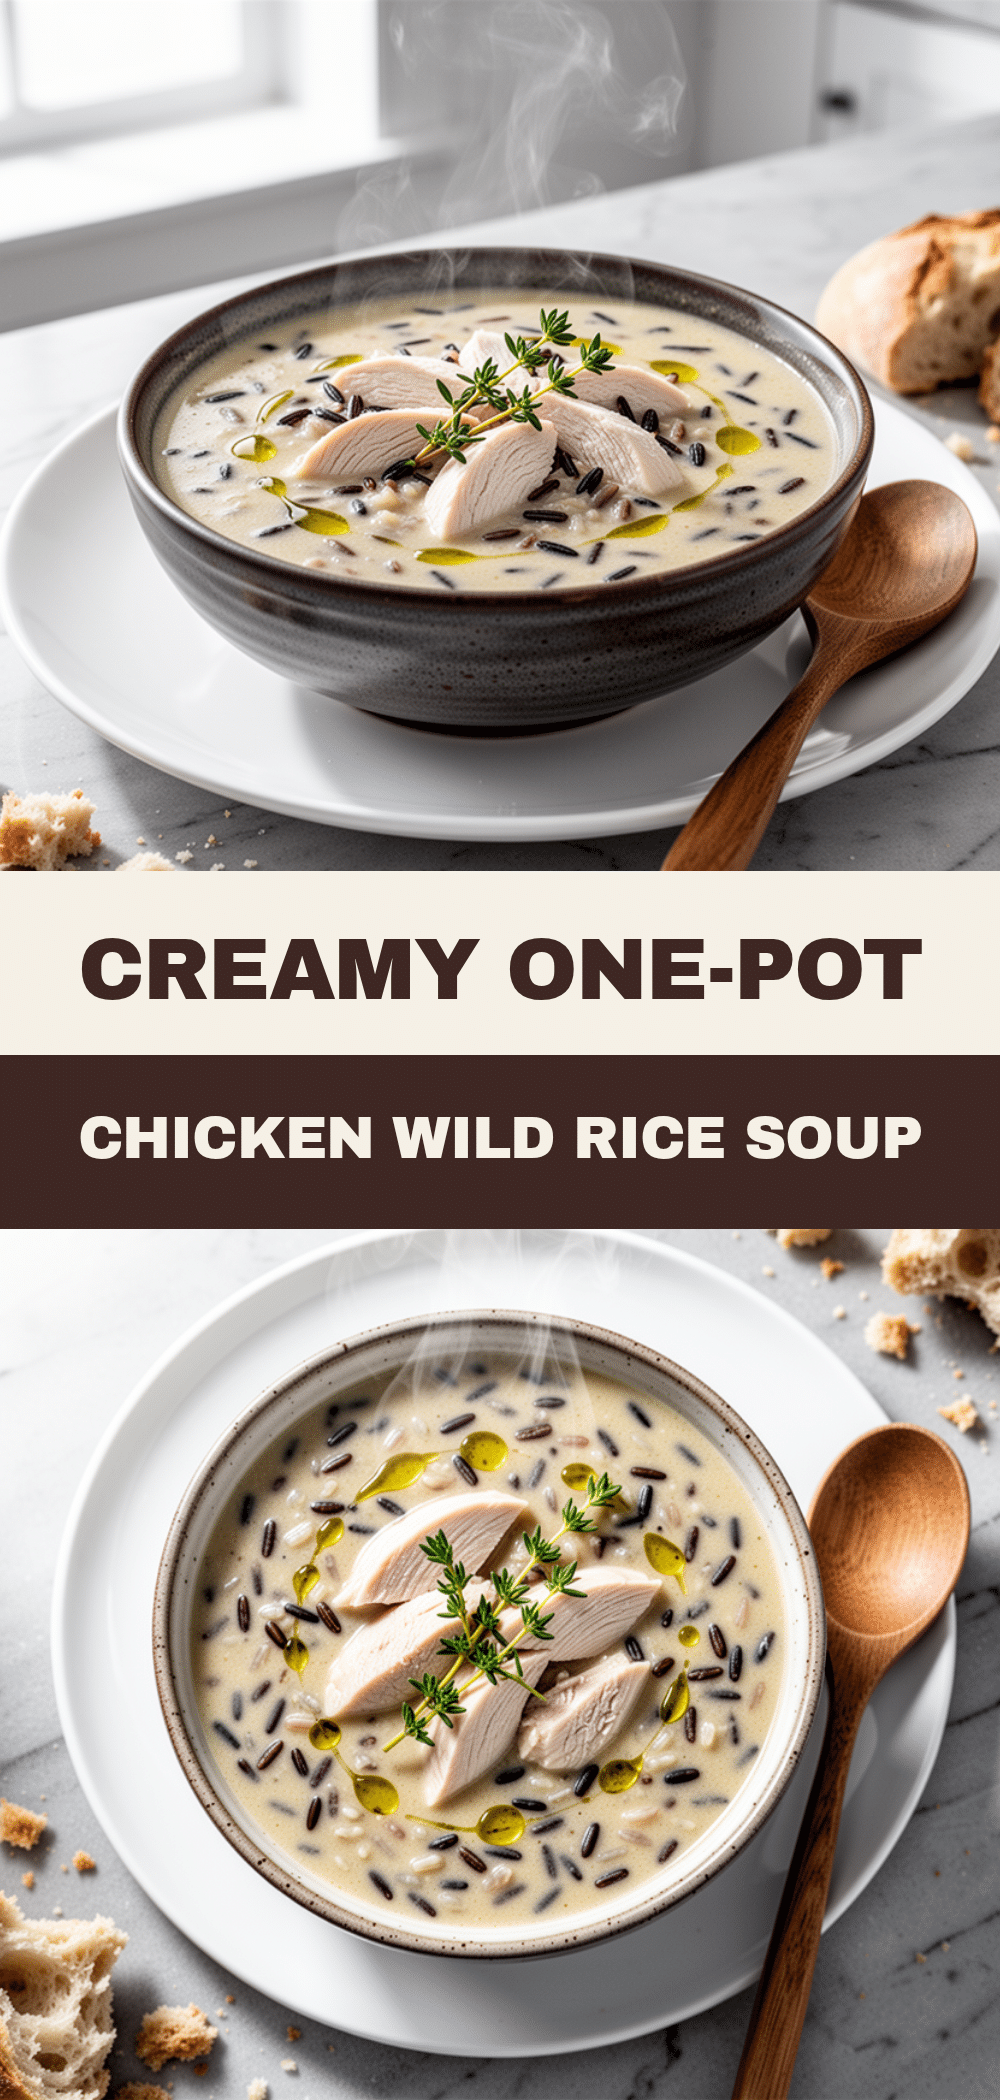
Pin This Recipe!
One-Pot Chicken and Wild Rice Soup
- Total Time: 45 minutes
- Yield: 6 servings 1x
Description
A comforting, healthy, and creamy one-pot chicken and wild rice soup that is perfect for busy weeknights. It requires minimal cleanup, is freezer-friendly, and packed with protein and nutrients.
Ingredients
- 2 pounds boneless, skinless chicken thighs (or chicken breast/rotisserie chicken)
- 1 cup wild rice blend (wild and brown rice)
- 6 cups low-sodium chicken broth
- 2 tablespoons unsalted butter
- 1 medium yellow onion, diced
- 2 large carrots, diced
- 2 stalks celery, diced
- 4 cloves garlic, minced
- 2 tablespoons fresh thyme, chopped
- 1 bay leaf
- 1 teaspoon salt (or to taste)
- 1/2 teaspoon black pepper (or to taste)
- 1 tablespoon lemon juice
- 1/2 cup heavy cream or coconut milk (optional)
Instructions
- Prep ingredients: Chop onion, dice carrots and celery, mince garlic, and measure broth and thyme.
- Melt butter in a large pot or Dutch oven over medium heat.
- Add onion, carrots, and celery. Sauté for 5-7 minutes until onions are translucent and veggies soften.
- Add garlic and fresh thyme in the last minute of sautéing.
- Add wild rice blend and stir to coat in butter/veggies. Toast for 1 minute.
- Pour in chicken broth, scraping up bits from the bottom. Add bay leaf, salt, and pepper.
- Bring to a boil, then reduce heat to low. Cover and simmer for 25-30 minutes until rice is tender.
- Add chicken pieces (if using raw) and simmer for another 10-15 minutes until chicken reaches 165°F. If using rotisserie chicken, add in the last 5 minutes to heat through.
- Remove from heat. Discard bay leaf.
- Stir in lemon juice and taste for seasoning. Add heavy cream or coconut milk if desired.
- Serve hot, optionally topped with fresh parsley or extra thyme.
Notes
Use a heavy-bottomed pot to prevent sticking. Toasting the rice before adding broth enhances flavor. Fresh thyme is preferred over dried. If soup is too watery, simmer longer or let sit off heat with lid on. If using chicken breast, monitor closely to prevent drying out.
- Prep Time: 15 minutes
- Cook Time: 30 minutes
- Category: Main Course
- Cuisine: American
Nutrition
- Serving Size: 1 bowl
- Calories: 320
- Sugar: 4
- Sodium: 680
- Fat: 8
- Saturated Fat: 3
- Carbohydrates: 35
- Fiber: 4
- Protein: 28
Keywords: one-pot soup, chicken and wild rice soup, healthy family dinner, meal prep, comfort food, easy weeknight dinner


