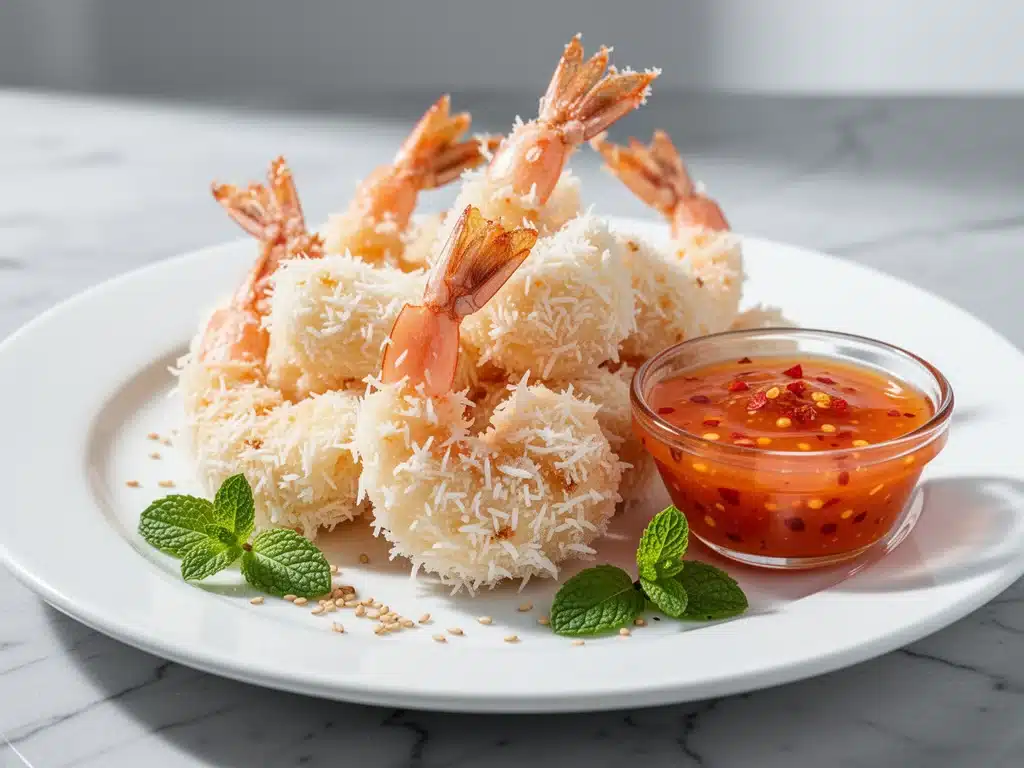
I have a confession to make. For years, I was the person who ordered fried coconut shrimp at every restaurant, watched it arrive soggy and sad on the plate, and then felt guilty for letting it sit there while the rest of the meal got cold. I tried baking it at home, too. The result? Shrimp that tasted like rubber and coconut that looked like wet carpet. I almost gave up on ever making this party staple at home again.
Then, last summer, I was hosting a backyard BBQ for about twelve people. I didn’t want to deep fry (who has the time or the desire to clean that much oil?), but I also refused to serve appetizers that fell apart the moment you picked them up. I spent three weekends testing different breading techniques, different oven temperatures, and different baking sheets. I burned more coconut than I care to admit.
But here’s the thing: I finally cracked the code. This easy crunchy baked coconut shrimp recipe is the real deal. It gets golden brown, stays crisp even after sitting on a platter for twenty minutes (which happens at parties, trust me), and tastes infinitely better than anything you’ll get at a buffet. It’s my go-to easy 3 ingredient crispy snack alternative when I need something that feels fancy but is actually super simple to throw together. And honestly? It’s become the star of every gathering I host.
If you’ve ever struggled with baked shrimp that turns out mushy or bland, this method will change your game. It’s not just about coating the shrimp; it’s about creating a barrier that locks in moisture while letting the coconut toast to perfection. Let’s walk through exactly how I do it, why it works, and how you can make this the most requested dish at your next get-together.
Why You’ll Love This Recipe
There are a few reasons this baked coconut shrimp has earned a permanent spot in my rotation, but I’ll keep it real with you. It’s not just because it tastes amazing (though it does).
- Actually Crunchy — Most baked versions fail because the moisture from the shrimp steams the coating. This recipe uses a specific breading technique that creates a crispy shell, not a soggy one. I’ve tested this on picky eaters, and they always ask if it’s fried.
- Party-Proof — You can prep these hours ahead and bake them right before guests arrive. They stay warm and crisp on a platter. No more rushing to the oven while everyone is staring at an empty tray.
- Healthier Indulgence — Baking uses a fraction of the oil compared to deep frying. You still get that rich, tropical flavor without the heavy grease feeling afterward. It’s perfect for summer drinks and light evenings.
- Super Fast Prep — Once you have your stations set up, you can bread a pound of shrimp in about 15 minutes. It’s faster than waiting for a delivery app to connect.
- Make-Ahead Friendly — You can bread them, freeze them raw on a tray, then bag them. When you need dinner or party food, just toss them in the oven. No thawing required.
This isn’t just a recipe; it’s a solution for anyone who wants restaurant-quality appetizers without the hassle. It’s reliable, it’s delicious, and it’s surprisingly easy to pull off even if you’re cooking for a crowd.
Ingredients You’ll Need
Here’s the best part: you probably have most of this already. The beauty of this easy crunchy baked coconut shrimp recipe is that it relies on simple, high-quality ingredients. You don’t need fancy seafood market cuts or obscure spices.
For the Shrimp
Jumbo or Extra-Large Shrimp (1.5 lbs / 680g, peeled and deveined) — This is the most important part. Buy shrimp that are “U-15” or “21-25” count. If they’re too small, they’ll dry out before the coconut browns. If they’re huge, they’ll be tough. Medium-large is the sweet spot. Make sure they’re peeled and deveined, but leave the tails on for that classic presentation look.
Dry White Wine or Lemon Juice (2 tablespoons) — I use a splash of dry white wine (like Sauvignon Blanc) to marinate the shrimp briefly. It tenderizes them slightly and adds a subtle brightness. If you don’t drink alcohol, lemon juice works perfectly. Skip this step if you’re in a rush, but it helps.
For the Breading Station
All-Purpose Flour (1 cup / 120g) — Just standard white flour. This is the base layer that helps the egg stick to the shrimp. Don’t skip it; without it, the coconut will slide off in the oven.
Eggs (2 large, beaten with 1 tablespoon water) — Beating the eggs with a little water thins them out slightly, making it easier to get an even coat without clumping. Some people use milk, but water keeps the coating lighter and crispier.
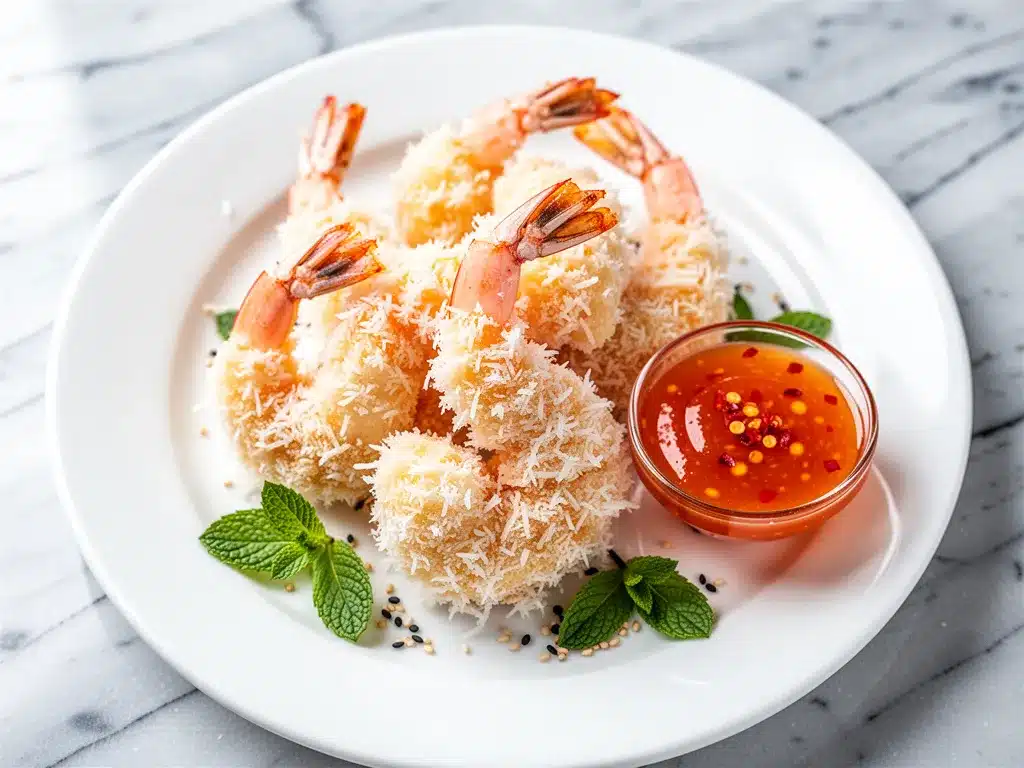
Shredded Sweetened Coconut (2 cups / 150g) — Do not use flaked coconut. You need fine shreds. Sweetened is better than unsweetened because the sugar caramelizes in the oven, giving you that golden-brown color. Unsweetened will stay pale and taste bland.
Panko Breadcrumbs (½ cup / 40g) — This is my secret weapon. Mixing Panko with the coconut adds structural integrity. It creates air pockets that crunch. Pure coconut can sometimes clump; Panko keeps it light.
Garlic Powder (1 teaspoon) — Adds a savory depth that balances the sweetness of the coconut.
Onion Powder (1 teaspoon) — Again, savory balance. Don’t use fresh onion; it burns too fast.
Sea Salt and Black Pepper (to taste) — Essential for seasoning the breading itself.
Cooking Spray or Olive Oil — You’ll spray the tops of the shrimp before baking. This helps the coconut brown evenly since there’s no deep fryer oil surrounding them.
Equipment Needed
You don’t need fancy gadgets for this. Here’s what I actually use.
Three Wide Shallow Bowls — One for flour, one for egg wash, one for the coconut/Panko mix. Wide bowls are better than deep ones because you can roll the shrimp easily.
Wire Rack and Baking Sheet — This is non-negotiable for extra crunch. Placing the shrimp on a wire rack allows hot air to circulate underneath. If you bake them directly on the pan, the bottoms get soggy. I use a standard rimmed baking sheet with a cooling rack that fits inside.
Parchment Paper — I line the rack with parchment just in case any coconut flakes fall through and burn. Makes cleanup instant.
Pastry Brush or Spray Bottle — For the oil. A spray bottle gives a more even coating than brushing.
Tongs — For flipping the shrimp. Keeps your fingers clean and prevents breaking the coating.
How to Make It: Step-by-Step
Alright, let’s get cooking. I’m walking you through exactly how I do it, including the little tricks I’ve picked up over dozens of batches.
Step 1: Prep the Shrimp (5 minutes)
Pat the shrimp completely dry with paper towels. This is crucial. If they’re wet, the flour won’t stick. Season the dry shrimp lightly with salt and pepper. If you’re using the wine or lemon juice marinade, toss them in now and let them sit for 10 minutes while you set up your stations. Then, drain and pat dry again.
Step 2: Set Up Your Breading Station (3 minutes)
Place three shallow bowls in a row. Bowl 1: Flour mixed with half the garlic and onion powder. Bowl 2: Beaten eggs and water. Bowl 3: Coconut, Panko, remaining garlic/onion powder, salt, and pepper. Mix the dry ingredients in the third bowl thoroughly.
Step 3: The Dredge Process (10 minutes)
Take a shrimp and dredge it in the flour, shaking off any excess. Dip it into the egg wash, letting the excess drip off. Finally, press it firmly into the coconut mixture. Use your fingers to press the coconut onto the shrimp so it adheres well. Place it on the wire rack. Repeat with all shrimp. Work efficiently so the egg doesn’t dry out before the coconut gets on.
Step 4: Preheat and Prep the Oven (5 minutes)
Preheat your oven to 400°F (200°C). High heat is key for browning. Make sure the rack is in the center position. Line your baking sheet with parchment, then place the wire rack on top.
Step 5: Bake Until Golden (12-15 minutes)
Lightly spray the tops of the coated shrimp with cooking spray or olive oil. This helps them brown. Bake for 12-15 minutes. Do not open the oven door for the first 10 minutes. You want the coating to set. After 10 minutes, check them. They should be golden brown and opaque. If they’re not brown enough, broil for 1-2 minutes, watching closely so they don’t burn.
Step 6: Serve Immediately
Remove from the oven and serve right away. They are best hot and crisp. If you need to hold them for a party, keep them on the warm rack in a turned-off oven with the door slightly ajar.
Expert Tips & Tricks
Here’s everything I’ve learned from making this dozens of times. These tips will save you from my mistakes.
Don’t Skip the Wire Rack — I know it’s an extra dish to wash, but baking directly on the pan makes the bottoms soggy. The rack ensures even crisping all around. It’s worth the hassle.
Press, Don’t Just Roll — When coating, press the coconut into the shrimp. Rolling it might not stick enough. You want a thick, even layer. If spots are bare, go back and add more coconut.
Use Sweetened Coconut — I tried unsweetened once. It looked pale and tasted like plain bread. Sweetened coconut caramelizes. That’s where the color and flavor come from. If you only have unsweetened, add a teaspoon of sugar to the breading mix.
Keep Them Separate — When placing shrimp on the rack, leave space between them. If they touch, they’ll steam each other and lose their crunch. Crowding is the enemy of crispiness.
Double Batch for Parties — If you’re feeding a crowd, don’t try to bake 5 pounds at once. Two smaller batches cook more evenly and quickly. You can keep the first batch warm in a low oven (200°F) while you bake the second.
The Broil Finish — Ovens vary. If your shrimp are cooked but not browned, hit the broiler for the last minute. Watch them like a hawk. Coconut burns in seconds.
Variations & Substitutions
Once you’ve nailed the basic version, here’s how you can mix it up. I’ve tried all of these.
Spicy Coconut Shrimp — Add 1 teaspoon of cayenne pepper or crushed red pepper flakes to the coconut mixture. Serve with a spicy mayo dipping sauce. Great for those who like heat.
Gluten-Free Version — Swap the all-purpose flour and Panko for a gluten-free flour blend and gluten-free Panko (or crushed cornflakes for extra crunch). It works surprisingly well.
Herb-Infused — Add chopped fresh cilantro or parsley to the coconut mix. Adds a fresh, bright note that cuts through the sweetness.
Lime Zest — Add the zest of one lime to the coconut mixture. It makes the flavor pop and feels very tropical.
Dipping Sauces — The classic sweet chili sauce is great, but try these:
- Tartar Sauce — Mix mayo, relish, lemon juice, and dill.
- Mango Chutney — Sweet and tangy, perfect with coconut.
- Spicy Mayo — Mayo mixed with sriracha and a squeeze of lime.
Serving & Storage
How to Serve:
I usually serve these straight from the oven on a large platter with lemon wedges and dipping sauces on the side. They look beautiful and festive. They pair wonderfully with a light summer drink or a crisp white wine.
Storage:
Store leftovers in an airtight container in the fridge for up to 2 days. They will lose some crunch, but they’re still good.
Reheating:
Do not microwave. It will make them rubbery. Reheat in the oven at 375°F for 5-7 minutes, or in an air fryer for 3-4 minutes. This restores the crispiness. If you have an air fryer, this is the best way to reheat them.
Freezing:
You can freeze the raw, breaded shrimp. Place them on a baking sheet and freeze until solid, then transfer to a freezer bag. Bake from frozen, adding 2-3 minutes to the cook time. This is great for meal prep.
Nutrition Information
I’m not a nutritionist, but here’s the breakdown if you’re tracking. This is per serving (based on 4 servings, approx. 6-8 shrimp each).
- Calories: 280
- Protein: 22g
- Carbs: 24g
- Fiber: 3g
- Sugar: 12g (from coconut)
- Fat: 10g
- Sodium: 350mg
It’s not a diet food, but it’s lighter than deep-fried versions. The protein from the shrimp is high, and the carbs come mainly from the coconut and Panko. If you’re watching sugar, you can use unsweetened coconut, but you’ll need to add a bit of sugar to the breading to help it brown.
Final Thoughts
So that’s my easy crunchy baked coconut shrimp recipe! I’ve probably talked your ear off at this point, but when you make a recipe this often, you have a lot to say about it. This has saved me from ordering takeout appetizers more times than I can count. It’s my answer to “what can I bring to the party that will impress everyone?”
Make it yours! Try different dipping sauces, add some spice, or change up the herbs. The best recipes are the ones you adapt to your taste. If you make this, drop a comment and let me know what you think! I love hearing how recipes turn out in your kitchen. And if something doesn’t work, tell me that too—I’m here to help troubleshoot.
Happy cooking! I hope your kitchen smells half as good as mine does right now.
Frequently Asked Questions
Can I use frozen shrimp?
Yes, but you must thaw them completely and pat them VERY dry. Any excess water will prevent the breading from sticking. If you use frozen shrimp, thaw them in cold water for 30 minutes, then spend extra time drying them with paper towels.
Why did my coconut burn?
Coconut has a low smoke point and high sugar content (if sweetened). It burns quickly. Make sure your oven is fully preheated before putting the shrimp in. Also, watch them closely during the last few minutes. If they’re browning too fast, lower the temperature by 25 degrees.
Can I make these in an air fryer?
Absolutely! This is actually one of the best ways to make them. Preheat air fryer to 400°F. Cook for 8-10 minutes, flipping halfway through. They come out incredibly crispy. Just don’t overcrowd the basket.
What size shrimp should I buy?
Look for “Large” or “Extra Large” (21-25 or 16-20 count per pound). They need to be big enough to hold the coating but small enough to cook through quickly. Small shrimp will dry out before the coconut browns.
Can I prepare these ahead of time?
Yes! Bread them, place them on the wire rack, and cover tightly with plastic wrap. Refrigerate for up to 4 hours. When ready to bake, let them sit at room temperature for 10 minutes, then spray with oil and bake as directed.
Do I have to use Panko?
Not strictly, but it helps with texture. Panko creates air pockets that make the coating lighter and crunchier. If you don’t have it, you can use regular breadcrumbs, but the result will be denser. You can also use crushed cornflakes for a different kind of crunch.
Pin This Recipe!
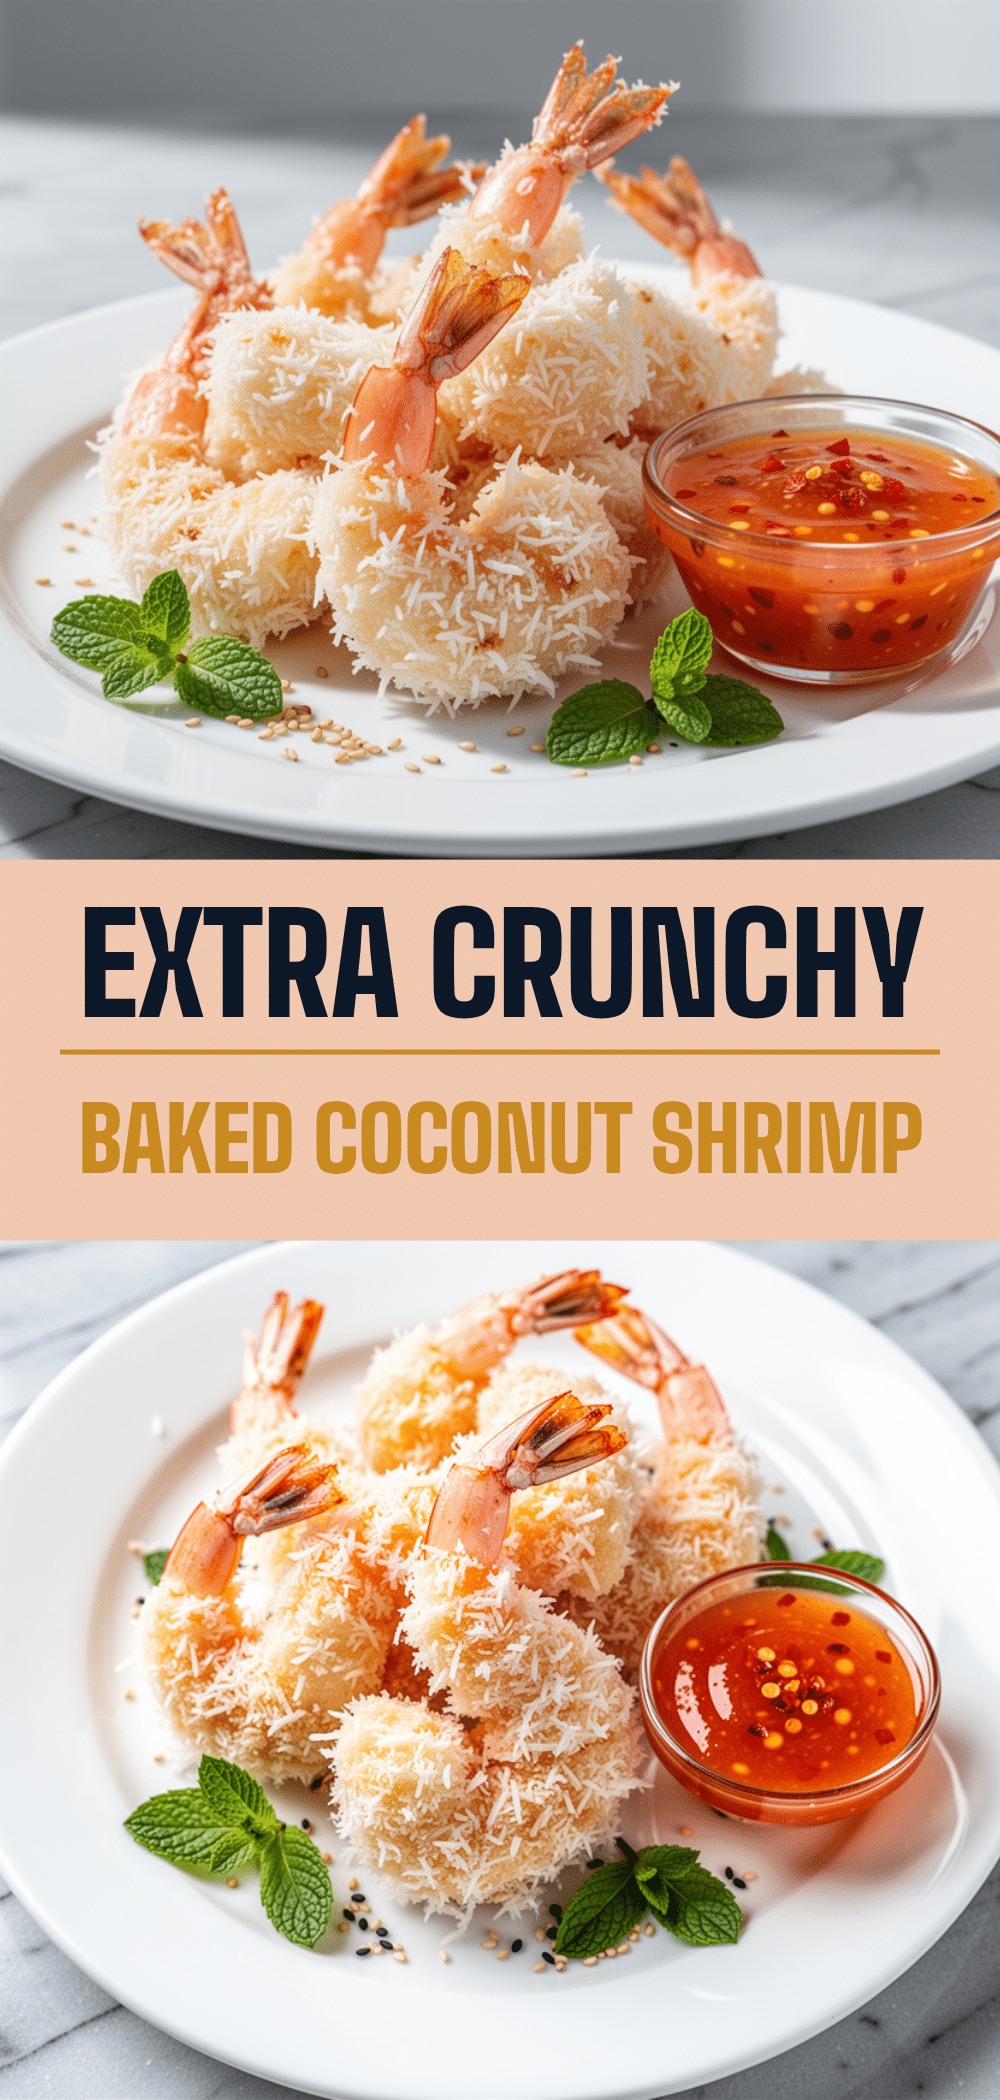
Easy Crunchy Baked Coconut Shrimp Recipe
- Total Time: 30 minutes
- Yield: 4 servings 1x
Description
This easy crunchy baked coconut shrimp recipe delivers restaurant-quality results without the deep fryer. Using a specific breading technique with sweetened coconut and Panko, the shrimp stay golden brown and crisp, making it the perfect party appetizer.
Ingredients
- 1.5 lbs (680g) Jumbo or Extra-Large Shrimp, peeled and deveined, tails on
- 2 tablespoons Dry White Wine or Lemon Juice
- 1 cup (120g) All-Purpose Flour
- 2 large Eggs, beaten with 1 tablespoon water
- 2 cups (150g) Shredded Sweetened Coconut
- 1/2 cup (40g) Panko Breadcrumbs
- 1 teaspoon Garlic Powder
- 1 teaspoon Onion Powder
- Sea Salt and Black Pepper, to taste
- Cooking Spray or Olive Oil
Instructions
- Pat the shrimp completely dry with paper towels. Season lightly with salt and pepper. If using, marinate in wine or lemon juice for 10 minutes, then drain and pat dry again.
- Set up three shallow bowls: Bowl 1 with flour mixed with half the garlic and onion powder; Bowl 2 with beaten eggs and water; Bowl 3 with coconut, Panko, remaining garlic/onion powder, salt, and pepper.
- Dredge each shrimp in the flour, shaking off excess. Dip into the egg wash, letting excess drip off. Press firmly into the coconut mixture to adhere. Place on a wire rack.
- Preheat oven to 400°F (200°C). Line a baking sheet with parchment paper and place a wire rack on top.
- Lightly spray the tops of the coated shrimp with cooking spray or olive oil.
- Bake for 12-15 minutes. Do not open the oven for the first 10 minutes. Check for golden brown color and opacity. If needed, broil for 1-2 minutes to brown further.
- Serve immediately while hot and crisp.
Notes
Use sweetened coconut for better browning and flavor. Ensure shrimp are very dry before breading to help the coating stick. Do not crowd the shrimp on the rack to prevent steaming. For extra crispiness, use a wire rack to allow air circulation underneath. Can be frozen raw before baking.
- Prep Time: 15 minutes
- Cook Time: 15 minutes
- Category: Appetizer
- Cuisine: American
Nutrition
- Serving Size: 6-8 shrimp per servi
- Calories: 280
- Sugar: 12
- Sodium: 350
- Fat: 10
- Carbohydrates: 24
- Fiber: 3
- Protein: 22
Keywords: coconut shrimp, baked shrimp, party appetizer, easy recipe, crunchy shrimp, seafood, gluten-free option


