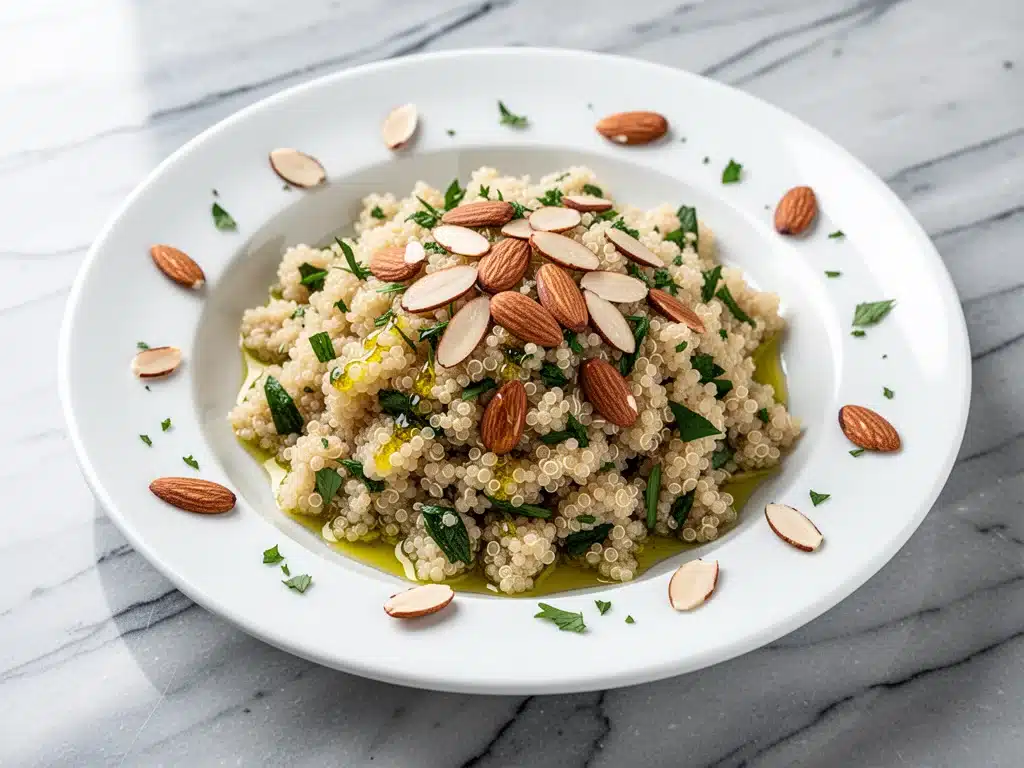
Last November, I was hosting a small dinner for six friends. You know the kind of gathering where everyone brings a dish, and there’s this unspoken pressure to bring something that looks like you spent three hours in the kitchen, even though you’ve been working all day. I had planned to make a simple roasted vegetable medley as the side dish. But then, an hour before guests arrived, I realized I’d forgotten to buy potatoes, and the grocery store was going to close in twenty minutes.
Panic set in. I rummaged through my pantry, hoping for a miracle. There, in the back of a cupboard I hadn’t touched in months, was a bag of quinoa. Now, I’ll be honest with you: I usually avoid quinoa. It has that weird rubbery texture if you don’t treat it right, and it often tastes like… well, like cardboard. But I was desperate. I remembered a technique I’d seen years ago for toasting grains before boiling them. It’s the same trick chefs use for rice, but for some reason, nobody applies it to quinoa.
I threw together a Garlic Herb Quinoa Pilaf with Toasted Almonds using dried herbs from my rack, a head of garlic, and a handful of sliced almonds I had on hand. I didn’t expect much. I expected a sad, gray side dish. Instead, when I pulled it off the heat, the kitchen smelled incredible—nutty, savory, and aromatic. The quinoa was fluffy, distinct, and had this beautiful golden hue from the toasted grains. My friend Sarah, who usually critiques everything, took one bite and asked, “Did you make this from scratch? It tastes like it’s from a fancy restaurant.”
That was the moment I realized I’d been making quinoa wrong my entire life. This Garlic Herb Quinoa Pilaf with Toasted Almonds isn’t just a healthy side; it’s a flavor powerhouse. It’s become my go-to for impressing guests, feeding my picky eater, and even meal-prepping for busy weeks. It’s ready in about 30 minutes, uses pantry staples, and tastes way better than anything you’d get from a takeout container. I’ve made it at least a dozen times since that November night, tweaking the herbs and adjusting the garlic, until it was absolutely perfect.
Why You’ll Love This Recipe
This recipe has completely changed how I think about healthy sides. Usually, “healthy” means bland, but this pilaf is anything but boring. Here’s why I keep coming back to it, and why I think you will too.
- It’s Actually Fluffy — The secret is toasting the quinoa first. It stops it from being mushy and gives it a nutty depth that plain boiled quinoa just doesn’t have. I’ve tried it both ways, and the toasted version is miles ahead.
- Garlic Lover’s Dream — We use fresh garlic, lots of it. When you sauté it with the onions, it infuses every single grain. If you’re afraid of garlic breath, maybe skip this. If you love it, you’ll thank me.
- Crunchy Contrast — The toasted almonds add this incredible crunch that makes every bite interesting. It transforms a soft grain into something with texture and personality.
- Super Fast — From start to finish, this takes about 25-30 minutes. That includes chopping and toasting. It’s faster than waiting for a pizza delivery, and it’s actually good for you.
- Versatile AF — I’ve served this with cast iron ribeye steak for date night, alongside chipotle shredded beef for tacos, and even on its own with a fried egg for breakfast. It works everywhere.
- Meal Prep Friendly — It keeps well in the fridge for up to 4 days. In fact, I think it tastes even better the next day as the flavors meld together. I make a big batch on Sunday and eat it for lunches all week.
So basically, if you’re looking for a side dish that is healthy, fast, and actually delicious, this is it. It’s my answer to “what’s for dinner?” when I’m tired but still want to eat well.
Ingredients You’ll Need
Here’s the best part: you probably have most of this already. This Garlic Herb Quinoa Pilaf with Toasted Almonds relies on simple, whole-food ingredients. I’m particular about a few things here, and I’ll tell you exactly why.
For the Pilaf Base:
White Quinoa (1 cup / 185g) — I prefer white quinoa over red or black because it’s fluffier and has a milder flavor. Red quinoa can be a bit chewy. Rinse it well! This is non-negotiable. Quinoa has a coating called saponin that tastes bitter if you don’t rinse it. Use a fine-mesh strainer.
Unsalted Butter (2 tablespoons / 30g) — Butter adds richness that oil can’t quite match. It helps toast the grains and gives that buttery finish. Use real butter, not margarine.
Vegetable or Chicken Broth (1 ¾ cups / 420ml) — I use low-sodium broth so I can control the salt. Vegetable broth keeps it vegetarian, chicken broth adds a savory depth. Do not use water—it’ll be bland.
Yellow Onion (1 medium, finely diced / about 150g) — Sweet onions work too, but yellow onions give better savory depth. Dice it small so it cooks evenly and disappears into the pilaf.
Garlic (4-5 cloves, minced / about 2 tablespoons) — Yes, four or five cloves. Don’t skimp. Fresh only—no jarred garlic in this recipe. The flavor is just too different.
For the Flavor & Finish:
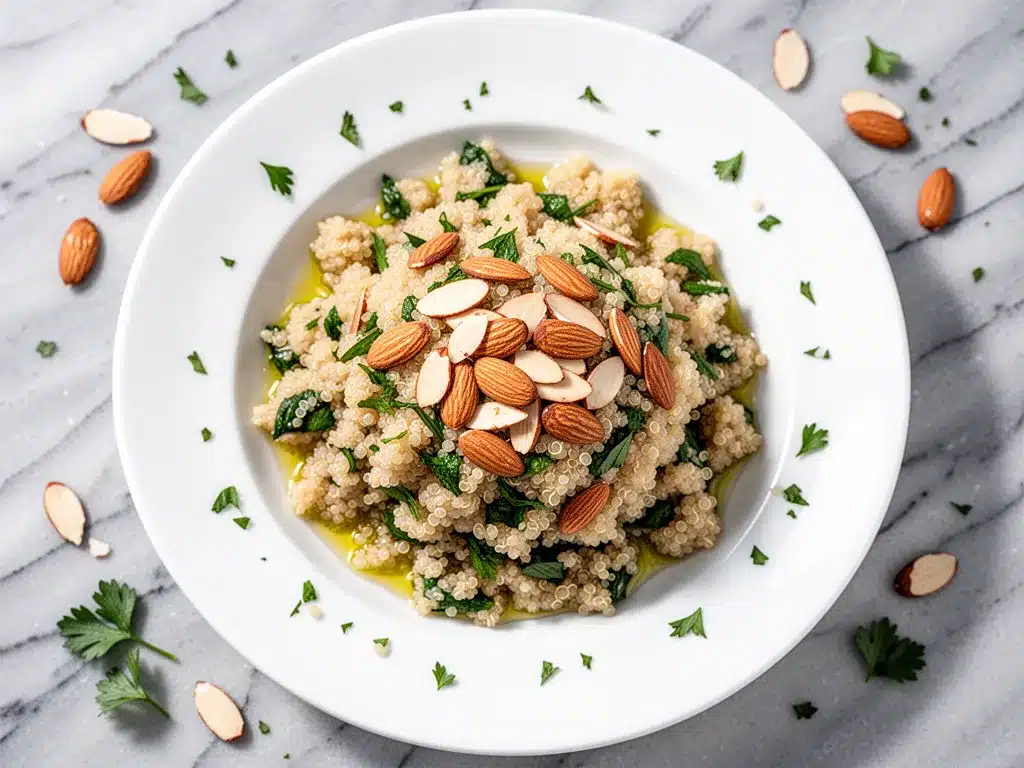
Dried Thyme (1 teaspoon) — Thyme is the classic herb for pilafs. It pairs perfectly with garlic and almonds. If you don’t have thyme, rosemary works, but thyme is traditional.
Dried Parsley (1 teaspoon) — Adds color and a fresh, grassy note. Fresh parsley at the end is nice, but dried works fine here since it cooks with the grains.
Sliced Almonds (½ cup / 50g) — Raw or blanched sliced almonds. Toasting them is the key step. It brings out their natural oils and makes them crunchy. Buy them pre-sliced to save time.
Salt and Black Pepper — To taste. I use about ¾ teaspoon salt total, but adjust based on your broth’s sodium level.
Optional Add-ins:
– Fresh Lemon Juice (1 tablespoon) — A squeeze at the end brightens everything up.
– Feta Cheese (¼ cup, crumbled) — Adds a salty, creamy tang. Great with the herbs.
Personal Tips:
– I always use Good & Gather or Kirkland brand quinoa—it’s affordable and rinses clean.
– If you’re lazy, buy pre-minced garlic, but know that fresh tastes significantly better.
– Toasted almonds can be found in the baking aisle. Look for “slivered” or “sliced” almonds.
Equipment Needed
You don’t need fancy equipment for this. Here’s what I actually use.
Saucepan with Lid — A 2-quart saucepan works perfectly. It needs to have a tight-fitting lid to steam the quinoa properly. My old stainless steel saucepan works fine; no need for a fancy Dutch oven.
Medium Skillet — For sautéing the onions, garlic, and toasting the almonds. A 10-inch skillet is ideal. I use stainless steel, but non-stick works too.
Fine-Mesh Strainer — For rinsing the quinoa. This is crucial. If you don’t have one, you can rinse it in a sieve or even just be very careful pouring the water out of the pot, but a strainer makes it easy.
Wooden Spoon or Spatula — For stirring. Silicone works too. Don’t use metal if you’re using non-stick.
Measuring Cups and Spoons — Standard stuff. Dollar store versions work fine.
Fork — For fluffing the quinoa after cooking. A fork separates the grains without crushing them.
How to Make It: Step-by-Step
Alright, let’s make this! I’m walking you through exactly how I do it, including the little tricks I’ve picked up over the years.
Step 1: Rinse the Quinoa (3 minutes)
Place the quinoa in a fine-mesh strainer and rinse under cold running water for about 1-2 minutes. Rub it gently with your fingers while rinsing. This removes the bitter saponin coating. You’ll know it’s done when the water runs clear and the quinoa doesn’t feel soapy. Drain well.
Step 2: Toast the Almonds (2-3 minutes)
Heat your skillet over medium heat. Add the sliced almonds in a single layer. Toast them, stirring frequently, until they are golden brown and fragrant. This usually takes 2-3 minutes. Be careful—they burn quickly! Once they’re done, remove them from the pan and set them aside on a plate. Don’t leave them in the hot pan or they’ll keep cooking.
Step 3: Sauté the Aromatics (3-4 minutes)
In the same skillet, add the butter over medium-low heat. Once melted, add the diced onion. Cook for 2-3 minutes until the onion is soft and translucent. Add the minced garlic and cook for another 30-60 seconds, stirring constantly. The garlic should smell amazing but not brown. Brown garlic tastes bitter. If the pan looks dry, add a splash of broth.
Step 4: Toast the Quinoa (2 minutes)
Add the rinsed, drained quinoa to the skillet with the onions and garlic. Stir to coat it in the butter. Let it toast for 1-2 minutes, stirring constantly. You’ll hear a slight crunchling sound, and the grains will turn slightly translucent at the edges. This step adds that nutty flavor we talked about. It’s the secret weapon.
Step 5: Simmer the Pilaf (15 minutes)
Pour in the broth. Add the dried thyme, parsley, salt, and pepper. Stir once to combine. Bring it to a boil, then immediately reduce the heat to low. Cover the skillet with a tight-fitting lid. Let it simmer gently for 15 minutes. Do not lift the lid! You need the steam to cook the quinoa evenly. After 15 minutes, check if the liquid is absorbed. If there’s still water, let it sit covered for another 2-3 minutes.
Step 6: Rest and Fluff (5 minutes)
Remove the skillet from the heat. Keep the lid on and let it rest for 5 minutes. This allows the quinoa to finish steaming and become fluffy. Then, remove the lid and fluff the quinoa with a fork. It should look light and separate, not mushy.
Step 7: Combine and Serve
Stir in half of the toasted almonds. Taste and adjust salt if needed. If you’re using lemon juice or feta, add them now. Transfer to a serving bowl and top with the remaining toasted almonds. Serve warm.
Total Time: About 25-30 minutes (5 minutes active prep, 20 minutes cooking)
Expert Tips & Tricks
Here’s everything I’ve learned from making this dozens of times. These tips will save you from my mistakes.
Don’t Skip the Rinse
I can’t stress this enough. Unrinsed quinoa tastes bitter and soapy. It’s a game-changer. Take the extra minute to rinse it. Your taste buds will thank you.
Toast the Grains
Toasting the quinoa before adding liquid adds a layer of nutty flavor that boiled quinoa lacks. It’s a small step that makes a huge difference in taste. It’s the same technique used for risotto rice.
Keep the Lid On
When simmering, do not lift the lid. You need the steam trapped inside to cook the quinoa evenly. Lifting the lid releases steam and can result in uneven cooking or crunchy bits at the bottom.
Let It Rest
After cooking, let the quinoa sit covered for 5 minutes. This resting period allows the grains to firm up and become fluffy. If you fluff it immediately, it can be gummy.
Toast Almonds Separately
Don’t toast the almonds in the same pan as the quinoa if you’re worried about burning. Toast them first, remove them, then proceed. This ensures they stay golden and crunchy.
Common Mistakes:
– Quinoa is mushy: You used too much liquid or cooked it too long. Use 1 ¾ cups broth for 1 cup quinoa.
– Quinoa is crunchy: Not enough liquid or you lifted the lid too often. Let it simmer longer with the lid on.
– Almonds are burnt: Heat was too high. Toast over medium-low and watch them closely.
Variations & Substitutions
Once you’ve nailed the basic version, here’s how you can mix it up. I’ve tried all of these.
Herb Garden Version
Swap thyme for fresh basil or cilantro. Add a handful of fresh herbs at the end for a bright, fresh flavor. Great with chicken fried rice style flavors.
Mediterranean Style
Add ¼ cup crumbled feta cheese and 2 tablespoons chopped kalamata olives. Top with fresh parsley and a squeeze of lemon. It’s like a salad in grain form.
Spicy Kick
Add ½ teaspoon red pepper flakes when sautéing the garlic. Or stir in 1 tablespoon harissa paste with the broth. It adds a smoky heat that pairs well with the almonds.
Vegetable Boost
Sauté diced carrots, celery, or bell peppers with the onions. Add ½ cup chopped spinach in the last 2 minutes of cooking. It wilts right in and adds color.
Nut-Free Option
Skip the almonds and use toasted sunflower seeds or pumpkin seeds for crunch. Same technique, different nut.
Dietary Modifications:
– Vegan: Use olive oil instead of butter. Everything else is naturally vegan.
– Gluten-Free: Quinoa is naturally gluten-free. Just ensure your broth is certified gluten-free.
– Lower Sodium: Use unsalted broth and reduce added salt. The almonds and herbs provide plenty of flavor.
Serving & Storage
How to serve this Garlic Herb Quinoa Pilaf with Toasted Almonds to make it shine.
How to Serve:
I usually serve this straight from the skillet at the dinner table—it looks rustic and stays warm. But here are other ways I’ve enjoyed it:
- As a Side: Pairs perfectly with roasted chicken, grilled steak, or cast iron ribeye steak.
- As a Base: Use it as a bed for chipotle shredded beef or baked salmon.
- For Breakfast: Top with a fried egg and avocado. It’s like a savory grain bowl.
Side Dishes:
– Simple green salad with vinaigrette
– Roasted asparagus or broccoli
– Garlic bread (if you’re indulging)
Storage Instructions:
– Refrigerator: Store in an airtight container for up to 4 days. The quinoa will firm up in the fridge—totally normal.
– Reheating: Add a splash of broth or water to a skillet over low heat. Stir until heated through and fluffy. Microwave works too—add a splash of water, cover, and heat in 30-second intervals, stirring in between.
– Freezing: Yes, it freezes well! Portion into containers and freeze for up to 3 months. Thaw in the fridge overnight and reheat with added liquid.
Pro Tip: If leftovers are drying out, stir in a teaspoon of butter when reheating. Brings back that creamy texture.
Nutrition Information
I’m not a nutritionist, but here’s the breakdown if you’re tracking. This is per serving (based on 6 servings).
| Nutrient | Amount |
|---|---|
| Calories | 210 |
| Protein | 6g |
| Carbs | 28g |
| Fiber | 4g |
| Sugar | 2g |
| Fat | 9g |
| Saturated Fat | 3g |
| Sodium | 320mg |
What’s Good:
– High in fiber and protein for a grain side
– Rich in magnesium and iron from quinoa
– Healthy fats from almonds
– Low in sugar
What to Know:
– Contains nuts (almonds)
– Naturally gluten-free
– Moderate sodium (use low-sodium broth to reduce)
My Take:
“Look, this is a wholesome, nutrient-dense side dish. It’s not a diet recipe, but it’s way better than white rice or pasta. I know exactly what’s in it, and it keeps me full for hours. When I want to make it lighter, I reduce the butter and almonds. But usually? I just enjoy it as a delicious, healthy part of a balanced meal.”
Final Thoughts
So that’s my Garlic Herb Quinoa Pilaf with Toasted Almonds! I’ve probably talked your ear off at this point, but when you make a recipe this often, you have a lot to say about it.
This pilaf has saved weeknight dinners more times than I can count. It’s my answer to “what’s for dinner?” when I’m tired, don’t want takeout, and still want something that tastes really good. My kids are happy, my husband’s happy, and I’m happy because I’m not stressed about cooking. It’s healthy, it’s fast, and it’s actually delicious.
Make it yours! Try different herbs, swap in your favorite nuts, adjust the garlic (though more is always better in my opinion). The best recipes are the ones you adapt to your family’s tastes. If you make this, drop a comment and let me know what you think! I love hearing how recipes turn out in your kitchen. And if something doesn’t work, tell me that too—I’m here to help troubleshoot.
Happy cooking! And I hope your kitchen smells half as good as mine does right now.
Frequently Asked Questions
Can I use red or black quinoa instead of white?
You can, but the texture and flavor will be different. Red and black quinoa are chewier and have a stronger, earthier taste. White quinoa is fluffier and milder, which is why I prefer it for this pilaf. If you use red or black, you might need a few extra minutes of cooking time and a bit more liquid.
Why did my quinoa turn out mushy?
This usually happens if you use too much liquid or cook it for too long. The golden ratio is 1 cup quinoa to 1 ¾ cups broth. Also, make sure you don’t lift the lid while it’s simmering. If it’s already mushy, you can spread it on a baking sheet and let it air out for a few minutes to dry up some of the excess moisture.
Can I make this ahead for a dinner party?
Yes! This is actually great for meal prep. You can make the pilaf up to 2 days ahead and store it in the fridge. Reheat it gently with a splash of broth or water. Just toast the almonds right before serving so they stay crunchy. I do this all the time for parties.
Can I use water instead of broth?
You can, but it’ll be much blander. Broth adds essential savory flavor that complements the garlic and herbs. If you must use water, add an extra half teaspoon of salt and maybe a bouillon cube for flavor. But broth is worth the extra few cents.
How do I reheat leftovers without it getting dry?
Add a splash of liquid (broth, water, or milk) to a skillet, add your leftover quinoa, and heat gently over low heat, stirring frequently. The extra liquid brings back the moist texture. Microwave sort of works but tends to dry it out. If you do microwave, definitely add a splash of liquid first and heat in short bursts, stirring between.
Can I double this recipe?
Absolutely! Double everything and use a larger pot. The cooking times stay mostly the same, but you might need an extra minute or two for the liquid to absorb. I do this when I’m meal-prepping or feeding a crowd. Just make sure your pot is big enough to allow for steam circulation.
Pin This Recipe!
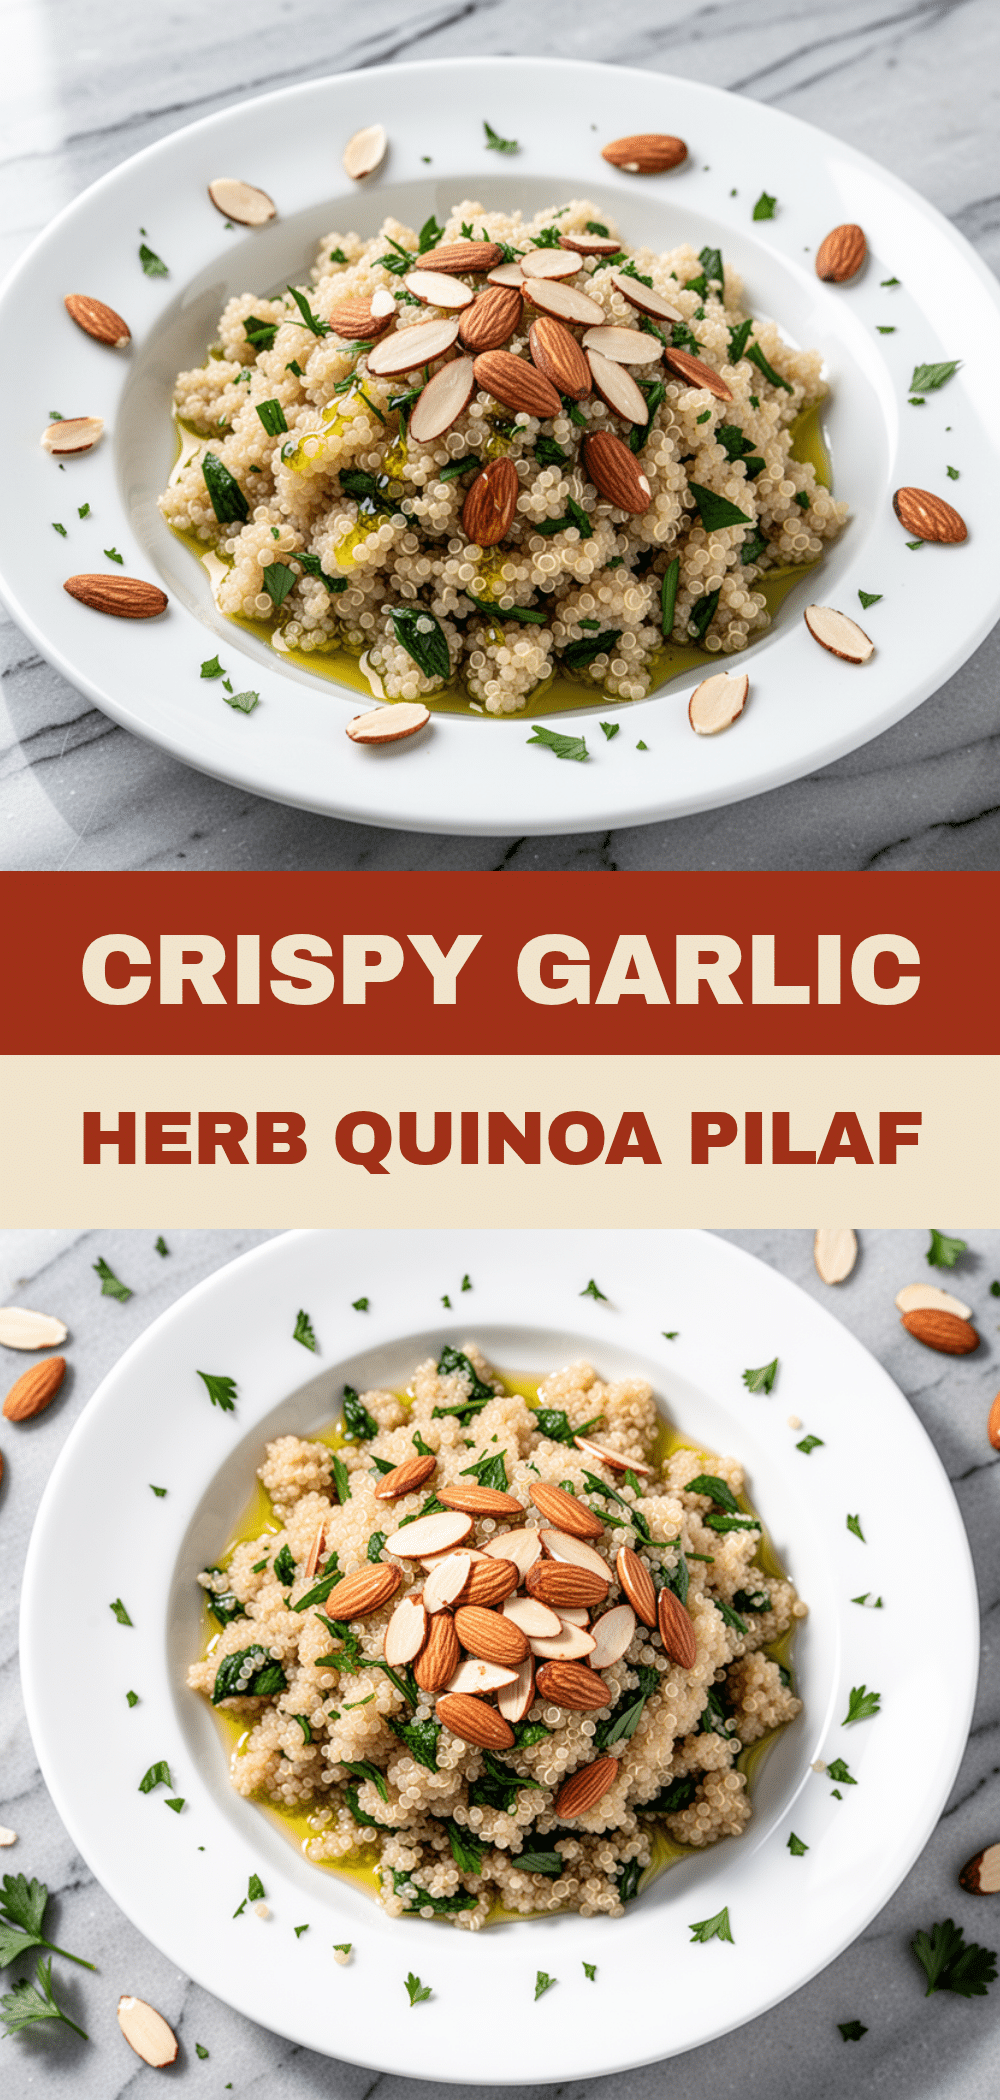

Garlic Herb Quinoa Pilaf with Toasted Almonds
- Total Time: 25-30 minutes
- Yield: 6 servings 1x
Description
A fluffy, nutty, and savory quinoa pilaf made with toasted grains, fresh garlic, herbs, and crunchy almonds. This healthy side dish is ready in 30 minutes and perfect for meal prep or impressing guests.
Ingredients
- 1 cup white quinoa (185g)
- 2 tablespoons unsalted butter (30g)
- 1 ¾ cups vegetable or chicken broth (420ml)
- 1 medium yellow onion, finely diced (150g)
- 4–5 cloves garlic, minced (2 tablespoons)
- 1 teaspoon dried thyme
- 1 teaspoon dried parsley
- ½ cup sliced almonds (50g)
- Salt and black pepper to taste
- Optional: 1 tablespoon fresh lemon juice
- Optional: ¼ cup crumbled feta cheese
Instructions
- Rinse the quinoa in a fine-mesh strainer under cold running water for 1-2 minutes to remove the bitter saponin coating. Drain well.
- Heat a medium skillet over medium heat. Add sliced almonds in a single layer and toast for 2-3 minutes until golden brown and fragrant. Remove almonds from the pan and set aside.
- In the same skillet, melt butter over medium-low heat. Add diced onion and cook for 2-3 minutes until soft and translucent.
- Add minced garlic and cook for 30-60 seconds, stirring constantly, until fragrant but not brown.
- Add the rinsed quinoa to the skillet and stir to coat in the butter. Toast for 1-2 minutes, stirring constantly, until grains turn slightly translucent.
- Pour in the broth and add dried thyme, parsley, salt, and pepper. Stir once to combine.
- Bring to a boil, then immediately reduce heat to low. Cover with a tight-fitting lid and simmer gently for 15 minutes. Do not lift the lid.
- Remove from heat and let rest covered for 5 minutes to allow steam to finish cooking the grains.
- Fluff the quinoa with a fork. Stir in half of the toasted almonds and optional add-ins like lemon juice or feta.
- Transfer to a serving bowl and top with the remaining toasted almonds. Serve warm.
Notes
Do not skip rinsing the quinoa to avoid bitterness. Toasting the quinoa before adding liquid adds a nutty flavor. Keep the lid on while simmering to ensure even cooking. Let the quinoa rest for 5 minutes after cooking to become fluffy. Almonds burn easily, so watch them closely while toasting.
- Prep Time: 5 minutes
- Cook Time: 20 minutes
- Category: Side Dish
- Cuisine: American
Nutrition
- Serving Size: Approximately 1 cup
- Calories: 210
- Sugar: 2
- Sodium: 320
- Fat: 9
- Saturated Fat: 3
- Carbohydrates: 28
- Fiber: 4
- Protein: 6
Keywords: quinoa pilaf, garlic herb quinoa, toasted almonds, healthy side dish, gluten-free, meal prep, 30 minute dinner, vegetarian