For the longest time, my sourdough starter was less of a pet and more of a roommate I was terrified to evict. I’d feed it, stare at it, and then panic when I realized I had two cups of tangy, bubbly discard sitting in the fridge. I tried throwing it in pancakes (too dense). I tried bread (too complicated for a lazy Saturday). I even tried making crackers, which were basically just expensive toothpicks.
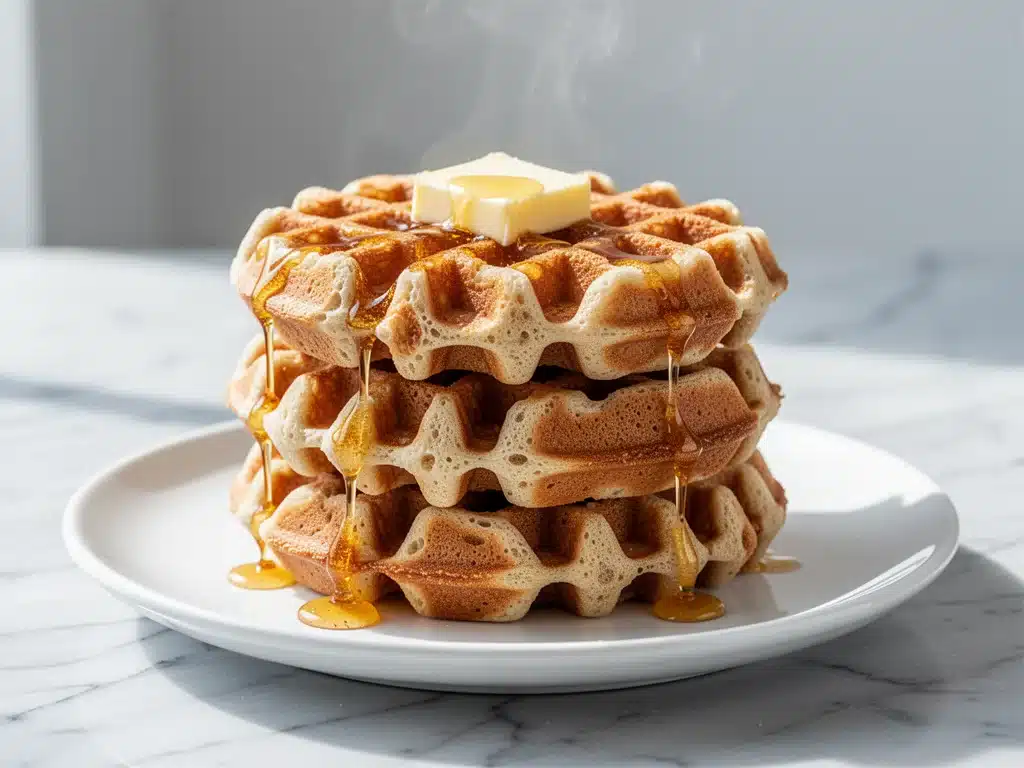
Then came the waffle incident. It was last November, and I was determined to make breakfast in bed for my partner. I mixed up a batch of discard waffles, poured them into the iron, and waited. When I lifted the lid, I didn’t just get waffles. I got these golden, cloud-like discs that were crispy on the outside and so fluffy on the inside they practically defied gravity. The tang from the starter cut through the sweetness of the batter, and when I drizzled them with that homemade maple butter? It was a religious experience.
I’ve made this fluffy sourdough discard waffle recipe at least thirty times since that morning. Thirty. Because once you taste it, you’re hooked. It’s become my go-to weekend brunch, my way to use up the starter without guilt, and honestly, the best reason to wake up early on a Saturday. If you’ve been staring at your fridge jug of discard wondering what to do with it, stop overthinking. This is the answer.
Why You’ll Love This Sourdough Discard Waffle Recipe
There are a million ways to use sourdough discard, but this easy sourdough waffle recipe stands out for reasons that go beyond just “not wasting food.” Here’s why this batch is staying in my regular rotation:
- Zero Waste Breakfast — Seriously, this turns that sad, tangy starter into the star of the meal. I love that I’m reducing waste while creating something delicious. It feels productive, not guilty.
- Actually Fluffy (Not Dense) — I’ve tried other discard recipes that turn out heavy, like eating a brick. This one uses a specific ratio of buttermilk and baking powder to ensure they rise high. They’re light, airy, and hold their shape.
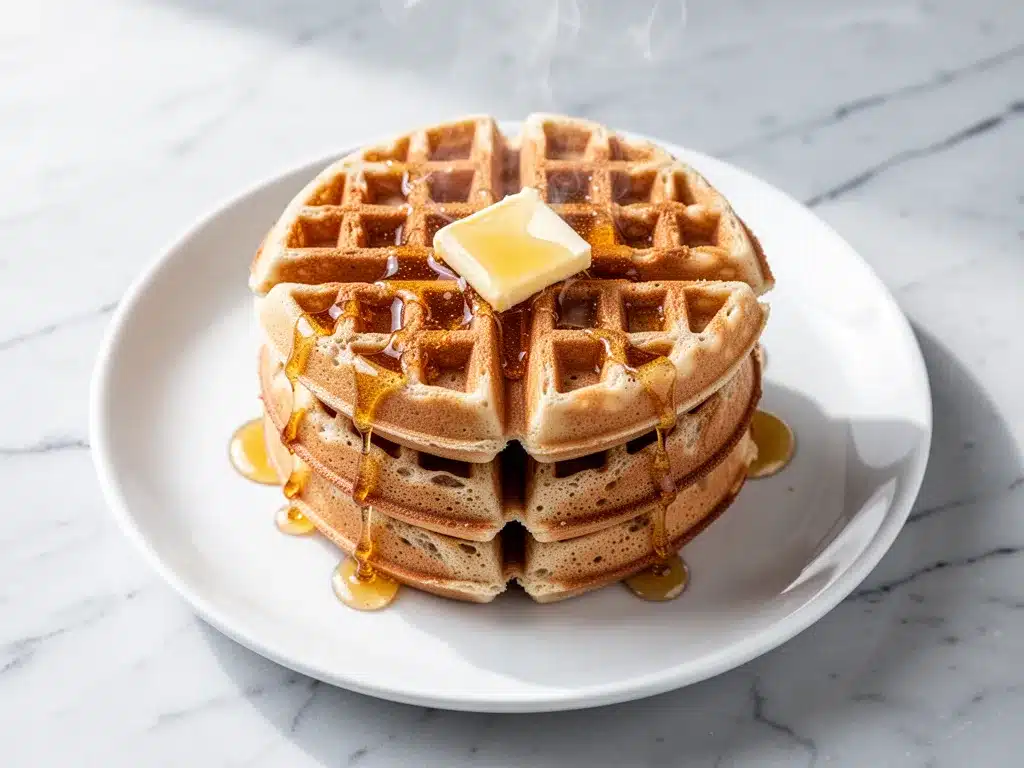
- The Maple Butter Factor — You can serve these plain, but you won’t want to. The maple butter isn’t just a topping; it’s a game-changer. It melts into the pockets of the waffle and creates this sweet-salty contrast that keeps you coming back for more.
- Weekend Brunch Made Easy — You can prep the batter the night before. Seriously. Mix it, cover it, put it in the fridge. In the morning, you just pour and cook. It’s perfect for make-ahead breakfast ideas when you want to spend time with your family, not standing by a stove.
- Crowd-Pleasing Texture — My kids, who usually prefer plain pancakes, ask for these specifically. The tang from the sourdough adds a sophistication that adults love, while the sweetness keeps the kids happy.
Real talk: these waffles are better than any diner waffle I’ve ever had. They’re crispier, fluffier, and they have this complex flavor profile that just makes you pause mid-bite. I’m not exaggerating when I say this recipe has saved my Sunday mornings.
Ingredients You’ll Need for Sourdough Discard Waffles
The beauty of this sourdough discard waffle recipe is how simple the ingredient list is. You probably have 90% of this in your kitchen right now. Here’s what I use and why:
For the Waffle Batter
Sourdough discard (1 cup / 240g) — This needs to be unrefreshed. I keep mine in the fridge and just scoop it out. If your discard is super thick, you might need to thin it with a splash of milk, but usually, it’s the perfect consistency. Don’t use a starter that’s been fed recently; you want that tangy flavor.
All-purpose flour (1 ½ cups / 190g) — I stick to AP flour for these. It gives the right amount of structure without making them cake-like. Bread flour would make them too chewy, and cake flour too fragile. AP is the sweet spot.
Baking powder (1 ½ teaspoons) — This is crucial. Since the discard isn’t active yeast, the baking powder is what makes these waffles rise. Make sure yours is fresh! Old baking powder = flat waffles. I test mine every few months by dropping a bit in hot water—if it fizzes, it’s good.
Baking soda (½ teaspoon) — This reacts with the acidity in the sourdough to create extra lift and those beautiful golden-brown edges. It’s a small amount, but it makes a big difference in texture.
Granulated sugar (2 tablespoons) — Just enough to balance the tang. You don’t want these to be dessert-sweet, just lightly sweetened. You can reduce this to 1 tablespoon if you prefer a more savory waffle.
Large eggs (2 large) — Room temperature eggs are best. They incorporate into the batter more easily and help create that airy structure. I take them out of the fridge while the coffee brews.
Buttermilk (¾ cup / 180ml) — This adds moisture and tenderness. If you don’t have buttermilk, make a quick substitute: add 1 tablespoon of lemon juice or white vinegar to regular milk and let it sit for 5 minutes. It’s not perfect, but it works in a pinch.
Melted unsalted butter (¼ cup / 60g) — This adds richness and helps with browning. Let it cool slightly before mixing it in so you don’t scramble the eggs. I use unsalted so I can control the salt level.
Vanilla extract (1 teaspoon) — Just a splash to round out the flavors. It makes them taste like a treat, not just bread.
Salt (½ teaspoon) — Essential for balancing the sweetness and enhancing the sourdough flavor.
For the Maple Butter Topping
Unsalted butter (½ cup / 113g) — Softened to room temperature. This makes it easier to whip up.
Maple syrup (3 tablespoons) — Use real maple syrup, grade A or B. The darker the syrup, the stronger the flavor. I prefer grade B for that robust, caramel-like taste. Avoid “maple-flavored” syrup; it’s just corn syrup and tastes artificial.
Pinch of cinnamon (optional) — I add this sometimes for a cozy, autumnal vibe. It pairs beautifully with the maple.
Equipment You’ll Need
You don’t need fancy gear for this. Here’s what I actually use:
Waffle Iron — I use a standard Belgian-style waffle iron. If you have a thin waffle maker, these will still work, but they won’t have those deep pockets for holding all that maple butter. Look for one with adjustable temperature settings if possible; it helps with consistent browning.
Mixing Bowls — One medium bowl for dry ingredients, one large for wet. I like using glass bowls because I can see how much batter I’m mixing.
Whisk — A standard wire whisk is perfect for combining the dry ingredients and emulsifying the butter into the batter.
Spatula — For scraping the bowl and helping to fold things together gently.
Measuring Cups and Spoons — I prefer weighing my flour if I can (190g for 1.5 cups), but volume measurements work fine if you’re spooning it into the cup and leveling it off. Don’t scoop directly from the bag; it packs the flour down and leads to dry waffles.
Basting Brush — Optional, but I like to lightly brush the waffle iron with oil before each batch to ensure they release easily. My iron is non-stick, so I rarely need this, but it never hurts to be safe.
How to Make Fluffy Sourdough Discard Waffles
Alright, let’s get cooking! This process is straightforward, but there are a few tricks to ensure those waffles stay fluffy and don’t turn out soggy. I’m walking you through exactly how I do it.
Step 1: Mix the Dry Ingredients (2 minutes)
In your medium bowl, whisk together the flour, baking powder, baking soda, sugar, and salt. I do this first because it ensures the leavening agents are evenly distributed. If you clump the baking powder, you’ll get pockets of bitter powder in your waffles. Whisk until everything looks uniform and pale.
Step 2: Combine the Wet Ingredients (3 minutes)
In a separate large bowl, whisk the eggs until beaten. Add the buttermilk, melted butter, vanilla extract, and sourdough discard. Whisk vigorously until the mixture is smooth and emulsified. The batter might look a little separated at first, but keep whisking. The goal is a homogeneous liquid base.
Step 3: Bring It All Together (1 minute)
Pour the wet ingredients into the dry ingredients. Gently fold them together using a spatula or a whisk. Stop as soon as the flour is moistened. I know it’s tempting to overmix, but lumps are your friend here. Overmixing develops gluten, which makes waffles tough and chewy instead of tender and fluffy. If you see a few streaks of flour, that’s okay. The heat of the iron will finish cooking them.
Step 4: Let the Batter Rest (10-15 minutes)
This is the step most people skip, but it’s crucial for fluffy sourdough waffles. Let the batter sit for 10 to 15 minutes while you preheat your waffle iron. This allows the flour to hydrate fully and the baking powder to start working. You’ll notice the batter thickens slightly and gets bubbly. If you’re meal prepping, you can leave it in the fridge for up to 24 hours, but let it come to room temperature before cooking.
Step 5: Preheat the Waffle Iron
Plug in your waffle iron and let it heat up. Most irons have a light that indicates when they’re ready. I like to wait until it’s fully hot, then give it a quick spray with non-stick cooking spray or brush with oil. This ensures the waffles don’t stick and get that golden crust.
Step 6: Cook the Waffles (3-5 minutes per batch)
Pour the batter onto the center of the iron. Use about ½ to ¾ cup of batter, depending on the size of your iron. Close the lid and cook until the steam stops escaping. This usually takes 3-5 minutes. Don’t peek too early! Lifting the lid releases heat and can cause the waffles to collapse. Wait until the steam slows down significantly, then check for a deep golden-brown color. If they’re pale, give them another minute.
Step 7: Make the Maple Butter
While the waffles cook, whip up the maple butter. In a small bowl, combine the softened butter, maple syrup, and cinnamon (if using). Whisk until it’s light, fluffy, and well-combined. It should be spreadable but not runny. If it’s too hard, microwave it for 10 seconds. If it’s too soft, refrigerate for 5 minutes.
Step 8: Serve Immediately
Transfer the hot waffles to a wire rack set over a baking sheet. Keep them in a 200°F (95°C) oven if you’re cooking in batches. Serve warm with a generous dollop of maple butter on top. The heat from the waffle will melt the butter into those crispy pockets.
Expert Tips for Perfect Waffles Every Time
After making these dozens of times, I’ve learned a few things that separate good waffles from great ones. Here’s my insider knowledge:
- Don’t Overmix the Batter — I cannot stress this enough. Lumpy batter = fluffy waffles. Smooth batter = dense waffles. Fold until just combined.
- Use Room Temperature Ingredients — Cold butter and eggs can shock the batter and prevent proper rising. Take them out 30 minutes before you start.
- Preheat Your Iron Thoroughly — If the iron isn’t hot enough, the waffles will steam instead of fry, leading to a soggy texture. Wait until the indicator light says it’s ready, then wait another minute.
- Don’t Stack Them — If you stack hot waffles on a plate, they’ll steam each other and lose their crispness. Always use a wire rack to keep them crisp on all sides.
- Adjust Batter Consistency — Sourdough discard varies in thickness. If your batter looks like thick paste, add a splash of milk. If it’s too runny, add a tablespoon of flour. You want a consistency similar to thick pancake batter.
- Whip the Maple Butter — Don’t just melt the butter and syrup together. Whisking them creates a lighter, airier topping that spreads easier and tastes more luxurious.
Variations and Substitutions
Once you’ve mastered the base recipe, here’s how you can mix it up. I’ve tested all of these, and they work great:
Chocolate Chip Sourdough Waffles
Add ½ cup of semi-sweet chocolate chips to the batter right before cooking. The chocolate melts into gooey pockets. My kids go crazy for this version.
Banana Walnut Waffles
Mash one ripe banana and fold it into the wet ingredients. Add ½ cup of chopped walnuts. This makes them taste like banana bread, which is a huge hit in our house.
Blueberry Lemon Waffles
Toss 1 cup of fresh blueberries in a tablespoon of flour (this prevents them from sinking), then fold into the batter. Add the zest of one lemon to the wet ingredients. Bright and fresh.
Gluten-Free Option
Use a 1:1 gluten-free flour blend (like Bob’s Red Mill or King Arthur). Make sure it contains xanthan gum; if not, add ½ teaspoon. The texture will be slightly different but still delicious.
Dairy-Free Version
Replace the buttermilk with oat milk or almond milk mixed with 1 tablespoon of lemon juice. Use dairy-free butter or coconut oil for the batter and the maple butter topping. The flavor is slightly different, but still tasty.
Serving and Storage
How to Serve:
These waffles are best served fresh and hot. I usually serve them with fresh berries, a dusting of powdered sugar, and of course, the maple butter. For a savory twist, top with fried chicken and hot sauce—this is a classic Southern combination that works surprisingly well with the tang of the sourdough.
Side Dishes:
I pair these with crispy bacon or sausage links. A simple green salad with a vinaigrette also cuts through the richness. If you want to lean into the brunch vibe, serve with crispy hash brown breakfast casserole on the side for a hearty meal.
Storage:
Leftover waffles can be stored in an airtight container in the fridge for up to 3 days. They reheat beautifully in a toaster or a 350°F (175°C) oven for 5-10 minutes. Avoid the microwave unless you’re in a huge rush, as it makes them chewy.
Freezing:
These freeze exceptionally well. Let the waffles cool completely, then layer them between parchment paper in a freezer bag. They’ll last for up to 2 months. Toast them straight from frozen for a quick weekday breakfast.
Reheating Tip:
To restore crispiness, reheat in a toaster or oven. If you microwave them, brush them with a little melted butter afterward to bring back some of the richness.
Nutrition Information
I’m not a nutritionist, but here’s the breakdown if you’re tracking. Note that this is an estimate per waffle (based on 6 waffles), and it doesn’t include the maple butter topping.
| Nutrient | Amount per Waffle |
|---|---|
| Calories | 280 |
| Protein | 8g |
| Carbohydrates | 35g |
| Fiber | 1g |
| Sugar | 6g |
| Fat | 12g |
| Saturated Fat | 7g |
| Cholesterol | 65mg |
| Sodium | 320mg |
What’s Good:
Decent protein from the eggs and dairy. The sourdough fermentation actually breaks down some of the gluten and phytic acid, making nutrients more bioavailable. It’s a better choice than standard refined flour waffles.
What to Know:
Higher in calories due to the butter and flour. Contains dairy and gluten. The maple butter adds extra sugar and fat, so use it as a condiment, not a main course.
Final Thoughts
So that’s my fluffy sourdough discard waffle recipe! I’ve talked your ear off, but when you make a recipe this often, you have a lot to say about it. These waffles have saved my weekends. They’re my answer to “what’s for breakfast” when I want to feel fancy but also lazy. My family is happy, my starter is happy, and I’m happy because I’m not stressing about what to do with that jug in the fridge.
Make it yours! Try different add-ins, swap the maple butter for peanut butter or Nutella (don’t judge me, it’s good). The best recipes are the ones you adapt to your family’s tastes. If you make this, drop a comment and let me know what you think! I love hearing how recipes turn out in your kitchen. And if something doesn’t work, tell me that too—I’m here to help troubleshoot.
Happy cooking! And I hope your kitchen smells half as good as mine does right now.
Frequently Asked Questions
Can I use active sourdough starter instead of discard?
You can, but the flavor will be different. Active starter is less tangy and more yeasty, which might make the waffles rise too much and collapse. Discard is preferred for its flavor and controlled rise. If you must use active starter, reduce the baking powder by half.
Why are my waffles dense instead of fluffy?
This usually happens for three reasons: overmixing the batter, old baking powder, or not letting the batter rest. Make sure your baking powder is fresh, fold the batter gently, and let it sit for 10-15 minutes before cooking.
Can I make the batter ahead of time?
Yes! You can mix the batter and store it in the fridge for up to 24 hours. The baking powder will continue to work slowly, so you might need to add a tiny bit of fresh baking powder before cooking if you leave it too long. Stir the batter gently before pouring it into the iron.
How do I keep waffles crispy?
Never stack them on a plate. Place them on a wire rack set over a baking sheet. This allows air to circulate around the waffle, preventing steam from softening the crust. If you’re serving immediately, just keep them in a warm oven.
Can I freeze the maple butter?
Yes, the maple butter can be frozen for up to 3 months. Let it come to room temperature and whisk it again before using. It might separate slightly, but a good whisk will bring it back together.
What if I don’t have buttermilk?
You can make a quick substitute by adding 1 tablespoon of lemon juice or white vinegar to 1 cup of regular milk. Let it sit for 5-10 minutes until it curdles slightly. This works perfectly in this recipe.
How do I know when the waffle is done?
The best indicator is steam. When the waffle is done, the steam coming from the iron will slow down significantly. Also, look for a deep golden-brown color. If it’s pale, give it another minute. Don’t rely solely on the timer, as every iron is different.
Pin This Recipe!
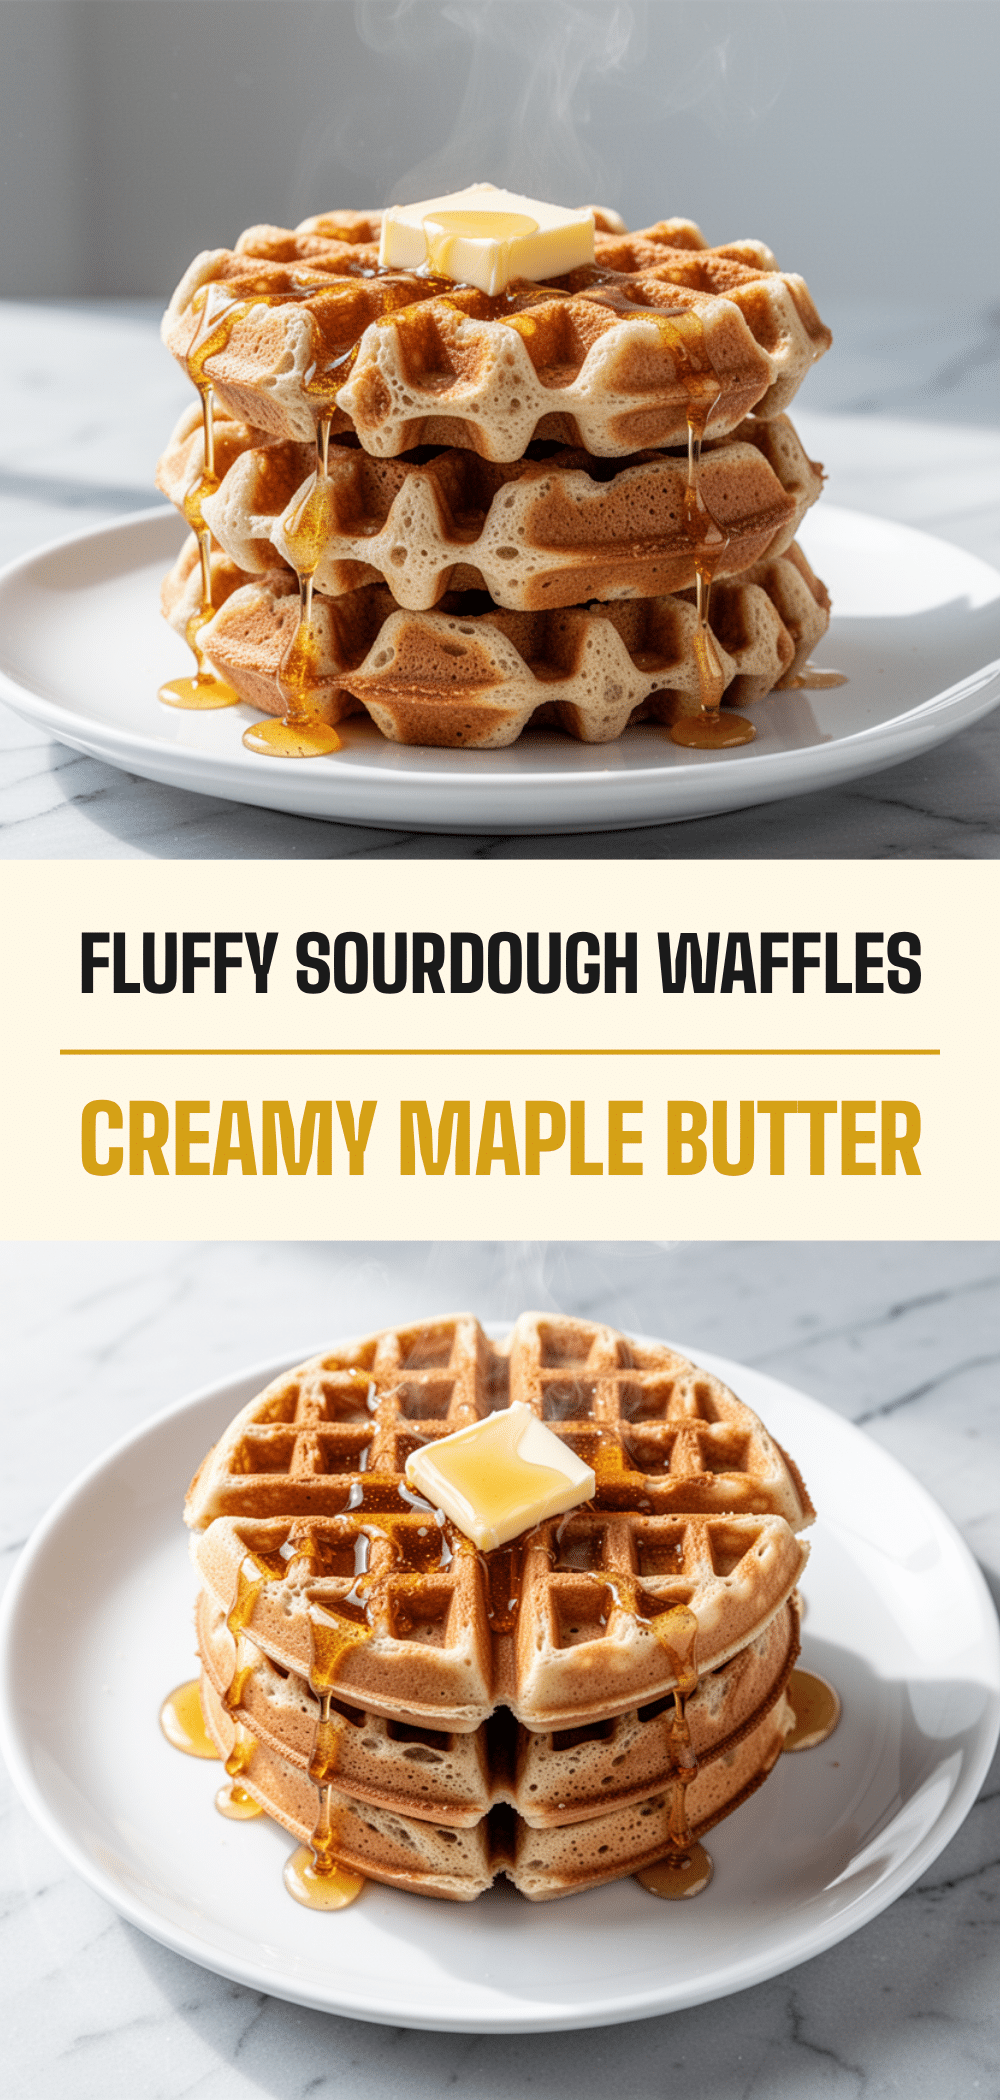
Fluffy Sourdough Discard Waffles: Easy Maple Butter Recipe
- Total Time: 30 minutes
- Yield: 6 servings 1x
Description
These golden, cloud-like sourdough discard waffles are crispy on the outside and incredibly fluffy on the inside. Paired with a rich homemade maple butter, this easy weekend brunch recipe uses up starter without guilt.
Ingredients
- 1 cup (240g) sourdough discard (unrefreshed)
- 1 ½ cups (190g) all-purpose flour
- 1 ½ teaspoons baking powder
- ½ teaspoon baking soda
- 2 tablespoons granulated sugar
- 2 large eggs (room temperature)
- ¾ cup (180ml) buttermilk
- ¼ cup (60g) melted unsalted butter (cooled slightly)
- 1 teaspoon vanilla extract
- ½ teaspoon salt
- For Maple Butter: ½ cup (113g) unsalted butter (softened)
- For Maple Butter: 3 tablespoons maple syrup
- For Maple Butter: Pinch of cinnamon (optional)
Instructions
- In a medium bowl, whisk together the flour, baking powder, baking soda, sugar, and salt until uniform.
- In a separate large bowl, whisk the eggs until beaten. Add the buttermilk, melted butter, vanilla extract, and sourdough discard. Whisk vigorously until smooth and emulsified.
- Pour the wet ingredients into the dry ingredients. Gently fold them together using a spatula or whisk until just combined. Do not overmix; lumps are okay.
- Let the batter rest for 10-15 minutes while you preheat the waffle iron.
- Preheat the waffle iron. Lightly grease with oil or non-stick spray if necessary.
- Pour ½ to ¾ cup of batter onto the center of the iron. Close the lid and cook for 3-5 minutes until steam stops escaping and waffles are deep golden-brown.
- While waffles cook, whip the softened butter, maple syrup, and cinnamon together until light and fluffy.
- Transfer cooked waffles to a wire rack set over a baking sheet to keep crisp. Serve immediately with a generous dollop of maple butter.
Notes
Do not overmix the batter to ensure fluffy waffles. Let the batter rest for 10-15 minutes to allow the baking powder to work. Keep cooked waffles on a wire rack to maintain crispness. Batter can be made ahead and refrigerated for up to 24 hours.
- Prep Time: 15 minutes
- Cook Time: 15 minutes
- Category: Breakfast
- Cuisine: American
Nutrition
- Serving Size: 1 waffle with maple
- Calories: 280
- Sugar: 6
- Sodium: 320
- Fat: 12
- Saturated Fat: 7
- Carbohydrates: 35
- Fiber: 1
- Protein: 8
Keywords: sourdough discard, waffles, breakfast, brunch, maple butter, easy recipe, weekend brunch, zero waste


